background image

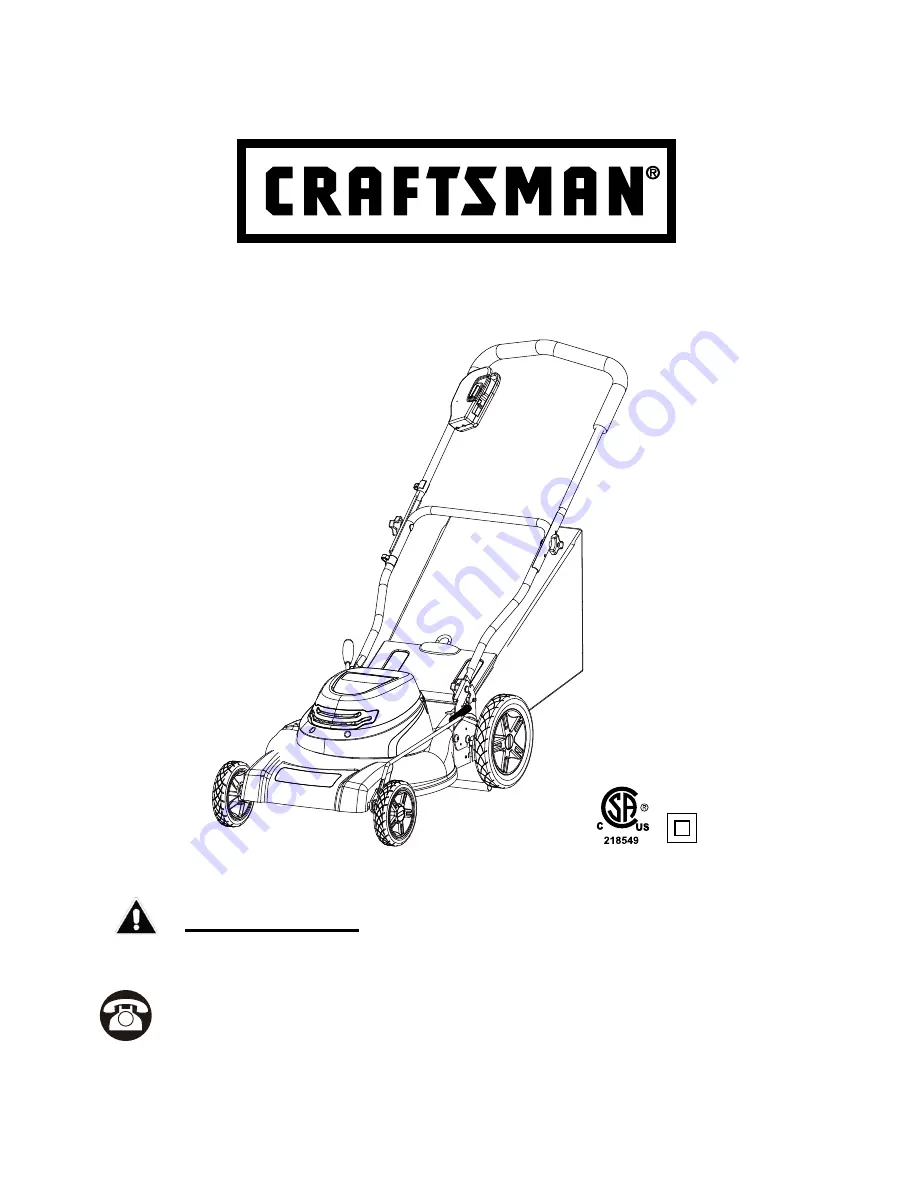
20" (50.8 cm) Electric Lawn Mower

Owner's Manual


IMPORTANT:

Read all safety rules and instructions carefully before using this product.


For questions regarding this product please call TOLL FREE: 1-888-266-7096
Sold by Sears, Sears Canada Inc. Toronto, Ontario M5B 2B8

35751

Summary of Contents for 35751

Page 1: ...wner s Manual IMPORTANT Read all safety rules and instructions carefully before using this product For questions regarding this product please call TOLL FREE 1 888 266 7096 Sold by Sears Sears Canada Inc Toronto Ontario M5B 2B8 35751 ...

Page 2: ...the part of the operator can result in serious injury This mower is capable of amputating body parts and throwing objects Failure to observe the following safety rules could result in serious injury or death Basic safety precautions should always be followed when using electric lawn mowers in order to reduce the risk of fire electric shock and personal injury TABLE OF CONTENTS Content Page Safe Op...

Page 3: ... with a CSA CUL listed extension cord that is approved for outdoor use such as Type SW A SOW A STW A STOW A SJW A SJOW A SJTW A or SJTOW A 13 Extension Cord Verify that the extension cord is in good condition is heavy enough to carry the current that your mower will draw and is polarized one blade of the plug is wider than the other A 50 15 m extension cord should be of 16 AWG a 100 30 m extension...

Page 4: ... until you are sure that the blade has stopped rotating 30 Never operate the mower without a proper trail shield discharge cover grass catcher blade motor control or other safety protective devices in place and in working order Do not operate the mower with damaged safety devices Doing so can result in injury Slopes are a major factor related to accidents involving slips and falls which can result...

Page 5: ... nuts bolts and screws tight in order to be sure that the mower is in safe working condition 10 Do not tamper with safety devices Check them regularly for proper operation 11 After striking a foreign object stop the motor and disconnect the power cord Thoroughly inspect the mower for any damage Repair any damage before operating the mower 12 The grass catcher components discharge cover and trail s...

Page 6: ...es for shipping purposes 2 Pull up and back on the upper handle to raise the handle into the operating position Make certain the lower handle is seated securely into the handle mounting bracket see Fig 1 3 Align the holes 3 between the upper handle 1 and lower 3 handles Insert the bolts 4 and tighten them with the wing nuts 5 provided 4 Secure the lower handle to the bracket with the bolt 6 in eac...

Page 7: ...ft the chute cover 1 2 While holding the chute cover 1 up place the hanger hooks of the grass catcher bag 2 into the opening on the chute cover 1 in order to allow the hanger hooks to attach to the rod 4 that secures the chute cover 7 Fig 3 1 2 ...

Page 8: ...ING THE MULCHING PLUG Fig 5 1 To remove the mulching plug lift the chute cover 1 and pull the mulching plug out using the handle 2 The mulching plug 2 is inserted on an angle so it requires some force to remove it 8 Fig 5 2 ...

Page 9: ...awn mower Compare the illustration to your lawn mower in order to familiarize yourself with the location of various controls and adjustments Save this manual for future reference 9 Power switch assembly Upper handle Lower Grass catcher bag handle Motor housing Height adjustment lever Wheels ...

Page 10: ... you can grasp it with your other handle Pull the lever back to turn the unit on and hold it against the mower handle to keep it running To turn the mower off just release the lever Caution never attempt to override the operation of this switch 1 Push the safety tab out to expose the lever 2 Pull the lever up to start the mower 3 Release the lever to stop the mower ...

Page 11: ...an move to desired position This sets all wheels to the same position 3 To raise the height pull the height adjustment lever from the current stop position towards the back of the mower 4 To lower the height pull the height adjustment lever from the current stop position towards the front of the mower 11 HIGH LOW 1 Fig 7 ...

Page 12: ...y raise or lower the upper handle to a position comfortable for you 1 Loosen the upper handle knob 2 move the upper handle to the desired position There are 3 positions for your choise 3 Tighten the upper handle knob as tight as you can Fig 8 12 ...

Page 13: ...N E S E R P E R S I H T E N I L D E T T O D E H T N O D L O F WARNING Do not mow a slope that has an angle of greater than 15 a rise of approximately 2 1 2 75 m every 10 3 m Mow across the face of a slope and never up and down SLOPE GAUGE Use this page as a guide in order to identify slopes that cannot be mowed safely NOTE A sharp blade will greatly enhance the performance of the mower especially ...

Page 14: ...The ground speed should be adjusted to the condition of the lawn If mowing has been delayed and the grass has been allowed to grow longer than 4 10 cm mow the lawn twice in order to reduce the grass height to a maximum of 3 1 4 8 3 cm 4 Walk at a steady pace Overlap the cutting rows Do not let the grass get too tall If the grass gets too long start at the highest cutting position and work down to ...

Page 15: ...WISE to loosen it and COUNTER CLOCKWISE to tighten it this is a reverse rotation nut 4 Remove the blade nut 1 the square washer 2 the insulator washer 3 and the blade 5 To re install the blade position the blade with the cutting edges toward the ground Assemble the blade nut the square washer and the insulator washer as shown in Fig 8 Using a 15 mm socket with a torque wrench turn the blade nut CO...

Page 16: ...ther debris will accumulate causing rust and corrosion Remove any buildup of grass and leaves on or around the motor cover do not use water Wipe the mower clean with a dry cloth occasionally If debris build up on the underside of the unit while using stop the motor and disconnect it from the power s upply Tilt the mower forward or on its side and scrape it clean with an appropriate tool 16 ...

Page 17: ...rd if cut or damaged in any way Wind cord in a series of equal loops to prevent it from tangling Store mower indoors in a cool dry place out of the reach of children Do not cover lawn mower with a solid plastic sheet Plastic coverings trap moisture around the mower causing corrosion The handle may be folded away completely for storage Loosen the hand knobs on the sides of the handle and fold the u...

Page 18: ...long or the cutting height is too low The rear of the mower housing and the blade are dragging in heavy grass Raise the cutting height The mower cuts the grass unevenly The lawn is rough or uneven The cutting height is not set properly Check the mowing area Move the wheels to a higher position The mower does not start The power cord is disconnected from the switch The motor blade control switch is...

Page 19: ...e hundred twenty 120 days from the date of retail purchase How to Obtain Service Warranty service is available by calling the toll free helpline at 1 888 266 7096 The factory will not accept the return of a complete unit unless prior written permission has been extended by SEARS CANADA Transportation Charges Transportation charges for the movement of any power equipment unit or attachment are the ...

Page 20: ...20 REPLACEMENT PARTS LIST ...

Page 21: ...an 21 3331238 1 1 blade 22 3410535 1 blade insulator 23 3331435 1 spacer 24 3221037 1 nut 25 3330490 2 wire clip 26 3420138 1 1 rear flap 27 3290506 2 washer 28 3330438 1 1 rear door 29 3320138 1 1 rear door fix shaft 30 3340138 1 rear compressor spring 31 3410238 1 rear plug 32 31102222 1 rear wheel axle 33 33302222 1 height adjustment braket right 34 33401222 1 compressor spring 35 31103222 1 he...

Reviews: