Craftsman 351.184490, Operator'S Manual
The Craftsman 351.184490 Operator's Manual is an essential companion for owners of this remarkable product. Easily accessible for free download from manualshive.com, the comprehensive manual provides detailed instructions and valuable insights, ensuring optimal performance and safe operation of your Craftsman 351.184490.
Share
Download


Reviews:
No comments
Related manuals for 351.184490

H6146
Brand: Grizzly Pages: 20

BRN175
Brand: Bostitch Pages: 44

BCN662
Brand: Bostitch Pages: 50

BCN650
Brand: Bostitch Pages: 56

EHS50V
Brand: tacwise Pages: 3

GT-3
Brand: Iccons Pages: 16

PDT 40 H6
Brand: Parkside Pages: 215

96267
Brand: Parkside Pages: 28
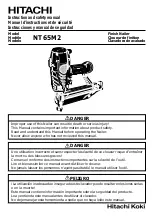
NT 65M2
Brand: Hitachi Pages: 88

NT 65M2 (S)
Brand: Hitachi Pages: 64
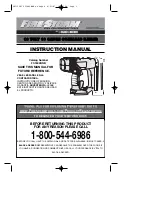
FireStorm FS1802BNB
Brand: Black & Decker Pages: 32

142.18803
Brand: Craftsman Pages: 30

PFS160
Brand: Paslode Pages: 40

AK2921.V2
Brand: Sealey Pages: 2

MPN-1
Brand: Pneutools Pages: 4

FN1650C
Brand: haubold Pages: 20

505695
Brand: haubold Pages: 23

GLGG04V2
Brand: Genesis Pages: 16


