CORNERSTONE VR: PICO G2 4K SETUP GUIDE
This document will guide you through the setup process of a brand new Pico G2
4K (this document will be updated with pictures as soon as possible).
1. Unpack the Pico G2 4K headset. Remove the cellophane, remove all of the
attached tape and cellophane, and remove the lens covers.
2. Unpack the Pico Motion Controller. The small white box behind the headset houses the
Controller, 2xAAA batteries, a USB-C charging cable, a USB-Wall Outlet brick and a
Lens cloth.
3. Insert the AAA batteries into the Controller by removing the plastic battery cover on
the back, which slides down.
4. Switch on the headset by holding down the power button on the bottom of the
headset.
5. Once the headset has switched on fully, you must follow the on-screen instructions to
connect to the headset to your WiFi. Please note: when typing with the Pico headset
(like typing your WiFi password), be sure to click the
↵
Enter key at the bottom right of
the keyboard before selecting Confirm.
6. Continue to follow the on-screen instructions to connect the controller (by pressing the
PICO button on the controller, waiting for it to connect, then hold it down).
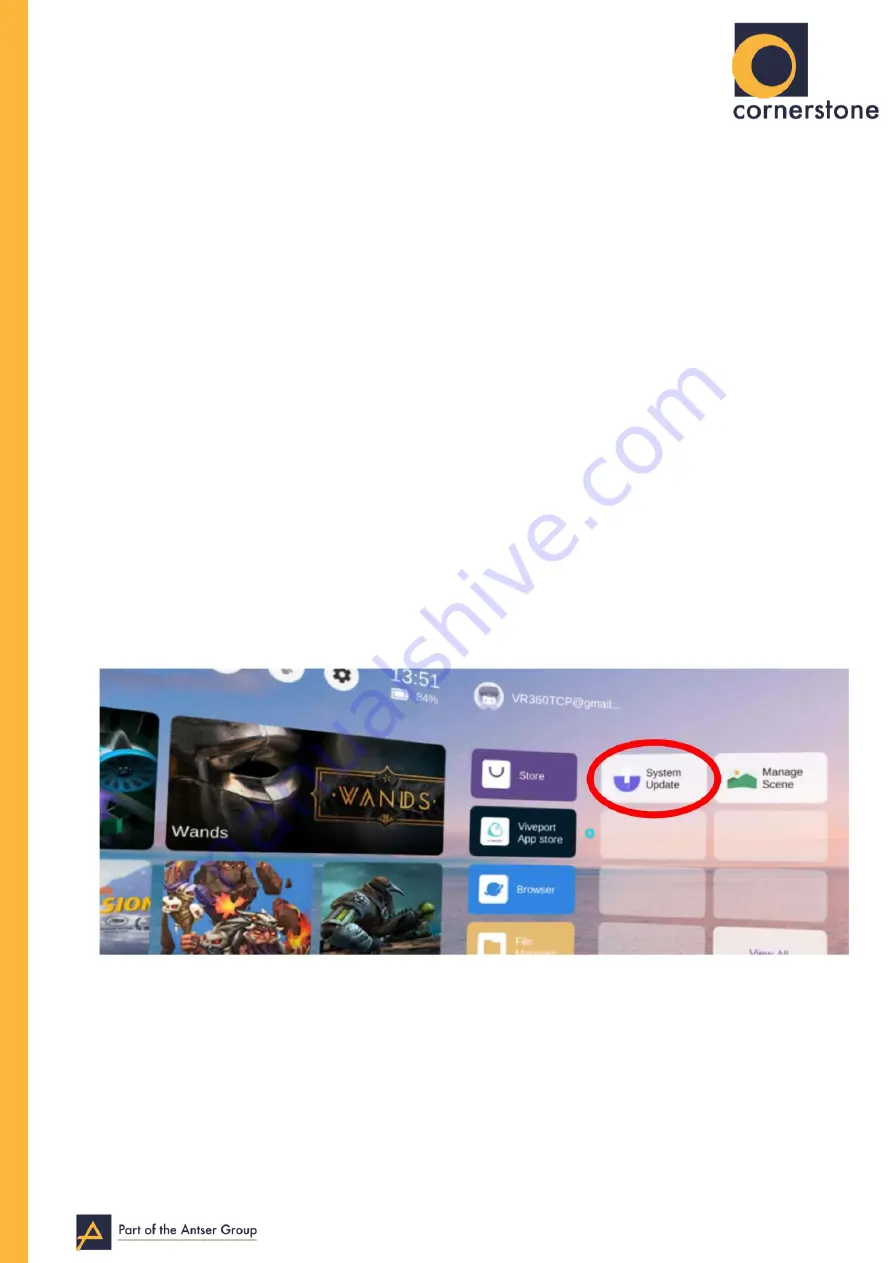
7. Once you find yourself in the Pico home screen, please look to the right and select
‘System Update’.
8. Now select
‘Check for Updates”’ You will now be shown a list of features in the latest
update, select
‘Update Now’. The update will now download, this will take 2-7 minutes
(depending on your internet speed).
9. Once this is downloaded, the headset will check to see if the device is charged. Please
select
‘Update Now’, if the headset battery is below 40%, it will refuse to do this. In this
case, please charge your headset, then repeat this step.