


N TIF
EYE
POWERED BY TEMPTRAK
TM
NotifEye
™
Wireless Sensors
and USB Gateway
Manual
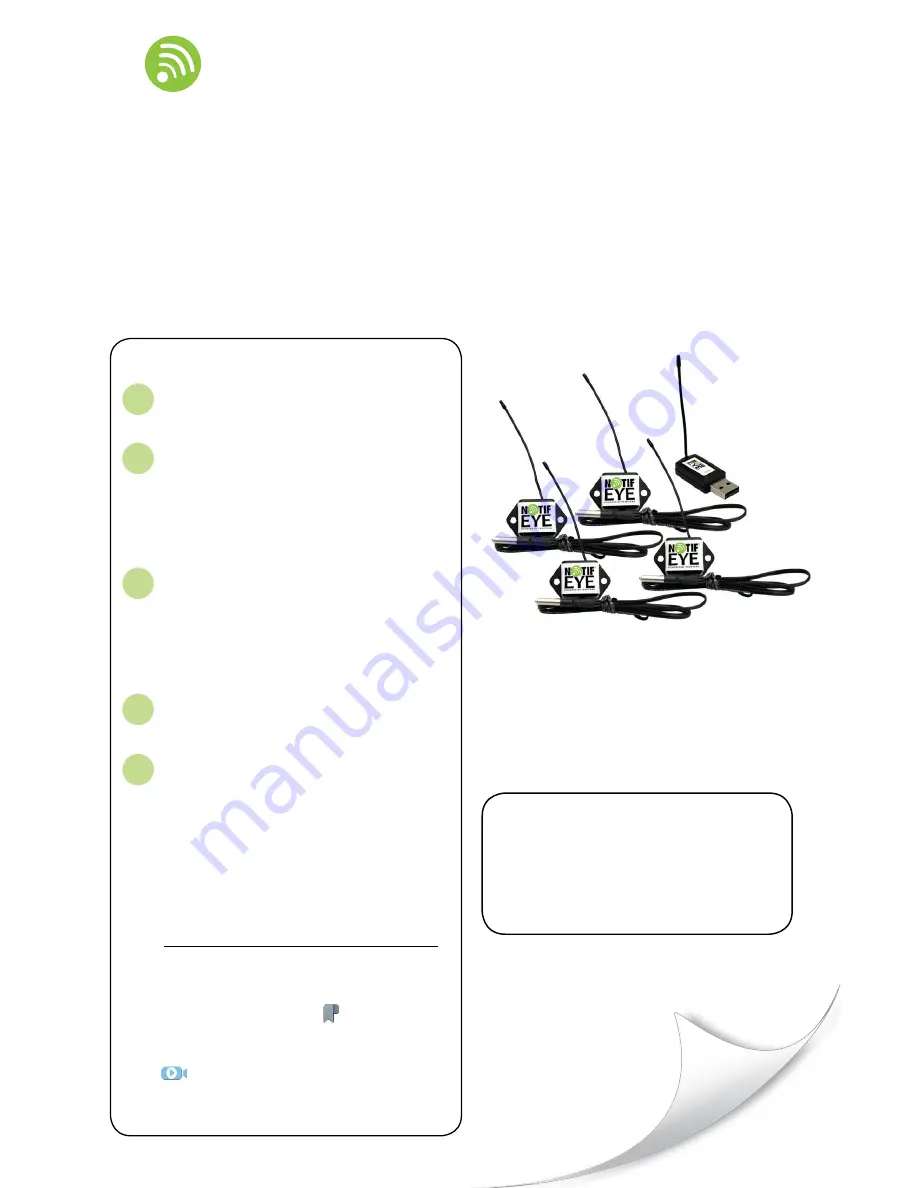
Inside the Box
• (4) Temperature Sensors #15100
• (1) USB Gateway #15500
• (4) CR2032 Coin Cell Batteries
• (4) Loop & Lock Tape Strips
• (8) Mounting Screws
• Reference Guide
1
2
3
4
5
Contents
Creating An Account
• Creating An Account..........................................................2
Setting Up the Hardware
• Minimum System Requirements........................................3
• Downloading the USB Gateway Driver..............................4
• Downloading the USB Gateway Application...................4-5
• Updating the Device Driver.............................................5-6
• Using the USB Gateway Application..................................7
• Inserting Batteries..............................................................8
Setting Up the Online System
• Logging into the System ...................................................8
• Adding Sensors, Gateways & Networks.........................8-9
• Overview of the NotifEye System................................10-11
• Configuring Sensors................................................... 11-13
• Setting Notifications....................................................13-15
• My Account Settings.........................................................15
Mounting Sensors
• Mounting Sensors............................................................16
Advanced
• Adding, Editing and Setting User Permissions...........16-17
• Sensor Maps....................................................................18
• Sensor History & Chart Views.................................... 18-19
• Viewing & Exporting Sensor Data...............................19-20
• System Reports................................................................20
User Information
.....................................................21
Warranty
Information
..........................................21
instructional video available
Clicking on the video icon associated with a
topic will open an instructional video in a
browser window
This is an interactive pdf
.
Go to specific points in the manual by:
• using the bookmarks link
in the left margin
• clicking on the sub-headings in the Contents pane.


