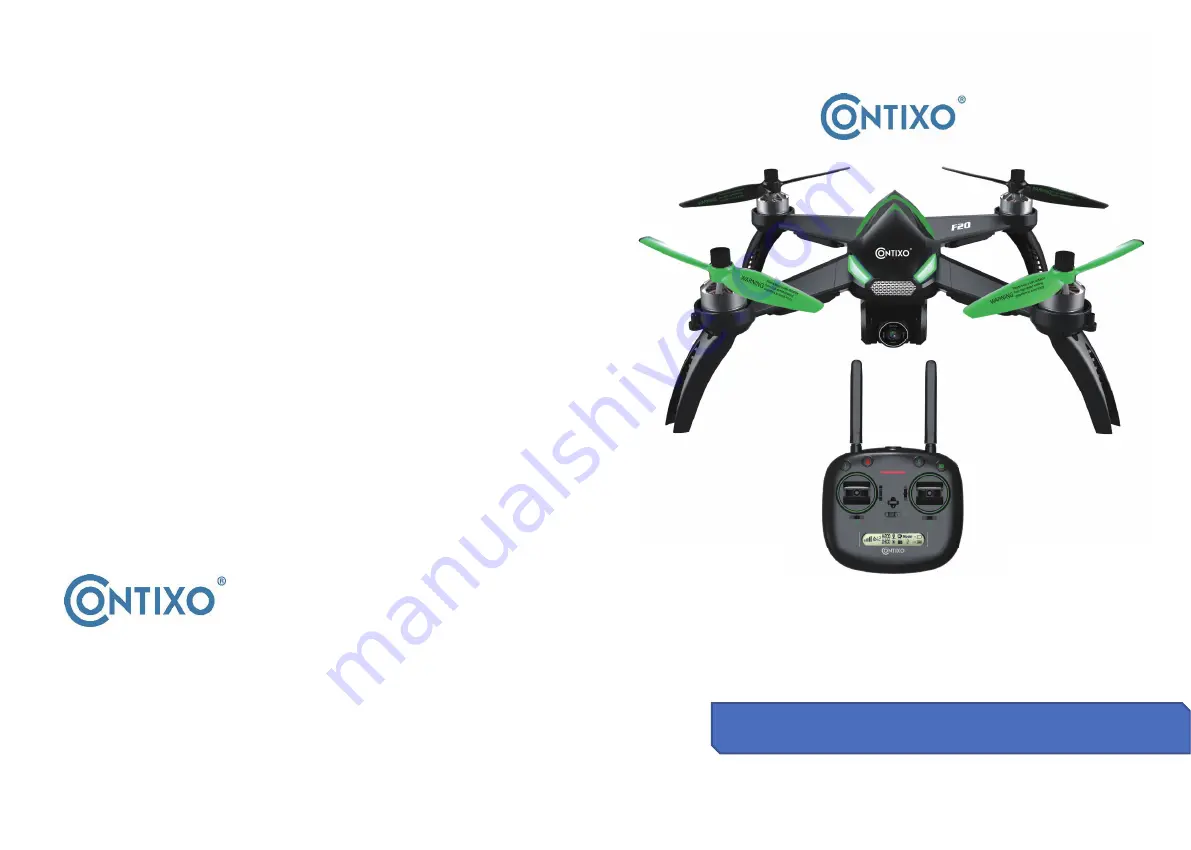
background image

Instruc

on Manual

Please read this instruc�on manual first before opera�ng the drone.

Please keep this manual for future use.

www

.

con

xo

.

co

m

F20 GPS DRONE

CONTACT INFORMATION

Toll Free: 1-833-CONTIXO (266-8496)

E-Mail: support@con�xo.com

Website: www.con�xo.com

CONTIXO is a trademark of Con�xo Inc.

2018 Con�xo Inc. All Rights Reserved.

Summary of Contents for F20 GPS

Page 1: ...re opera ng the drone Please keep this manual for future use www con xo com F20 GPS DRONE CONTACT INFORMATION Toll Free 1 833 CONTIXO 266 8496 E Mail support con xo com Website www con xo com CONTIXO is a trademark of Con xo Inc 2018 Con xo Inc All Rights Reserved ...

Page 2: ... accept a charge If the drone ba ery is low then please land the drone immediately and recharge the ba ery Always follow proper opera ng procedures and safe flight guidelines Please take a careful look at the manual before flights for important informa on regarding product func ons and opera on ps It is important to learn how to use the product to achieve a safe flight Stay informed of local laws and...

Page 3: ...ss Calibra on 19 Gyroscope Calibra on 19 20 How to Lock and Unlock Your Drone 21 One Key Takeoff and Landing 21 24 Flight Modes 25 Capturing Photos and Videos 25 Low Ba ery Warning 26 Signal Strength Indicator 26 Pre Flight Prepara on 26 Flight Prepara on 27 35 Smartphone Device Applica on 36 38 Troubleshoo ng 39 Technical Support Products Spare Parts Included In The Box 1 Drone 1 Balance Charger 1...

Page 4: ...green light will keep flashing rapidly ATTENTION Adult supervision is required when charging the ba eries Only ba eries of the same type as recommended are to be used Exhausted depleted ba eries are to be removed from the drone The supply terminals are not to be short circuited The charging line to be used with the product should be regularly examined for poten al hazards such as damage to the cabl...

Page 5: ...llers are dis nguishable by A B markings and the propeller screws are dis nguishable by a dot indenta on Please pay a en on to prevent stripping the screws IMPORTANT Propellers must be properly installed on corresponding motors to avoid drone malfunc on Use cau on when installing the propellers as they are sharp Please use Con xo propellers only for this drone Extra propellers can be ordered throu...

Page 6: ... drone to remove it from the drone Simply remove the ba ery from the drone to power off ATTENTION Please keep your fingers and your drone dry and clean to avoid dropping the ba ery Below is the diagram of the Remote Controller You should get comfortable and familiar with the Remote Controller before every flight to prevent any accidents or incidents while flying 1 Le Thro le S ck 2 GPS Mode Switch 3 P...

Page 7: ...te controller The supply terminals are not to be short circuited All you need to do is simultaneously press and hold the Red Lock Unlock bu on near the top of the remote controller AND turn ON the remote controller by moving the power switch to the right The remote controller will send out 2 beeping sounds and the indicator light will keep flashing indica ng that the remote controller is now ready ...

Page 8: ...o prefer non standard controls There are a total of 2 control modes ATTENTION Mode 2 is the universal standard for flight controls We recommend that you do not change control modes unless you are an experienced skilled pilot Always take no ce of what control mode is selected prior to flight ATTENTION To change between control modes please make sure that your remote is under Signal Connec on status w...

Page 9: ...icon will be displayed on the screen of the remote controller ATTENTION 1 To use the remote controller to take photos or videos you must first insert a microSD card into the drone to store the media The microSD card slot is located in the Rear side of the camera 2 When there is no microSD card in the drone you can only use the smartphone App to take pictures and videos which will be stored within t...

Page 10: ...ly hold the drone horizontally and rotate it 360 degrees along the horizontal axis for about 3 circles counterclockwise The drone s front and rear lights will change from flashing yellow to flashing green alterna vely when complete Drone Compass Calibra on must be done for each flight When changing new ba ery or the ba ery is reinstalled Compass Calibra on should be done again Compass Calibra on must...

Page 11: ...ement Once the drone has been calibrated set drone on a flat surface Now push down both of the control s cks to the lower le corner and release as indicated in photo below When the front and rear lights are both green and flashing rapidly it means that the gyroscope is under calibra on status When the lights turn solid the calibra on is successful The gyroscope calibra on has been done in factory by...

Page 12: ...e Drone Locking the Drone There are 3 ways to lock the drone that you can find below Method 1 When the drone is on the ground and the motor is s ll rota ng pull down the thro le s ck to the bo om posi on or simultaneously push the le s ck to lower le corner and the right s ck to the lower right corner un l the propellers stop When the propellers stop it means the drone is locked Method 2 When using...

Page 13: ... drone The Return to Home RTH procedure brings the drone back to the last recorded Home Point There are 3 types of RTH procedures Smart RTH Fail Safe RTH and Low Ba ery RTH The following sec on describes the Home Point and GPS signal in detail The Home Point is the loca on from where the drone takes off A strong signal of at least 7 satellites must be present prior to take off in order for the drone...

Page 14: ...the drone flying al tude is less than 45 or the flying distance is less than 45 then drone will automa cally land to the ground WARNING When drone is in Low Ba ery Return To Home RTH status you cannot regain control of the drone by pressing the RTH bu on Photo To capture breathtaking photos simply short press the Photo Video bu on The LCD screen camera icon will flash once and the remote will beep on...

Page 15: ... 5 Slowly push the thro le s ck upward and the drone will takeoff 6 A er you are done with your flight you must pull the le side al tude thro le lever slowly to the bo om down un l the drone lands safely and the motor stops rota ng The drone will automa cally lock itself 7 Take out the ba ery from ba ery compartment of the drone and store or recharge it for your next flight The Con xo F20 Smartphone ...

Page 16: ...on for Beginner Tap on Next bu on into Func onal Descrip on Interface Please understand the func ons of the Con xo F20 App first then tap on the Click bu on You will see a live feed from the drone camera and you will be ready to use your app to record videos take photos view your gallery and enter the VR Headset FPV Viewer VR Headset not included Photos Press this icon to enter the gallery Tap on b...

Page 17: ...ownload the videos into the phone Click the bu on for playback You also can delete the files by pressing the bu on 180 Screen Rota on Press this icon to rotate the orienta on of the camera feed if it is upside down 3D Split Screen Press this icon to enter the 3D VR viewer You will need a VR headset for this feature to work Photo TF Card Viewer To see the photo stored in the microSD card through you...

Page 18: ...which will be stored in the Con xo F20 app within your smartphone RTH Switch Return To Home Icon If a strong GPS signal is available more than 7 satellites displayed on the LCD screen and the Home Point is recorded at takeoff press the RTH icon and select YES The drone will then begin to fly back to the Home Point The icon will turn green when you enter the Auto Return To Home RTH mode Click again t...

Page 19: ... You can set several coordinate points on the map up to 18 points within a valid control distance then click Submit YES The drone will then fly over these coordinate points that you had set up With the le thro le you can also adjust the al tude manually When enabled the icon will turn green Click again to exit and regain control of the drone Follow Me Switch Press the icon and select YES The Follow...

Page 20: ...apidly green Remote controller and drone not successfully paired 15 The front and rear lights of the drone flash yellow red and green alternately and do not change 1 Check to see if the drone is in pairing mode 2 Re calibrate the gyroscope 16 The front and rear lights of the drone flash alternately green 1 Take the compass horizontal calibra on steps 2 The compass of the drone is broken and will nee...

Page 21: ... xo com We are open Mon Fri 9 00 am 4 00 pm PST Technical Support 1 Turn on the Remote Controller while simultaneously pressing the Red Unlock bu on 2 Push down the 1 Key Takeoff Landing bu on and hold it for 3 4 seconds The Remote Controller will send out 3 beeping sounds the indicator light of the Remote Controller turns from flashing quickly to slowly 3 Next fully rotate both the le and right con...

Reviews: