

A Division of Cisco Systems, Inc.
®
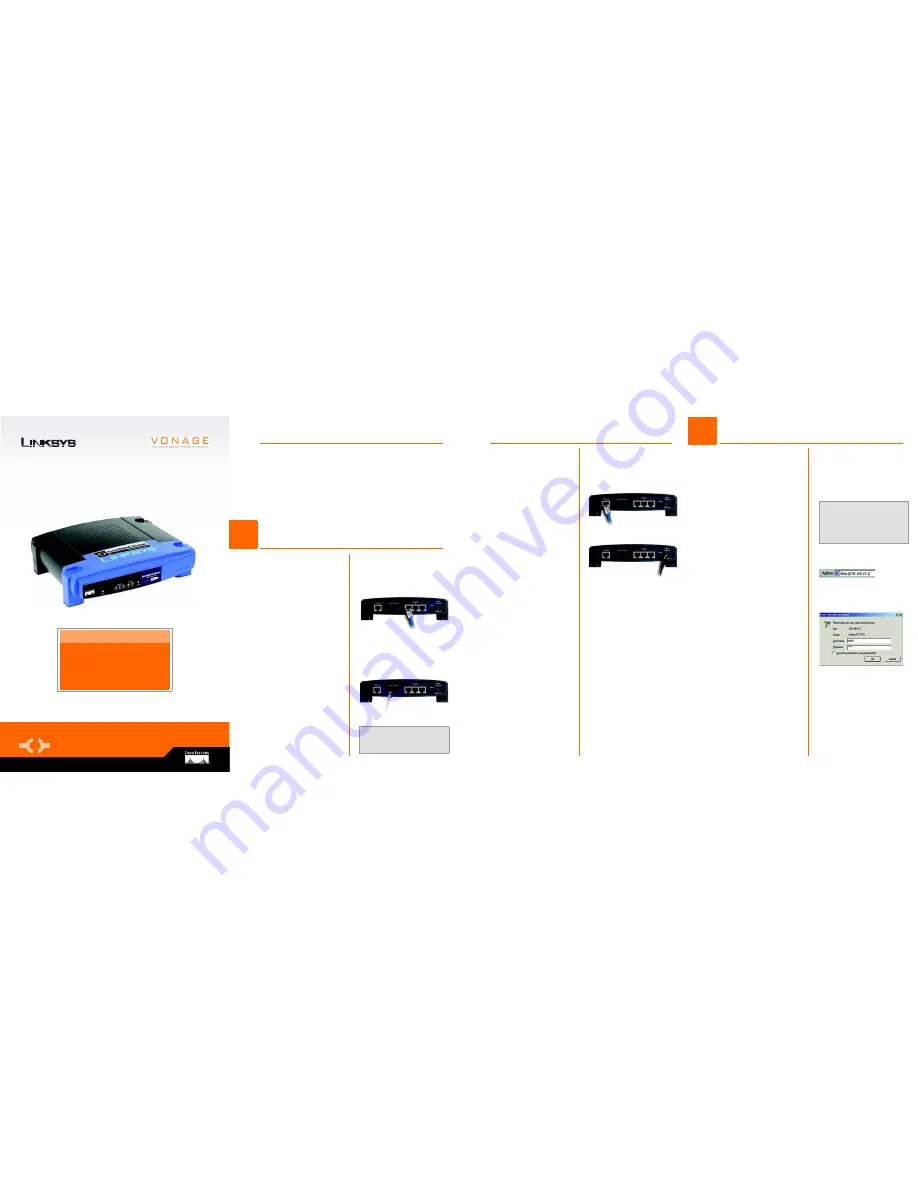
Model No.
Quick Installation
Model No.
WIRED
RT31P2
with 2 Phone Ports
Broadband Router
Package Contents
• Broadband Router with 2 Phone Ports
• Power Adapter
• Setup CD with Installation and Troubleshooting Guide
• Network Cable
• Quick Installation
• Registration Card
• Vonage Service Materials
D
If you have a second Vonage
line, repeat step C to connect
a telephone or fax machine to
the Router’s PHONE 2 port.
E
Connect your cable or DSL
modem’s Ethernet cable to
the Router’s Internet port.
F
Power on the cable or DSL
modem.
G
Connect the included power
adapter to the Router’s Power
port, and then plug the power
adapter into an electrical
outlet.
The Power LED on the front
panel will light up as soon as
the power adapter is
connected properly.
H
Power on the PC you wish to
use to configure the Router.
2
In Step 2, you will need the setup
instructions provided by your Internet
Service Provider (ISP). If you do not
have this information, then contact
your ISP before proceeding.
The instructions from your ISP tell you
how to set up your PC for Internet
access. Because you are now using
the Router to share Internet access
among several computers, you will
use the setup information to
configure the Router instead of
your PC.
A
Open your PC’s web browser.
Enter
http://192.168.15.1
(the
Router’s default local IP
address) in the web browser’s
Address
field. Then press the
Enter
key.
B
A screen will appear and ask
you for a User Name and
Password. Enter
admin
(the
default) in the
User Name
and
Password
fields. (Later you
should set a new password
using the Administration tab’s
Management
screen. This will
help secure access to the
Web-based Utility.)
Then click the
OK
button.
B
A
A
Make sure that all of your
hardware is powered off,
including the Router, PCs, and
cable or DSL modem.
B
Connect one end of an
Ethernet network cable to one
of the numbered ports on the
back of the Router. Connect
the other end to an Ethernet
port on a network device, e.g.,
a PC, print server, or switch.
Repeat this step to connect
more PCs or other network
devices to the Router.
C
If necessary, disconnect the
RJ-11 telephone cable of your
telephone from the telephone
wall jack. Then connect that
end to the Router’s PHONE 1
port.
NOTE:
Make sure your PC’s
Ethernet adapter is set to
obtain
an IP address automatically
. For
more information, refer to
Windows Help.
C
B
There are two ways to configure the Router. Choose one of the following:
• Run the Setup CD-ROM - It is strongly recommended that you use the
Setup CD-ROM. Insert the Setup CD-ROM into the CD-ROM drive, and
follow the on-screen instructions.
•Use this Quick Installation guide - If you wish, you can use the Router’s
Web-based Utility. Proceed to Step 1 of this Quick Installation.
1
Connect the Router
Configure the Router
E
G
NOTE:
Make sure your telephone
is set to its tone setting (not
pulse).


