


Carton Inventory
Overview
The Gate Access Intercom can be used as either a
primary or secondary door and gate access point. It
can be used to control electric gates, entry doors, or
pedestrian doors with electric strikes. The Intercom
uses a secure digital connection that allows it to
operate without interfering with other Intercom
networks.
The Intercom is compatible with various Liftmaster
Wireless Products.
Setup
1
Intercom
Model GAILM
Gate Access Intercom
Bolt (4)
Washer (4)
Nut (4)
Screw (4)
Allen Wrench
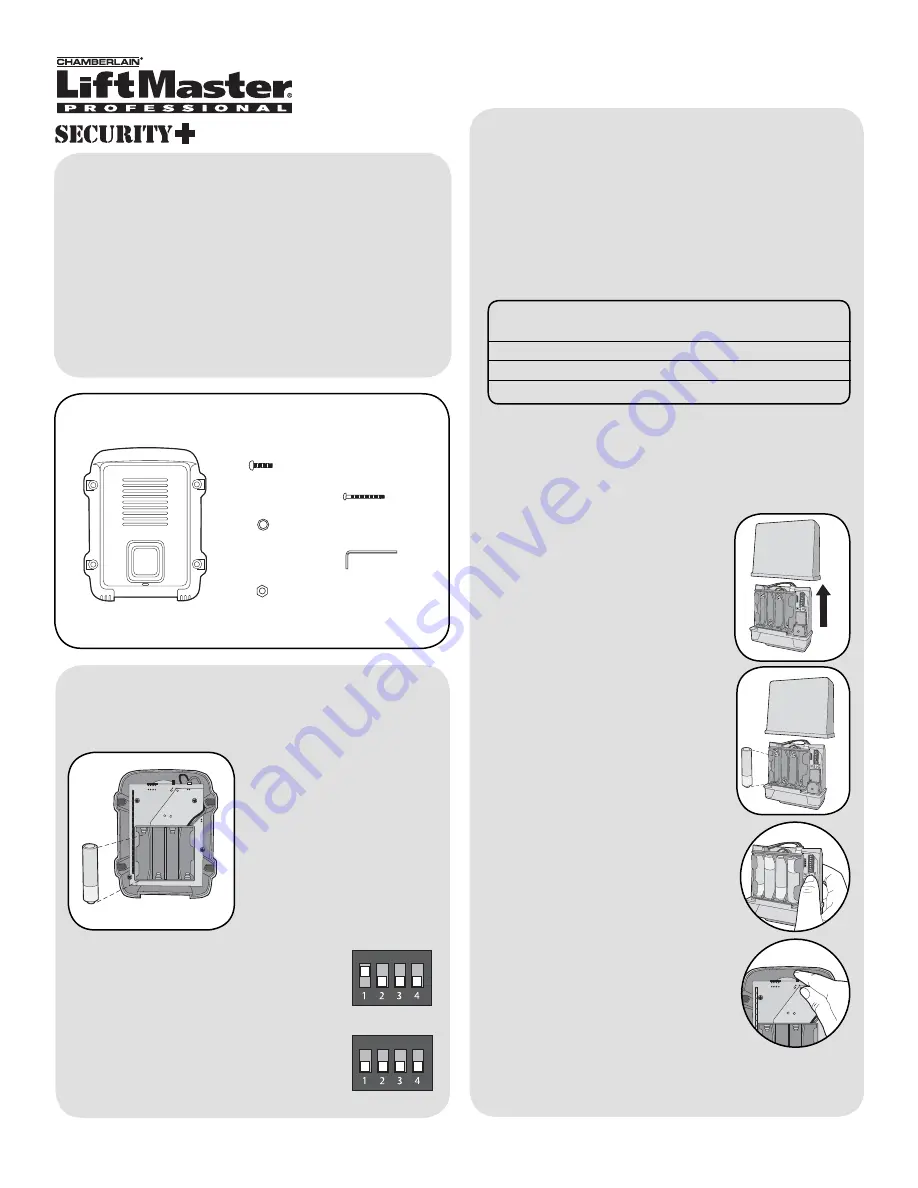
Install 4 AA Alkaline
batteries (not provided).
(Lithium batteries
recommended for colder
environments.)
Install Batteries
Set Dipswitches
Primary Intercom:
Switch #1 is set to
the UP position (default).
Secondary Intercom:
Switch #1 is set
to the DOWN position.
Gate Control Unit (GCU) (not provided)
NOTE:
This step applies only if Intercom is going to
control a gate or electric strike. If not, proceed to
Program Accessories.
Set the Dipswitches on the Intercom to match the
GCU number to be controlled:
Control Dipswitch
Dipswitch
Gate #
#1
#2
1
DOWN
DOWN
2
UP
DOWN
3
DOWN
UP
Refer to GCU manual for GCU Dipswitch settings.
Step 2:
Install 4 AA Alkaline
batteries (not provided). (Lithium
batteries recommended for colder
environments.)
Step 1:
Remove GCU cover.
Step 3:
Press the Learn button on
the GCU for one second. The LED
will light for 20 seconds.
Program Intercom to GCU
Step 4:
Within 20 seconds, press
and hold the Learn button for 10
seconds.
The Intercom will beep and the GCU will
cycle the relay and flash 3 times indicating
programming is successful.
®
NOTE:
If there is already an existing receiver proceed
to
Pre-Installed LiftMaster Receiver
section.
NOTE:
If there is already an existing receiver proceed
to
Pre-Installed LiftMaster Receiver
.


