CDVI Digicode DGA, Installation Manual
The CDVI Digicode DGA is a cutting-edge access control system designed for effortless security. Ensure a smooth installation with our comprehensive Installation Manual, available for free download at manualshive.com. This manual provides step-by-step instructions and troubleshooting guidance, ensuring optimal performance and functionality for your peace of mind.
Share
Download


Reviews:
No comments
Related manuals for Digicode DGA
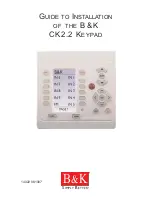
CK2.2
Brand: B&K Pages: 12
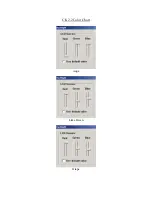
CK2.2
Brand: B&K Pages: 6
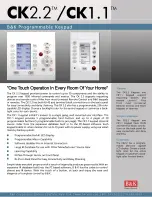
CK1.1
Brand: B&K Pages: 2

K5000
Brand: Hiland Pages: 4

ergo-T
Brand: Ksenia Pages: 8

KP2KTX4-W26
Brand: Neatrol Systems Pages: 2

Key pad
Brand: Egardia Pages: 4

NS-PNK8A01
Brand: Insignia Pages: 2

PROSIXLCDKP-EU Series
Brand: resideo Pages: 4

JA-60F
Brand: jablotron Pages: 3

XL-1 XL4600
Brand: FBI Pages: 16

Agility AGY-010
Brand: Fairford Pages: 8

GEM-RP2AS
Brand: NAPCO Pages: 34

SECURITY M3P13v2
Brand: Iget Pages: 24

CK-M12
Brand: Bosch Pages: 25

ICP-CP4TS
Brand: Bosch Pages: 6

6280 Series
Brand: Honeywell Pages: 32

6280 Series
Brand: Honeywell Pages: 4


