


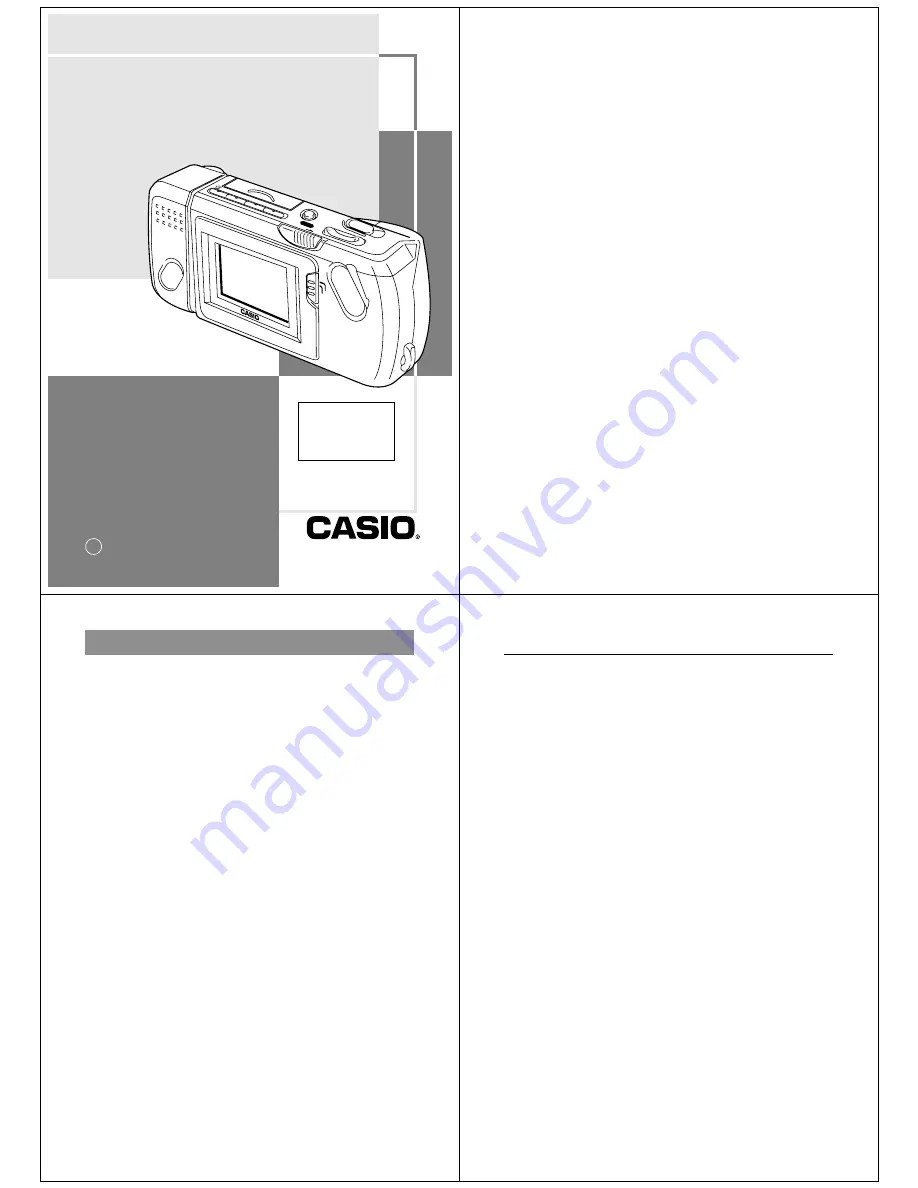
Liquid Crystal Digital Camera
QV-200
Owner’s Manual
英
REC
PLAY
DEL
MODE
DISP
EFFEC
T
PROTE
CT
ON/O
FF
POW
ER
If you need help
with your camera,
please call:
1(800)435-7732
2
Introduction
Congratulations upon your selection of the QV-200 Liquid Crystal
Digital Camera. The QV-200 comes with its own built-in liquid crystal
color monitor that let’s you instantly view the pictures you take.
To get the most out of the QV-200, be sure to carefully read this
manual and follow the instructions contained in it.
3
Contents
Precautions .......................................................... 5
Unpacking ............................................................. 9
General Guide .................................................... 10
Top and Display .................................................................. 10
Lens .................................................................................... 10
Bottom ................................................................................ 11
Terminals ............................................................................ 11
Power Supply ..................................................... 13
To load batteries ................................................................. 13
Using AC Power ................................................................. 17
Recording Images .............................................. 19
To record an image ............................................................. 19
How to avoid hand movement… ......................................... 21
Fluorescent Lighting ........................................................... 21
Infrared Light ....................................................................... 22
Shooting Images Outdoors ................................................. 22
Changing the Lens Orientation ........................................... 22
NORMAL/MACRO Switch .................................................. 24
Resolution Modes ............................................................... 24
Exposure Adjustment .......................................................... 25
Changing the Aperture Setting ........................................... 26
Record Mode Displays ........................................................ 27
Using the Self-Timer ........................................................... 30
Playing Back Images ......................................... 31
Displaying Images on the Camera’s LCD ........................... 31
Displaying Images on a TV Screen .................................... 32
Page Status Indicators ........................................................ 33
Producing a Multi-Page Display .......................................... 34
Using the Zoom Function .................................................... 36
4
Superimposing a Title on an Image .................................... 38
Rotating an Image .............................................................. 42
Filtering an Image ............................................................... 44
Using Auto Play .................................................................. 45
Protecting Memory Pages .................................................. 48
Unprotecting Memory Pages .............................................. 50
Hiding Protected Memory Pages ........................................ 52
Deleting Memory Pages .................................... 53
Deleting Images From Memory .......................................... 53
Resolution Conversion ...................................... 57
Connecting to Other Devices ............................ 58
The camera terminals ......................................................... 58
Using the Camera with a Connected Device ... 59
Troubleshooting ................................................. 66
Specifications ..................................................... 73
About the camera’s backlight… ....................... 75
• CASIO COMPUTER CO., LTD. assumes no responsibility for any
damage or loss resulting from the use of this manual.
• CASIO COMPUTER CO., LTD. assumes no responsibility for any
loss or claims by third parties which may arise through the use of
the QV-200.
• CASIO COMPUTER CO., LTD. assumes no responsibility for any
damage or loss caused by deletion of data as a result of malfunc-
tion, repairs, or battery replacement. Be sure to back up all impor-
tant data on other media to protect against its loss.


