51
OTHER RECORDING FUNCTIONS
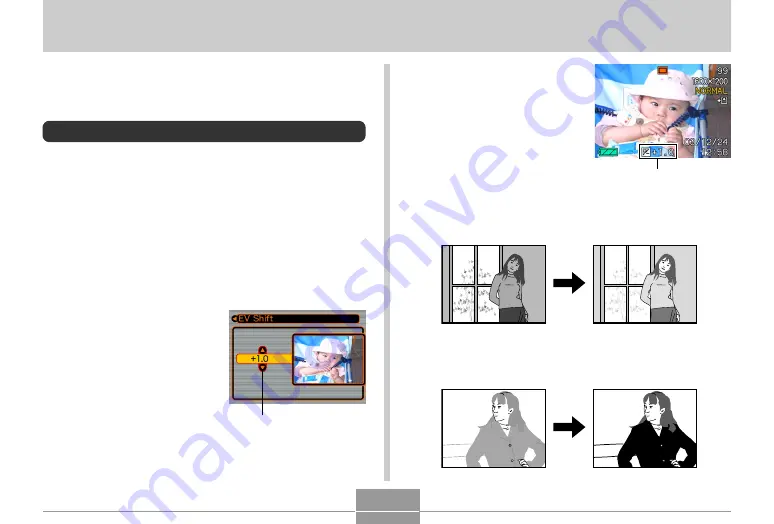
3.
Use [
왖
] and [
왔
] to
change the exposure
compensation value,
and then press [SET].
• Pressing [SET] registers
the displayed value.
[
왖
] : Increases the EV value. A higher EV value is best
used for light-colored subjects and backlight
subjects.
[
왔
] : Decreases the EV value. A lower EV value is best
for dark-color subjects and for shooting outdoors
on a clear day.
OTHER RECORDING FUNCTIONS
This chapter describes the other powerful features and
functions that are available for recording.
Exposure Compensation (EV Shift)
Exposure compensation lets you change the exposure
setting (EV value) manually to adjust for the lighting of your
subject. This feature helps to achieve better results when
recording a backlit subject, a strongly lit subject indoors, or
a subject that is against a dark background.
EV Shift Range: –2.0EV to +2.0EV
Steps: 1/3EV
1.
In the REC mode, press [MENU].
2.
Select the “REC” tab,
select “EV Shift”, and
then press [
왘
].
Exposure compensation
value
EV value