Fn
BL
ABC
DEF
GHI
JKL
MNO
PQRS
BS
Alpha
TUV
WXYZ
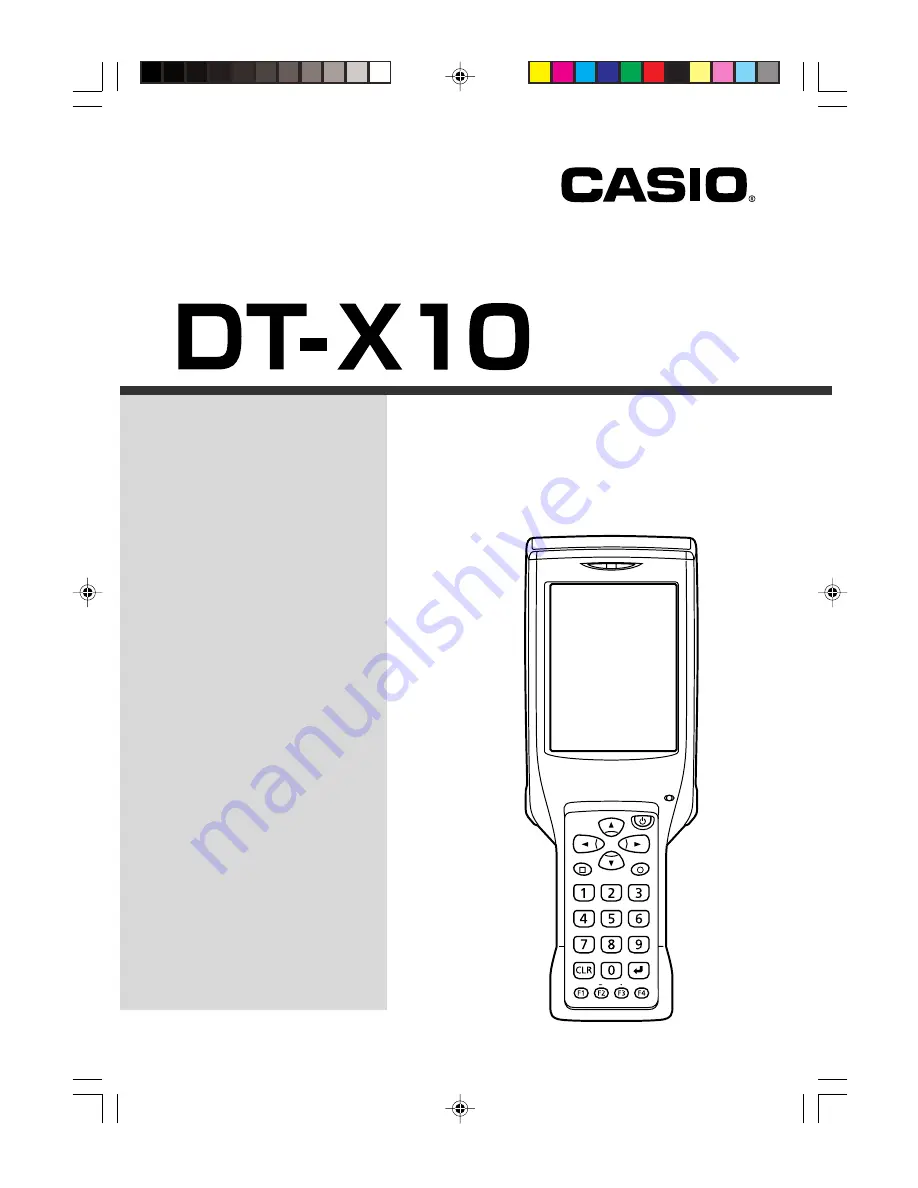
Handheld Terminal
User’s Guide
Series
Be sure to read “Safety
Precautions” inside this
guide before trying to use
your Handheld Terminal.
After reading this guide,
keep it in a safe place for
future reference.
E
PN410369-005
DT-X10_E_Hyo_1_4.p65
05.4.1, 11:03 AM
3