


User documentation consists of two manuals:
Pocket PC User’s Guide
and this booklet. Be sure
to read this manual first.
Be sure to read the Safety Precautions contained in
this manual to ensure proper operation of this
product.
Keep this manual in a safe place for future
reference.
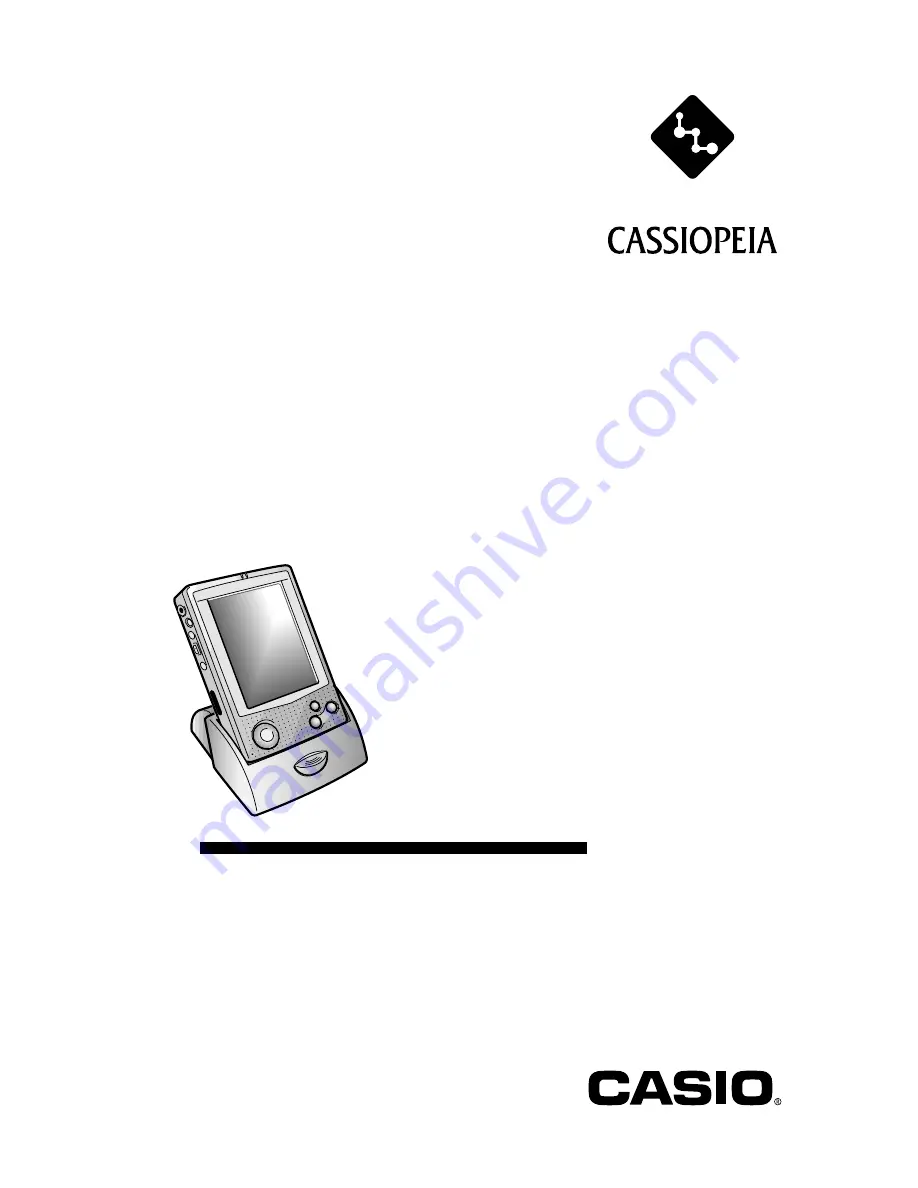
E-125
Getting Started with
the CASSIOPEIA
(Hardware Manual)
E


