Carl Valentin Vario II series, Operating Manual
The Carl Valentin Vario II series Service Manual is a comprehensive user manual designed to assist you in efficiently operating your printer. Available for free download at manualshive.com, this manual provides detailed instructions and troubleshooting tips for maximizing the capabilities of your product.
Share
Download


Reviews:
No comments
Related manuals for Vario II series

CG-217
Brand: Saivod Pages: 20

PROFESSIONAL Series
Brand: CAFÉ ROYAL Pages: 52

Stella di Caffe
Brand: Unic Pages: 2

NESPRESSO VERTUO NEXT
Brand: Breville Pages: 68

FME2404R
Brand: Scotsman Pages: 35

DUALE Series
Brand: La San Marco Pages: 74
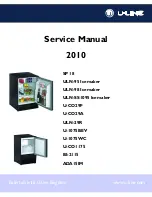
BI95FCB
Brand: U-Line Pages: 66

GEM-120A
Brand: Curtiss Pages: 12

E15IM60GPS
Brand: Electrolux Pages: 4

730160
Brand: Electrolux Pages: 2

1033510
Brand: Brewmatic Pages: 11

AI-215R
Brand: NewAir Pages: 34
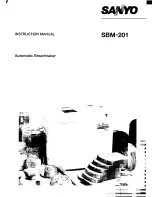
SBM-201
Brand: Sanyo Pages: 24
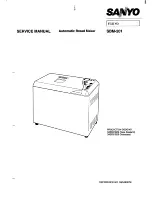
SBM-201
Brand: Sanyo Pages: 30

WM 36377
Brand: Kalorik Pages: 26

CG7212 selecta
Brand: UFESA Pages: 32

0001390346
Brand: Pro-Fondi Pages: 12

B500
Brand: VALERA Pages: 2


