

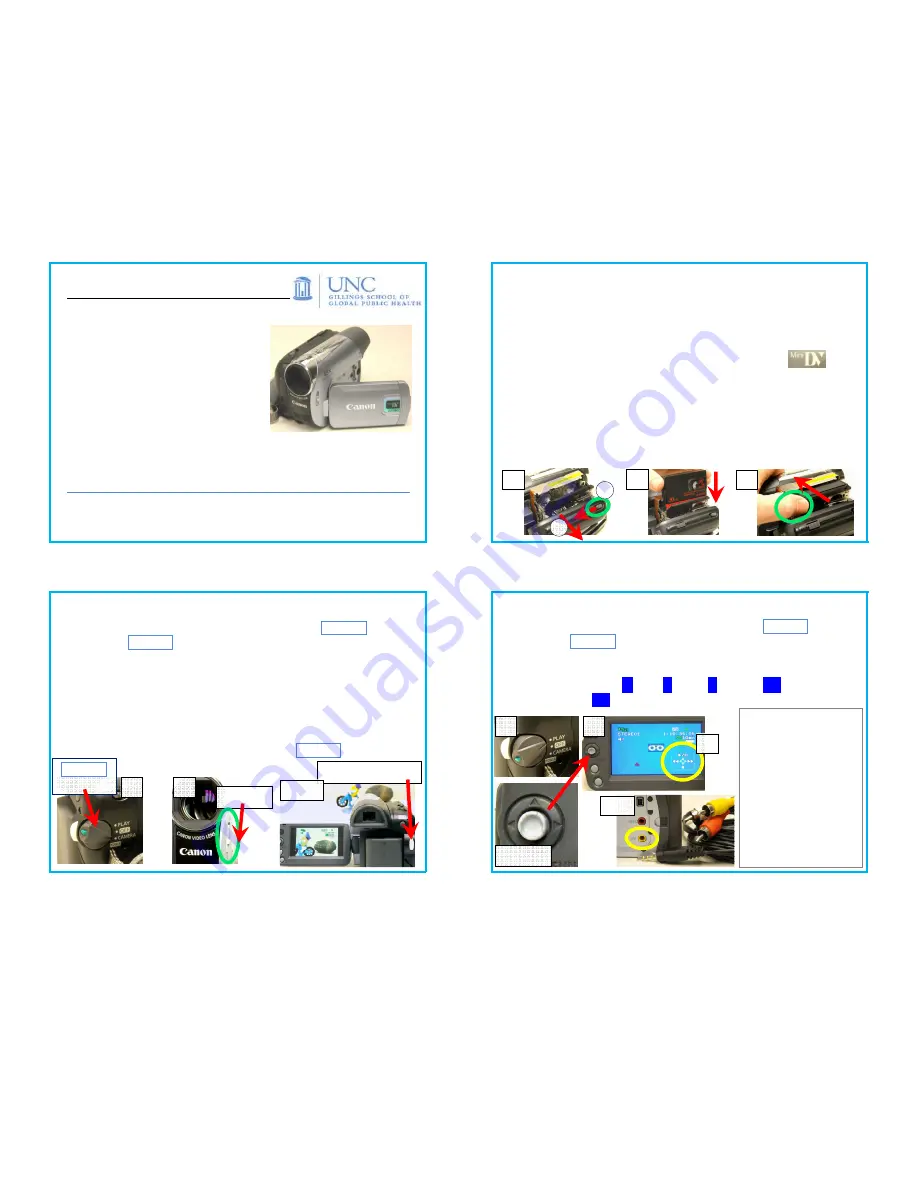
MiniDV Cam: Canon ZR930
Quick Start Guide Index:
p. 2) “AV” Settings; Load DV Tape
p. 3) Record Video
p. 4) Play Video—in Camera; on TV
p. 5) Recharge Battery; AC Power
p. 6) MiniDV to PC—User Transfer
Only
For other ZR930 features, ask AV Services—you may check out
the ZR930 manual.
AV Services: (919) 966-6536, Rosenau 233
Mon.–Fri., 8:00
AM
–5:00
PM
p. 2)
“AV Default” Settings; Load MiniDV Tape
MiniDV cam “AV Default” settings for Canon ZR930:
A)
EASY
(autofocus/exposure); B) Tape speed: SP (Standard); C)
Screen width: Normal/TV; D) Battery record time:
≈
50 minutes
w./full charge); E) Auto Power Off: 5 min.; F) Zoom speed: medium.
Load the miniDV tape; use only tapes labeled with
→
1. A) Slide the
OPEN/EJECT
button, and, as shown, B) tilt the cassette
compartment cover out. The cassette compartment will pop up.
(Note that for this action, you must have battery or AC power.);
2. Gently slide the miniDV tape into the cassette compartment, as shown;
3. Close the cassette compartment only by pushing it closed as shown—
the “push spot” is labeled
PUSH
. (The cassette compartment will then
retract, loading the tape.) Manually close the cover.
p. 3)
Record Video
1. Turn ZR930 on: Hold green “unlock” button on
POWER
switch
and rotate
POWER
switch clockwise to
CAMERA
;
2. Open the lens cover by sliding down the lens cover switch;
3. Open the LCD panel 90° (or, leave closed to use the viewfinder);
4. Aim camera; focus is automatic. For added stability, use a tripod;
5. Start recording—press white start/stop button. Audio level sets
automatically;
6. Stop recording—press the white start/stop button again;
7. If finished, close panel and lens cover; turn
POWER
OFF
.
p. 4)
Play Videotape—in Camera…
1. Turn ZR930 on: Hold green “unlock” button on
POWER
switch
and rotate
POWER
switch counterclockwise to
PLAY
;
2. Open the LCD panel 90°;
3. Joystick image should appear on viewscreen. (If not, press Joystick.)
Use Joystick to Play
►
, Stop
■
, Pause
I I
, Rewind
◄◄
,
and Fast
Forward tape
►►
, as per image on screen.
or on a TV Set
4. Follow steps 1–3 to
set up Cam for play;
5. Connect AV Cable
miniplug to Cam, as
shown;
6. Connect
yellow/white/red
“RCA” plugs to TV;
7. Use Joystick to
control playback.
1
2
B
3
Start/stop button
POWER
switch
Opened
Joystick
1
2
5, 6
A
1
2
3, 4, 5
3


