Canon ZR 800 - Camcorder - 680 KP, Instruction Manual
The Canon ZR 800 Camcorder is a versatile and user-friendly device, ideal for capturing precious memories. With its 680 KP resolution, it delivers excellent video quality. Ensure the optimal usage of this camcorder by downloading the Instruction Manual for free from manualshive.com.
Share
Download


Reviews:
No comments
Related manuals for ZR 800 - Camcorder - 680 KP

LK210
Brand: LOKER RED Pages: 26

DinionHD NBN-932
Brand: Bosch Pages: 44

Dinion HD 1080p
Brand: Bosch Pages: 4
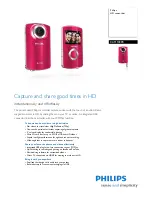
CAM100
Brand: Philips Pages: 3
CAM100
Brand: Philips Pages: 19

128MB-DIGITAL CAMCORDER KEY019
Brand: Philips Pages: 26

68 VKR 43
Brand: Philips Pages: 34

Odyssey7
Brand: Convergent Design Pages: 41

VWIC700
Brand: Vision Works Pages: 6

VC-A61P
Brand: Lumens Pages: 2

IPC2203
Brand: WWAlarm Pages: 8

VIXIA HF W11
Brand: Canon Pages: 28
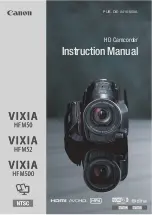
VIXIA HF M52
Brand: Canon Pages: 246

AGHPX255
Brand: Panasonic Pages: 170

VCT-D680RM
Brand: Sony Pages: 2

FDAM1AM - Viewfinder Magnifier
Brand: Sony Pages: 2

ACV-Q50
Brand: Sony Pages: 2

DSR-1600P
Brand: Sony Pages: 468


