Wireless
Windows/Macintosh
• This guide explains how to install the software programs and
briefly introduces their functions and operating procedures.
• Please read the software license agreement in this guide before
using the software. By using the software, you agree to be
bound by the terms of the agreement.
Software & Wireless Guide
[Camera
ÍÎ
Computer]
(For the Canon Digital Camera Solution Disk Version 27)
CDI-E205-010
xx05xxxx
© 2005 CANON INC.
PRINTED IN JAPAN
ENGLISH
Windows
Macintosh
Software &
Wir
eles
s Guide [
Camer
a
Í
Î
Co
mp
uter
] Fo
r V
er
sio
n 27
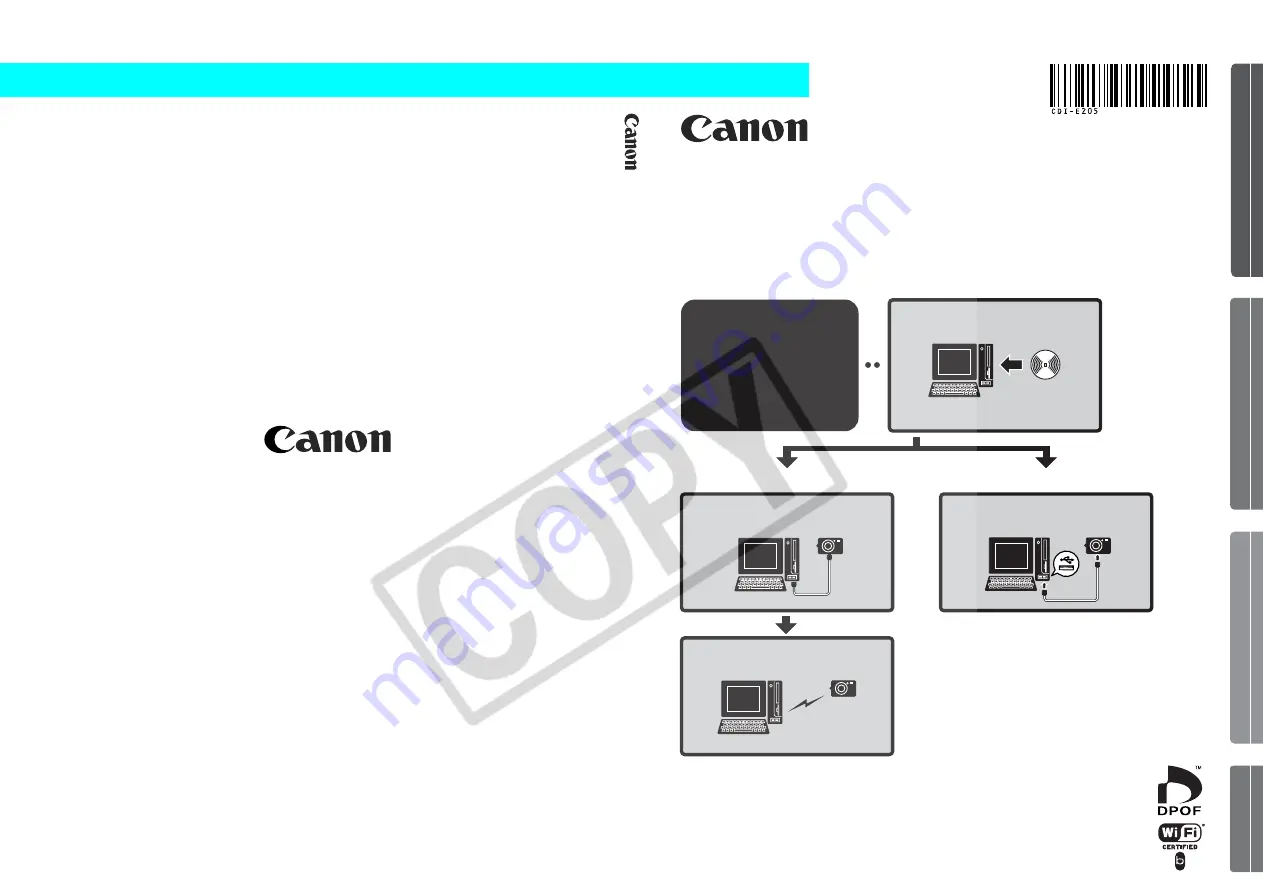
IMPORTANT!
You must install
the software
before connecting
the camera to the
computer.
Start by installing the
software.
Attach the camera to
the computer.
Wireless Connection
Interface Cable Connection
Register the target
device with the camera.
Connect Wirelessly.
Windows (p.13)
Macintosh (p.47)
Windows (p.78)