


Thank you for purchasing this unit. To
make full and effective use of this unit,
please read this Owner's Manual
carefully before operating it. Please
retain this manual for future reference.
w w w.BetterMusicBuilder.com
OWNER'S MANUAL
Better Music Builder
®
is a leader in the Audio and
Karaoke equipment industry. We are committed to
offering you high quality audio products. Unlike any others
brand, we deliver the best cost and value to you directly.
For the latest update information including operation
manuals, installation instructions, hook-up diagram and
other new technologies updates etc. please visit us at our
website w w w.BetterMusicBuilder.com.
Passionate about Music
Better Music Builder .com
®
110421
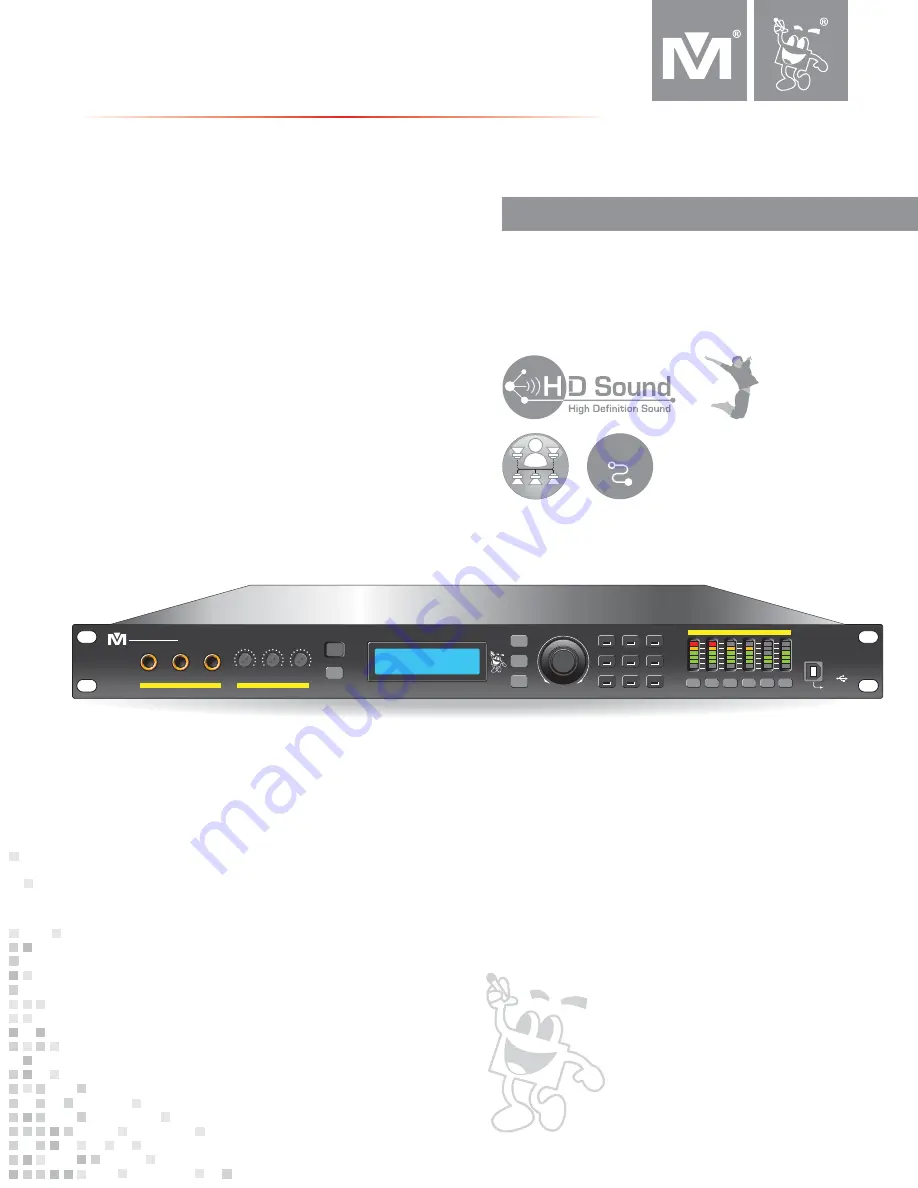
AUDIO VIDEO EFFECTS PROCESSOR
DX-8000
5-CH
ANNE
L
H
IG
H
Q
U
AL
ITY A
UDIO C
ON
N
E
C
T
O
R
XLR
MIC 2
MIC 1
MIC 3
MIC. INPUT
Better Music Builder
®
Passionate about Music
IR
FEEDBACK
AUDIO VIDEO EFFECTS PROCESSOR
DX-8000
High Definition Live Sound
MIC
EFFECT
MUSIC
EQ
GAIN
BACK
DELAY
LIMITER
SYSTEM
POLARITY
X-OVER
PROGRAM
OUTPUT LEVEL
CLIP
LIMIT
0dB
-12dB
-24dB
EDIT
CLIP
LIMIT
0dB
-12dB
-24dB
EDIT
KARAOKE PROCESSOR
PROF AUDIO
ENTER
/
ESC
MIC. VOLUME
MIC 1
/
4
MIC 2
/
5
MIC 3
LEFT
RIGHT
GROUP-A
LEFT
RIGHT
GROUP-B
CENTER
MONITOR
SUB
BASS
Software
Suite
USB
to PC
Summary of Contents for DX-8000
Page 50: ...50 ...


