


Version 0.2
31 July 2013
www.iHome.eu
Quick start:
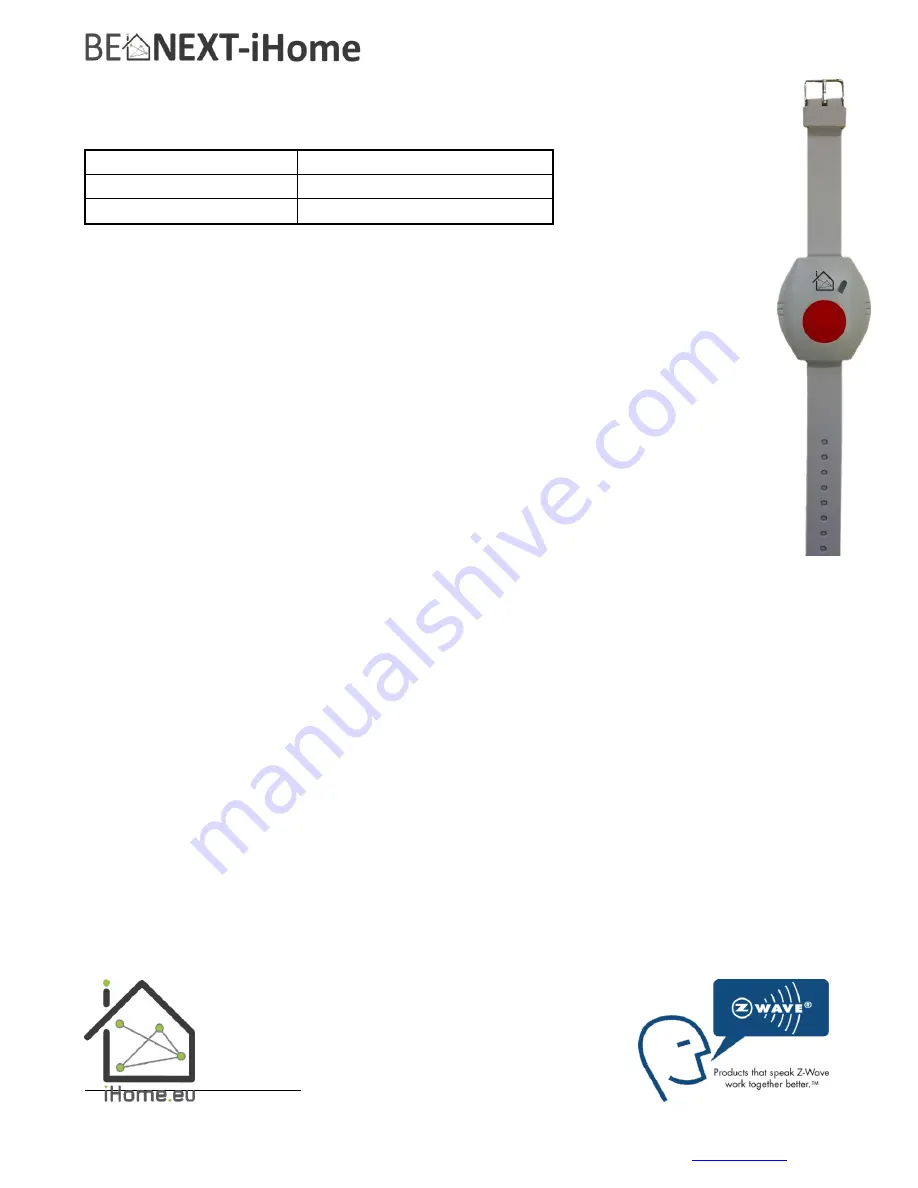
Panic Watch EU
Technical specs
Normal operating voltage
1x CR2032 3V battery
Frequency range
868.42 MHz
Wireless Range
Min 150 meters in a mesh network
Basic operations
-
The
Panic Watch
can trigger any rule or lifestyle.
-
The
Panic Watch
can be configured to your needs.
-
The
Panic Watch is easy to install and configured
.
-
Indoor use only.
-
Water resistant
-
Big red button with time configurable activation time
H
ow it operates
After a successful inclusion the
Panic Watch
can be used.
When pressing a button the led will blink to notice the customer of successful alarm message is sent.
With a controller you can make all different kind of rules and lifestyle changes.
It also possible sent the alarm directly to a Z-Wave based alarm device.
Use
1.
Before use, the
Panic Watch
should be included into a Z-Wave network
and
associated
.
2.
You can Test you
Panic Watch
by pressing the button for 1sec untill the led is turned on. (press time is
configurable)
3.
Don’t forget to update and syncronize your rules in the Internet Gateway.
Include or Exclude in Z-Wave network
1
1.
Press and hold the
SOS
Push Button until the indicator light starts blinking then release the button to
start the inclusion or exclusion process.
(Note: Normally button should be pressed for 2 seconds but in case the product is already included it
can take up to 12 seconds before the indicator light will start blinking.)
2.
When classic inclusion failed, the product will start Network Wide Inclusion automatically.
Force Wakeup Notification
1.
When included press and hold the
SOS
Push Button
for approx. 4 seconds.
1
Make sure your Z-Wave controller is in the correct operation mode (include or exclude).


