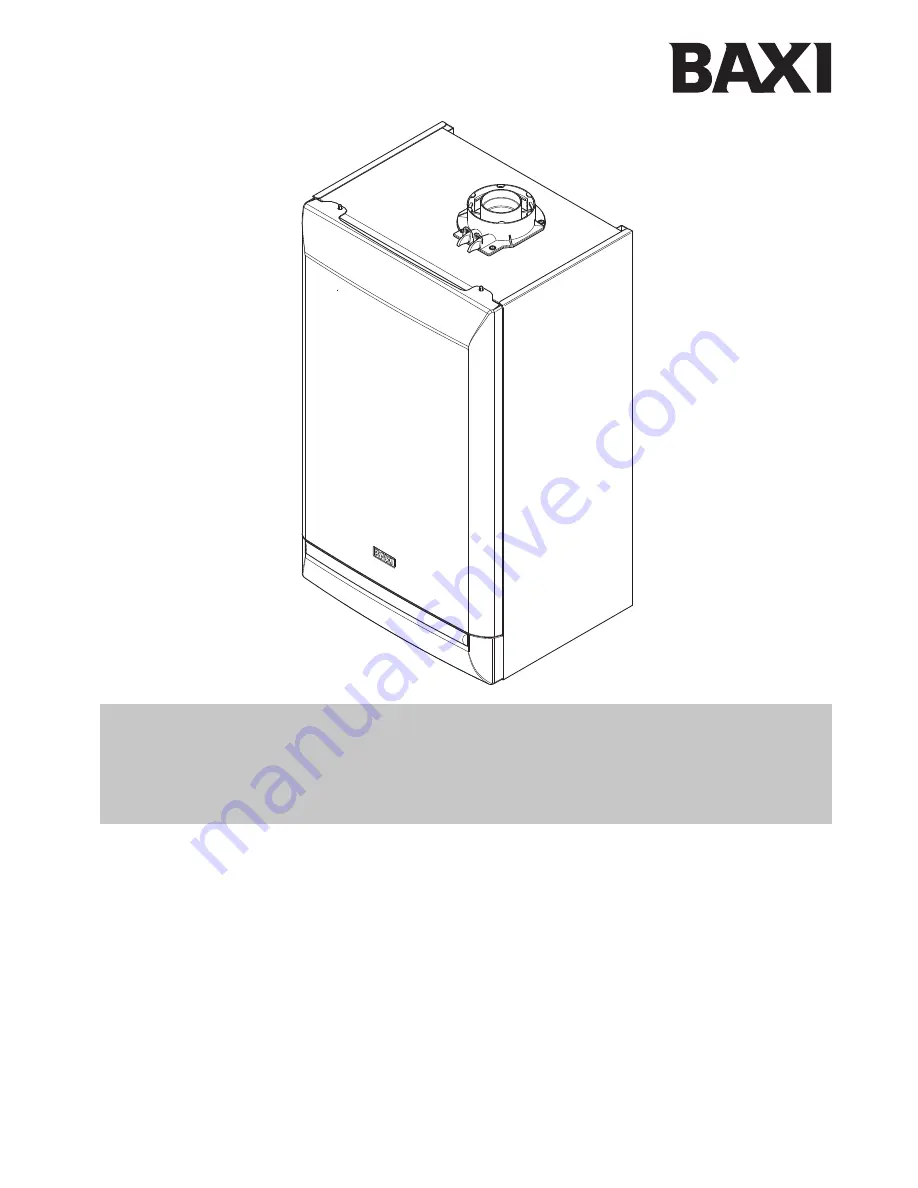
background image

M

Megao System

Installation and Service Manual

Gas Fired Wall Mounted Condensing System Boiler

15 - 18 - 24 - 28 - 32

en

United Kingdom

These instructions include the Benchmark Commissioning Checklist and should be left with the

user for safe keeping. They must be read in conjunction with the Flue Installation Guide.

Summary of Contents for Megaflo System 32 HE A

Page 1: ...red Wall Mounted Condensing System Boiler 15 18 24 28 32 en United Kingdom These instructions include the Benchmark Commissioning Checklist and should be left with the user for safe keeping They must be read in conjunction with the Flue Installation Guide ...

Page 2: ...ecklist Building Regulations England Wales require notification of the installation of a heating appliance to the relevant Local Authority Building Control Department From 1 April 2005 this can be achieved via a Competent Persons Self Certification Scheme as an option to notifying the Local Authority directly Similar arrangements will follow for Scotland and will apply in Northern Ireland from 1 J...

Page 3: ...elevant LABC You must ensure that the certificate number issued by the Gas Safe Register is written onto the Benchmark Checklist Scheme Members only Call Gas Safe Register on 0800 408 5577 or log onto www gassaferegister co uk within 10 days If you notify via the Gas Safe Register the register will issue the Building Regulations certificate on members behalf Complete the Benchmark Checklist Instal...

Page 4: ...ment of water in domestic hot water central heating systems IMPORTANT Installation Commissioning Service Repair This appliance must be installed in accordance with the manufacturer s instructions and the regulations in force Read the instructions fully before installing or using the appliance In GB this must be carried out by a competent person as stated in the Gas Safety Installation Use Regulati...

Page 5: ... clear and unobstructed If possible avoid steps wet or slippery surfaces unlit areas etc and take special care on ladders into lofts Technique When handling or lifting always use safe techniques keep your back straight bend your knees Don t twist move your feet avoid bending forwards and sideways and keep the load as close to your body as possible Where possible transport the boiler using a sack t...

Page 6: ...ons and Fixings 12 6 0 System Details 13 7 0 Site Requirements 15 8 0 Flue Options 20 9 0 Installation 22 10 0 Commissioning 27 11 0 Completion 30 12 0 Servicing 31 13 0 Changing Component 33 14 0 Setting the Gas Valve 40 15 0 Electrical 41 16 0 Short Parts List 42 17 0 Fault Finding 43 18 0 Notes 48 Benchmark Checklist 50 Section Page ...

Page 7: ...of the model serial number and Gas Council number and is situated on the inner door panel It is visible when the case front panel is removed Fig 1 6 The boiler model name and serial number are also shown on the information label on the rear of the lower door panel This is for user reference 7 The boiler is intended to be installed in residential domestic environments on a governed meter supply onl...

Page 8: ...Box 10 Gas Valve 11 Condensate Trap 12 Flame Sensing Electrode 13 Spark Electrode 14 Primary Heat Exchanger 15 Fan Assembly 16 On Off Reset Selector Switch 17 Central Heating Temperature Control 18 Calibration Control 19 Venturi 20 Air Gas Collector 21 Combustion Box Cover Burner 22 Igniter 23 Burner On Light 24 Central Heating Mode Light 25 Display 1 16 17 18 7 bar 0 1 2 3 4 21 2 3 4 5 6 7 8 9 10...

Page 9: ... mode is integral to the appliance and functions when the selector switch see Section 2 1 is in the ON position If the system temperature falls below 5 C then the boiler will fire on its minimum setting until a flow temperature of 30 C is reached Further protection can be incorporated by using a system frost thermostat 3 3 Pump Protection 1 With the selector switch see Section 2 1 in the ON positi...

Page 10: ... 4 2 24 model kW 24 0 6 8 28 model kW 28 0 9 4 32 model kW 32 0 9 4 Electrical Supply 230V 50Hz Appliance must be connected to an earthed supply Power Consumption 15 model 95 W 18 model 105 W 24 model 115 W 28 32 models 125 W Electrical Protection IPX5D Internal Fuse Rating F2L Appliance Category CAT I 2H Inlet Pressure Natural Gas G20 mbar 20 Injector Natural Gas G20 15 model 4 5mm 18 model 5 7mm...

Page 11: ... condensing boilers 30 C for low temperature boilers 37 C and for other heaters 50 C return temperature at heater inlet 2 High temperature regime means 60 C return temperature at heater inlet and 80 C feed temperature at heater outlet See The back cover for contact details Baxi Megaflo System ErP Rated heat output Seasonal space heating energy efficiency Auxiliary electricity consumption Other ite...

Page 12: ...00mm D C B A E G F At least 1 5 H Heating Return 22mm Heating Flow 22mm Pressure Relief Valve 15mm Gas Inlet 22mm 130 mm 130 mm 65 mm Condensate Drain 32 5 mm Tap Rail Dimensions A 780mm B 345mm C 450mm D 116mm Ø Min E 160mm 207mm for 80 125mm flue systems F 145mm G 106mm H 180mm ...

Page 13: ...nox MB 1 which should be used following the inhibitor manufacturer s instructions Full instructions are supplied with the products for further information contact Sentinel 0800 389 4670 or Fernox 0870 870 0362 Failure to flush and add inhibitor to the system will invalidate the appliance warranty It is important to check the inhibitor concentration after installation system modification and at eve...

Page 14: ...le for correct operation for system capacities up to 125 litres For greater system capacities an additional expansion vessel must be fitted For GB refer to BS 7074 Pt 1 For IE the current edition of I S 813 Domestic Gas Installations 6 6 Safety Pressure Relief Valve Fig 4 1 The pressure relief valve is set at 3 bar therefore all pipework fittings etc should be suitable for pressures in excess of 3...

Page 15: ...ng Regulations In IE reference should be made to the current edition of I S 813 Domestic Gas Installations and the current ETCI rules 4 If the boiler is to be fitted into a building of timber frame construction then reference must be made to the current edition of Institute of Gas Engineers Publication IGE UP 7 Gas Installations in Timber Framed Housing This is the MINIMUM recommended dimension Gr...

Page 16: ...the current edition of ETCI rules 2 The mains supply is 230V 50Hz fused at 3A NOTE The method of connection to the electricity supply must facilitate complete electrical isolation of the appliance Connection may be via a fused double pole isolator with a contact separation of at least 3mm in all poles and servicing the boiler and system controls only 3 When the system includes an indirect domestic...

Page 17: ...d with material suitable for external use 9 If the boiler is fitted in an unheated location the entire condensate discharge pipe should be treated as an external run and sized and insulated accordingly 10 In all cases discharge pipe must be installed to aid disposal of the condensate To reduce the risk of condensate being trapped as few bends and fittings as possible should be used and any burrs o...

Page 18: ...ce Heating Element is NOT a substitute for correct installation of the condensate drain ALL requirements in this section must still be adhered to Boiler vi pumped into an external soil vent pipe 2 5 Minimum fall 50mm per metre of pipe run Condensate Pump Unheated Location e g Garage Basement or similar heated Boiler 2 5 Minimum fall 50mm per metre of pipe run Pipe must terminate above water level ...

Page 19: ...ordance with the diagram below Opening Window or Door 150mm MIN IMPORTANT If fitting a Plume Displacement Flue Kit the air inlet must be a minimum of 150mm from any opening windows or doors Plume Displacement Kit Air Inlet Fig 10 Terminal Position with Minimum Distance Fig 9 mm A1 Directly below an opening air brick opening windows etc 300 B1 Above an opening air brick opening window etc 300 C1 Ho...

Page 20: ...culations NOTE Flue length is measured from point X to Y as shown IMPORTANT SUPPORT All flue systems MUST be securely supported a MINIMUM of once every metre It is recommended that every straight piece is supported irrespective of length Additional supports are available as accessories VOIDS Consideration must be given to flue systems in voids and the provision of adequate access for subsequent pe...

Page 21: ...terminal and fixed as illustrated 8 5 Flue Deflector 1 Push the flue deflector over the terminal end It may point upwards as shown or up to 45 either way from vertical Secure the deflector to the terminal with screws provided 8 6 Flue Accessories Fig 12a 1 For full details of Flue Accessories elbows extensions clamps etc refer to the Flue Installation Guide supplied in the literature pack Baxi Hea...

Page 22: ...ate on the wall ensuring it is level both horizontally and vertically 5 Mark the position of the two most suitable fixing slots for the wall plate and boiler lower fixing holes It is preferable to use the vertical fixing slots 6 Mark the position of the centre of the flue hole rear exit For side flue exit mark as shown Fig 15 7 If required mark the position of the gas and water pipes Remove the te...

Page 23: ... least 15mm diameter and run continuously downwards to a discharge point outside the building See section 6 7 for further details 4 Utilising one of the sealing washers connect the discharge pipe to the adaptor and tighten the nut 5 Complete the discharge pipework and route it to the outside discharge point IMPORTANT Make all soldered joints before connecting to the pressure relief valve 9 5 Conde...

Page 24: ...ow This dimension will be known as X Fig 20 5 If the distance from the flue elbow to the outside face of the wall X in Fig 20 is less than 250mm the Connection Assembly can be discarded and the Terminal Assembly fitted directly into the elbow 6 In instances where the dimension X Fig 20 is between 250mm and 315mm it will be necessary to shorten the Terminal Assembly by careful cutting to accommodat...

Page 25: ...ally 13 It is recommended that if the internal trim is being used it is first fitted over the elbow to allow access to the securing screws and then manouvered into place against the wall 14 Draw the flue back through the wall and engage it in the elbow It may be necessary to lubricate to ease assembly of the elbow and flue Fig 25 15 Ensure that the terminal is positioned with the slots to the bott...

Page 26: ...tions supplied with the control IMPORTANT The external control MUST be suitable for 230V switching and fused 3A maximum 6 Remove the link between terminals 1 2 The switched output from the external control must be connected to terminal 2 Fig 29 7 Ensure that the external control input cable s have sufficient slack to allow the control box to drop down Tighten the cable clamp on the boiler chassis ...

Page 27: ...0 Having checked That the boiler has been installed in accordance with these instructions The integrity of the flue system and the flue seals The integrity of the boiler combustion circuit and the relevant seals Proceed to put the boiler into operation as follows 11 The Combustion Check procedure as shown by the chart in 10 2 is mandatory The method of setting the boiler to operate at maximum and ...

Page 28: ...nal flue seals door case seals Replace any seals that appear unsound Is CO 350ppm and CO CO2 ratio 0 004 TURN APPLIANCE OFF Call 0344 871 1525 for advice The appliance MUST NOT be commissioned until all problems are identified and resolved If commissioning cannot be fully completed the appliance must be disconnected from the gas supply in accordance with the GSIUR Note Check record the CO combusti...

Page 29: ...in the maximum rate condition check that the operational working gas pressure at the inlet gas pressure test point Fig 34 is in accordance with B S 6798 B S 6891 7 Ensure that this inlet pressure can be obtained with all other gas appliances in the property working Measure the Gas Rate 8 With any other appliances pilot lights turned OFF the gas rate can be measured It should be between 15 model 1 ...

Page 30: ...e relevant to the appliance and installation These details will be required in the event of any warranty work The publication must be handed to the user for safe keeping and each subsequent regular service visit recorded 4 For IE it is necessary to complete a Declaration of Conformity to indicate compliance with I S 813 An example of this is given in I S 813 Domestic Gas Installations This is in a...

Page 31: ... requirements of BS7927 or BS EN50379 3 and be calibrated in accordance with the analyser manufacturers requirements Competence can be demonstrated by satisfactory completion of the CPA1 ACS assessment which covers the use of electronic portable combustion gas analysers in accordance with BS 7967 Parts 1 to 4 Check the Combustion Performance CO CO2 ratio 4 Set the boiler to operate at maximum rate...

Page 32: ...d cover assembly forward being careful to retain the injector in the venturi Figs 44 45 10 Clean any debris from the heat exchanger and check that the gaps between the tubes are clear 11 Inspect the burner electrodes position and insulation cleaning or replacing if necessary Clean any dirt or dust from the air box 12 Reassemble in reverse order NOTE The sensing pipe must be reconnected to the fan ...

Page 33: ...iter Fig 46 1 Disconnect the igniter feed plug and the electrode leads noting their positions 2 Undo the screw securing the bracket to the boiler 3 Remove the igniter and transfer the bracket to the new component 4 Reassemble in reverse order 13 2 Spark and Sensing Electrodes Fig 47 1 Disconnect the electrode leads noting their positions 2 Remove the retaining screws securing each of the electrode...

Page 34: ... that the injector is in place and the sensing pipe is connected to the fan 13 4 Venturi Fig 49 1 Remove the collector and fan assembly as described in section 13 3 2 Extract the injector from the venturi 3 Undo the screws securing the fan to the venturi and the venturi to the collector IMPORTANT When fitting the new venturi ensure the arrows on it s base point into the collector Fig 50 4 Examine ...

Page 35: ...d cover assembly away 3 Remove the cover insulation piece 4 Fit the new insulation carefully over the burner and align it with the slots for the electrodes 5 If the rear insulation requires replacement remove it and all debris from the heat exchanger Also it may be necessary to separately remove the spring clip from the pin in the centre of the heat exchanger and the L shaped clips embedded in the...

Page 36: ...e Sensor NTC Fig 54 1 Ease the retaining tab on the sensor away and disconnect the electrical plug 2 Unscrew the sensor from it s pocket and reassemble in reverse order The plug will only fit one way 13 11 Safety Thermostat Fig 54 1 Pull the plug off the thermostat 2 Remove the screws securing the thermostat to the mounting plate on the flow pipe 3 Reassemble in reverse order ensuring that the plu...

Page 37: ...otor 2 Undo the two screws securing the body to the pipe and manifold and draw the pump forwards 3 Unscrew the automatic air vent from the pump body 4 Examine the O ring seals on the return pipe and manifold replacing if necessary 5 Fit the air vent to the pump body and reassemble in reverse order 13 15 Automatic Air Vent Fig 58 1 Drain the primary circuit and unscrew the automatic air vent from t...

Page 38: ...barbs from their slots Disengage the rear of the cover from the control box hinge pin Fig 82 3 Note the position of all plugs and wires on the P C B and disconnect them 4 Undo the securing screws and remove the P C B Transfer the control knob drive pins to the new P C B and turn them fully anticlockwise 5 Reassemble in reverse order ensuring that the temperature controllers are reset to their prev...

Page 39: ...xamine the O ring seals replace if necessary 6 Reassemble in reverse order NOTE To assist the boiler to light prior to final setting use a suitable hexagon key to wind out the Throttle Adjustment Screw until it is flush with the valve body then turn the screw 4 full turns clockwise Fig 65 If the boiler will not light or the correct CO2 cannot be achieved contact the heateam technical helpline 13 2...

Page 40: ...o settle Fig 73 The CO2 should be 8 7 0 2 8 It is possible to alter the CO2 by adjustment of the gas valve Remove the plastic cover from the Throttle Adjustment Screw At maximum rate the Throttle Adjustment Screw should be turned using a suitable hexagon key until the correct reading is obtained Fig 74 Turning clockwise will reduce the CO2 Anticlockwise will increase the CO2 9 The CO2 must then be...

Page 41: ... 2 X9 Return Heating Temperature Sensor X400 g g b b Water Pressure Switch 9 8 7 6 5 4 3 2 1 b w X2 X3 X501 1 2 1 2 3 3 4 4 5 5 6 7 8 9 X1 1 2 GasValve Flame Sensing Electrode Pump b br b br b br br b b br r bk r bk Spark Generator Ignition Electrode N L w g or w a b Link bk b g y br Mains Input Cable br b b br X1 X2 X3 Pump PCB 6 Way Connector g y br b 15 1 Illustrated Wiring Diagram ...

Page 42: ... 5121447 315 Igniter Electrode 720222801 316 Sensing Electrode 720222901 415 Pump 7220533 419 Water Pressure Switch 5114748 420 Overheat Thermostat 5114729 421 NTC Sensor 5114725 422 Gas Valve 720514301 434 NTC Sensor Return 5114725 503 PCB 5122457 PCB 18 5122458 PCB 24 720045201 PCB 28 720795401 PCB 32 5122459 504 Pressure Gauge 5118385 522 Pump PCB 7222704 306 315 316 311 422 419 415 302 421 420...

Page 43: ... For example code E133 will be displayed by E1 alternating with 33 E20 is shown as E then 20 E20 and E28 indicate faulty components E110 shows overheat of the primary water and E130 overheat of the flue system E119 is displayed when the primary water pressure is less than 0 5 bar E133 indicates that the gas supply has been interrupted ignition has failed or the flame has not been detected E125 is ...

Page 44: ...flashing Burner does not stay alights after 5 seconds Error 133 flashing Go to section I Operation sequence successful If the error 110 is still flashing Go to section J Fan runs at correct speed YES YES NO NO NO YES YES YES YES YES YES YES YES NO YES YES YES YES NO NO NO NO NO Burner output modulates to maintain the temperature set Burner goes out Go to section C Ensure controls are set to demand...

Page 45: ...t is opened Open the automatic air vent 2 NO C 1 NO YES Fan connections correct at fan PCB X2 connector is 230V AC across terminals 5 7 Fan jammed or faulty winding Replace PCB Replace fan YES D NO Replace water pressure switch Check connection water pressure switch terminal COM NO and PCB connector X400 terminals 3 4 YES Is there 230V at X3 Connection Pump PCB 1 NO YES B Check incoming wiring X2 ...

Page 46: ...230V AC across terminals 1 2 YES NO NO F Replace PCB G Check and correct if necessary 1 Ignition electrode and lead 2 Electrode connection 3 Spark gap and position YES NO Replace igniter YES Check and correct the connection of the tube between the venturi and gas valve 1 2 Voltage at PCB X2 connector is at least 100V DC across terminals 2 5 Note from multimeter connect common to 2 volt to 5 Check ...

Page 47: ...the gas valve Minimum 17mbar I Replace safety thermostat YES NO Overheat thermostat operated or faulty i e continuity across thermostat terminals Allow to cool Continuity across thermostat terminals more than 1 5 ohm J K Fan connections correct at fan PCB X401 connector terminals 5 6 7 8 1 YES Replace fan Temperature sensors faulty Cold resistance approximately 10k 25 C CH sensor 20k 25 C Flue sen...

Page 48: ...48 Baxi Heating UK Ltd 2015 18 0 Notes ...

Page 49: ...49 Baxi Heating UK Ltd 2015 18 0 Notes ...

Page 50: ...equired Thermostatic radiator valves Fitted Not required Automatic bypass to system Fitted Not required Boiler interlock Provided ALL SYSTEMS s instructions Yes What system cleaner was used What inhibitor was used Quantity litres Yes No CENTRAL HEATING MODE measure and record Gas rate m hr OR ft hr Burner operating pressure if applicable mbar OR Gas inlet pressure mbar C Central heating return tem...

Page 51: ...e Company name Telephone No Gas safe register No Record At max rate CO ppm AND CO At min rate Where Possible CO ppm AND CO Comments Signature SERVICE 06 Date Engineer name Company name Telephone No Gas safe register No Record At max rate CO ppm AND CO At min rate Where Possible CO ppm AND CO Comments Signature SERVICE 07 Date Engineer name Company name Telephone No Gas safe register No Record At m...

Page 52: ...ll terms and conditions visit www baxi co uk terms Failure to adhere to terms and conditions will void your manufacturer s warranty Baxi Brooks House Coventry Road Warwick CV34 4LL Please ensure the boiler is installed in accordance with these installation instructions and that you adhere to the Building Regulations e oe All descriptions and illustrations provided in this document have been carefu...

Reviews: