B.W. Machinery BWM PRO 100 Series, User Manual
Discover the B.W. Machinery BWM PRO 100 Series with our comprehensive user manual. Perfect for maximizing your equipment's performance. Download the manual for free directly from manualshive.com. Ensure you have all the guidance needed for optimal usage of this advanced tool with a quick and easy download process.
Share
Download


Reviews:
No comments
Related manuals for BWM PRO 100 Series
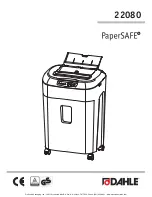
PaperSAFE 22080
Brand: Dahle Pages: 14
Dahle 20304 ES
Brand: Dahle Pages: 10

40334
Brand: Dahle Pages: 2
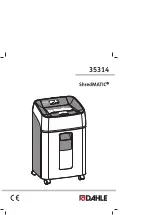
35314
Brand: Dahle Pages: 19

NS-PS12CC-C
Brand: Insignia Pages: 15

24A-45M3000
Brand: MTD Pages: 20

THIS
Brand: The Handy Pages: 12

DUO
Brand: Rexel Pages: 38

Pure 220
Brand: HSM Pages: 117

FD 8400HS
Brand: Formax Pages: 2

SC-3013
Brand: Echo Pages: 34

2445 CC Oil
Brand: IDEAL Pages: 48

DS-700C
Brand: Fellowes Pages: 4

90S
Brand: GBS Pages: 5

61903
Brand: WilTec Pages: 10

5904401901
Brand: Scheppach Pages: 36

WMU 210
Brand: KUHN Pages: 36

BKE 280 SUPER
Brand: KUHN Pages: 72


