background image

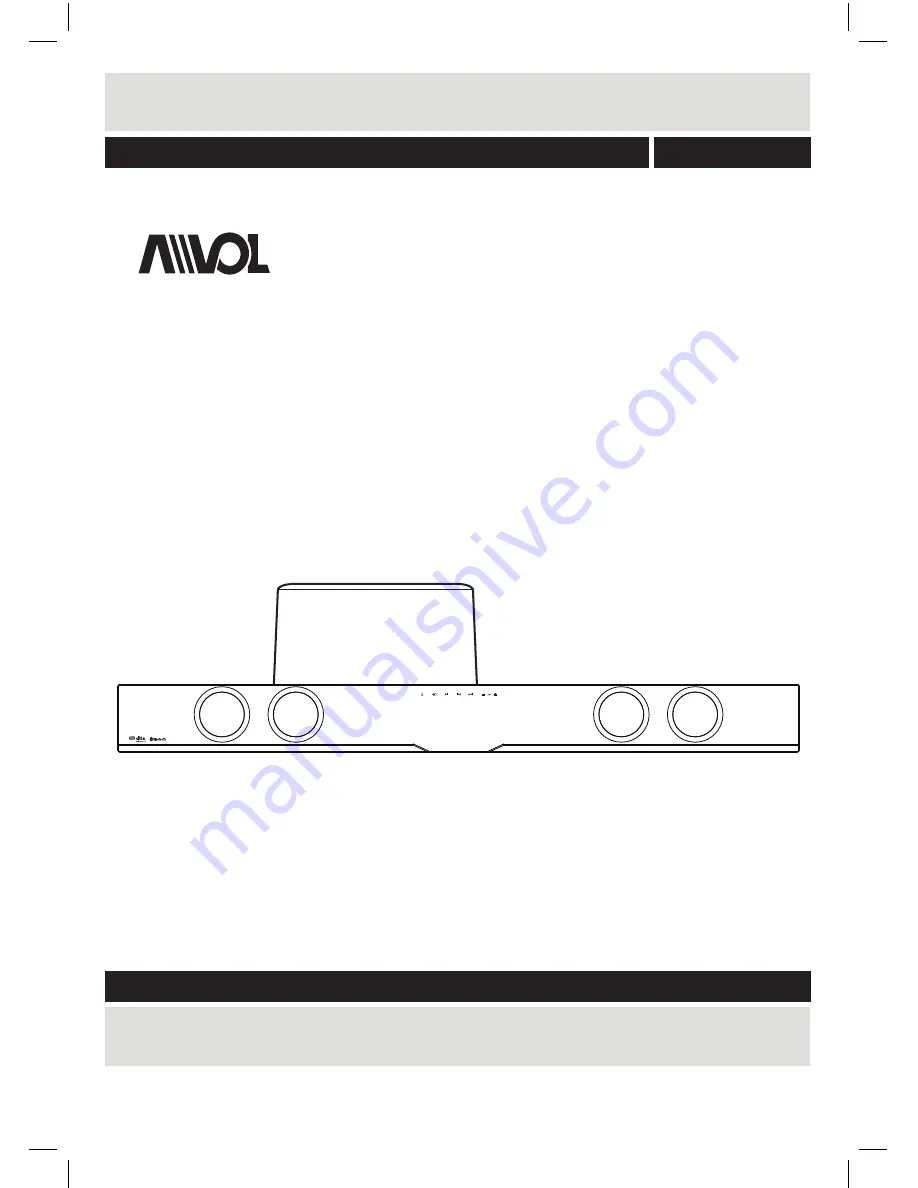
Bluetooth Soundbar System with Wireless Subwoofer

Installation & User Instructions – Please keep for future reference

AS6000BW

Important –

 Please read these instructions fully before installing or using

These instructions contain important information which will help you get the best from your appliance 

and ensure safe and correct installation, use and maintenance. 

Summary of Contents for AS6000BW

Page 1: ...s Please keep for future reference AS6000BW Important Please read these instructions fully before installing or using These instructions contain important information which will help you get the best from your appliance and ensure safe and correct installation use and maintenance ...

Page 2: ...nt 9 Mute function 9 Sleep timer 9 Adjusting the display brightness 9 Bluetooth operation 9 Play audio from USB storage devices 10 Wall mounting the sound bar 11 Troubleshooting Maintenance 12 Troubleshooting 12 Care maintenance 12 Specifications 13 For DTS patents see http patents dts com Manufactured under license from DTS Licensing Limited DTS the Symbol DTS and the Symbol together are register...

Page 3: ...ly use attachments accessories specified by the manufacturer Unplug this apparatus during lightning storms or when unused for long periods of time to prevent damage to this product Refer all servicing to qualified service personnel Servicing is required when the apparatus has been damaged in any way such as liquid has been spilled or objects have fallen into the apparatus the apparatus has been ex...

Page 4: ...5mm audio cable 10 TV AUDIO INPUT RCA Connect the analogue audio output from a TV or other audio source 11 COAXIAL AUDIO INPUT RCA Connect the digital audio output from a TV DVD or Blu ray player 12 OPTICAL AUDIO INPUT Connect the digital audio output from a TV DVD or Blu ray player 9 17 11 12 13 10 AUX OPTC DC IN COAX R L TV 14 START PAUSE or RESUME play in USB mode and Bluetooth mode Skip to the...

Page 5: ...nstalling batteries in the remote 1 Push open the battery compartment on the bottom of the remote control using a fingernail 2 Insert a CR2025 battery into the space taking care to match the polarity symbols correctly 3 Replace the battery compartment Disposal of batteries Dispose of used batteries with regard to the recycling regulations in your area Do NOT short circuit batteries or throw them in...

Page 6: ...old the OPTION button 26 for 3 seconds If the pairing succeeds the indicator on the subwoofer stays blue If the pairing fails the indicator on the subwoofer blinks blue slowly If the pairing fails repeat the steps above DC IN DC IN The wireless subwoofer automatically pairs up with the sound bar for wireless connection when you turn on the sound bar and the subwoofer If no audio from the subwoofer...

Page 7: ...ails about ARC function refer to your TV manual NOTE You may need to activate PCM Downmix on your TV 2 Connection to digital devices using HDMI cable Connect a digital device such as a set top box DVD Blu ray player or games console to your Sound bar using a single HDMI cable and play a file or game the Video is automatically displayed on your TV and Audio is automatically played on your Sound bar...

Page 8: ...VD or Blu ray OPTICAL audio output socket 2 Connect the other end to the OPTC input on the side of the Sound bar 12 NOTE You may need to activate PCM Downmix on your source device EG TV DVD or Blu ray player 6 Connection to a TV using the RCA 3 5mm audio cable 1 Connect the 3 5mm small end of the cable to the TV headphone 3 5mm audio output socket 2 Connect the other RED WHITE ends to the TV input...

Page 9: ...dio output General operation Switching inputs Follow the below steps to switch inputs between TV Auxilliary Coaxial Bluetooth Optical or USB 1 Ensure the Sound bar is powered ON If not press the STANDBY button 1 or remote 23 2 Press the SOURCE button 2 22 repeatedly until you reach the required input mode Switching inputs cont TV input TV Auxilliary input AUX Coaxial input COAX Bluetooth input BT ...

Page 10: ...ouched for 2 seconds and the timer will begin the countdown Sleep timer cont 4 When the timer elapses the STANDBY mode will be activated Adjusting the display brightness 1 Press the DIM button 28 repeatedly to cycle through the 3 brightness states LOW MED HIGH Bluetooth operation NFC Compatible Smart phone Pairing a Bluetooth device Before you can use the sound bar with your phone or otherBluetoot...

Page 11: ...e Skip to the next previous file Play repeatedly or randomly D 4 or 24 31 to go to the next file or uring playback press or Press Option 26 on remote repeatedly the display will be changed in the following order repeat repeat all random normal Press 3 Unit or 21 Remote During playback press To Do this Note Enjoy audio on a USB storage device such as an MP3 player and USB flash memory etc What you ...

Page 12: ...lowing 5mm between screw head wall 4 Hook the Sound bar into the screws For secure mounting ensure the screw heads slide firmly into the narrow part of the brackets Wall mounting advice TV In order to avoid damage to the equipment and personal injury you should get a qualified person to drill the fixing surface and fit the appropriate wall fixings Take care not to allow the main unit to fall while atte...

Page 13: ...the remote directly at the Sound bar Unit powers off after 20 minutes This unit is designed to enter STANDBY mode automatically after 20 MINUTES of inactivity Press the STANDBY button to wake the unit Care maintenance Important Always unplug the appliance from the power socket during cleaning and maintenance Ensure the unit is switched off and unplugged from any electrical outlet Wipe the case wit...

Page 14: ...requency response 35 250Hz Dimensions Soundbar 900 x 90 x 60mm 35 43 x 3 54 x 2 36 Subwoofer 264 x 251 x 274mm 10 39 x 9 88 x 10 79 Cable length 1 5m Remote control Battery 1 x CR2025 Bluetooth Bluetooth compatibility EDR A2DP AVRCP Bluetooth version 2 1 We apologise for any inconvenience caused by any minor inconsistencies in these instructions which may occur as a result of product improvements ...

Page 15: ... WARRANTY PERIOD Asiaventurelink Co Ltd will repair or replace without charge at its option your product which proves to be defective in material or workmanship under normal use during the warranty period listed below from the date of original purchase No other express warranty is applicable to this product The duration of any implied warranties including the implied warranty of merchantablility i...

Reviews: