Avision BS-0801S, User Manual
The Avision BS-0801S User Manual is your essential guide to efficiently operate your device. This comprehensive manual is available for free download from our website, providing step-by-step instructions and troubleshooting tips to ensure optimal performance. Unlock the full potential of your product with this indispensable manual. Visit manualshive.com now.
Share
Download


Reviews:
No comments
Related manuals for BS-0801S

P50
Brand: Youkey Pages: 83

BC250D
Brand: Uniden Pages: 110

IRISPEN EXECUTIVE 6-MAC
Brand: I.R.I.S. Pages: 58

7761-K154
Brand: NCR Pages: 6
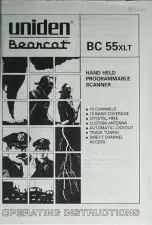
Bearcat BC 55XLT
Brand: Uniden Pages: 20

3D Scanner
Brand: Scoobe3D Pages: 13

Tech2
Brand: GMC Pages: 145

6564
Brand: Guildline Pages: 39

FS71
Brand: Magnasonic Pages: 20

2000U/P
Brand: UMAX Technologies Pages: 120

imageFORMULA CR-190i
Brand: Canon Pages: 61

CanoScan LiDE400
Brand: Canon Pages: 8

TC1200-1 00 Series
Brand: Datalogic Pages: 2

DS4600A-2 Series
Brand: Datalogic Pages: 12

Jade X7
Brand: Datalogic Pages: 16

Heron D140
Brand: Datalogic Pages: 19

DS41-X0
Brand: Datalogic Pages: 53

Falcon 4410
Brand: Datalogic Pages: 240


