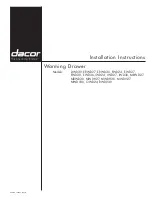
background image

www.avenview.com 


RKVM Series


User’s Guide


Models 
RKVM-N17, RKVM-N19 Series 

- With KVM options 


Models 
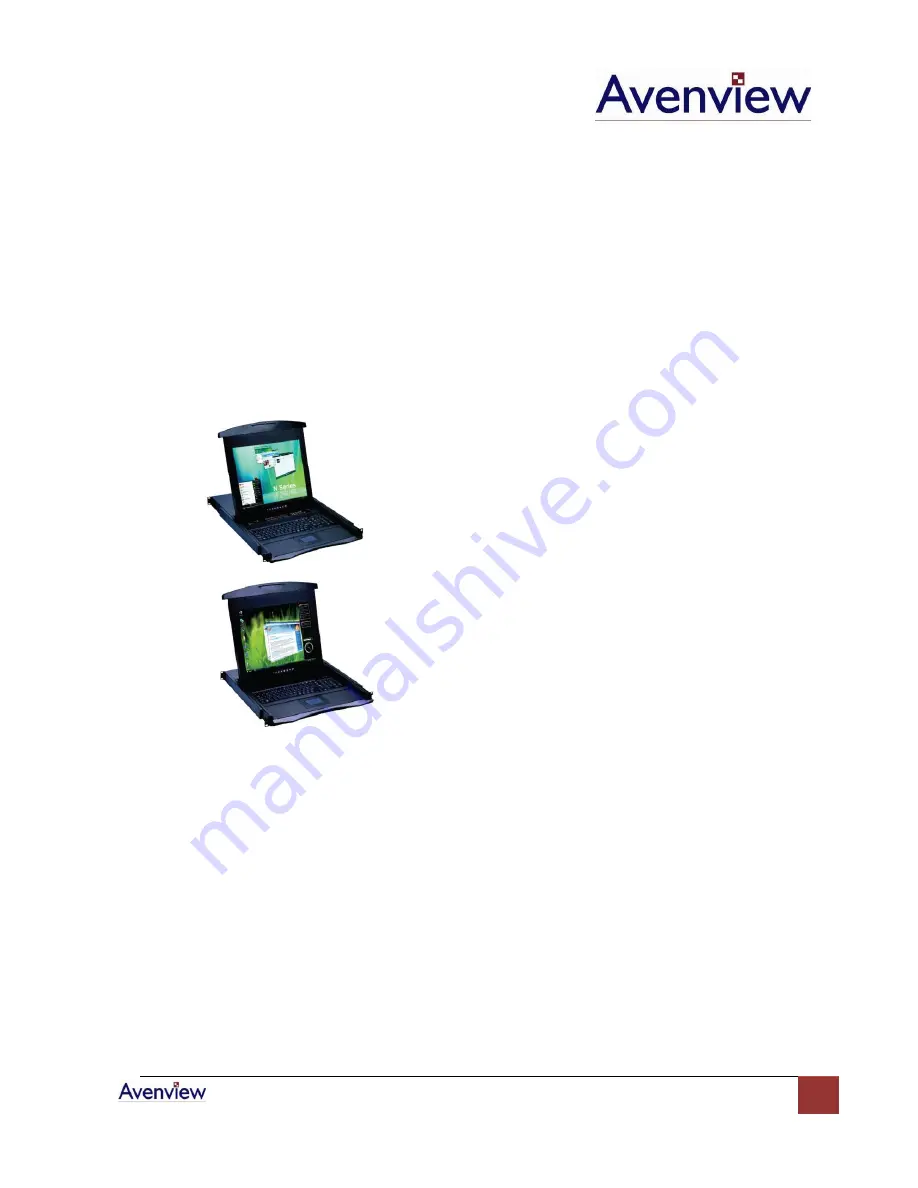
RKVM-17-SD, RKVM-19-SD Series 

- Short depth version   
- Without KVM options


© 2007 

Avenview Inc.

 All rights reserved.   

The contents of this document are provided in connection with Avenview Inc. (“Avenview”) products. Avenview makes no representations 
or warranties with respect to the accuracy or completeness of the contents of this publication and reserves the right to make changes to 
specifications and product descriptions at any time without notice. No license, whether express, implied, or otherwise, to any intellectual 
property rights is granted by this publication. Except as set forth in Avenview Standard Terms and Conditions of Sale, Avenview assumes 
no liability whatsoever, and disclaims any express or implied warranty, relating to its products including, but not limited to, the implied 
warranty of merchantability, fitness for a particular purpose, or infringement of any intellectual property right.   

Reproduction of this manual, or parts thereof, in any form, without the express written permission of Avenview Inc. is strictly 
prohibited.   

Summary of Contents for RKVM-17-SD Series

Page 1: ...changes to specifications and product descriptions at any time without notice No license whether express implied or otherwise to any intellectual property rights is granted by this publication Except as set forth in Avenview Standard Terms and Conditions of Sale Avenview assumes no liability whatsoever and disclaims any express or implied warranty relating to its products including but not limited...

Page 2: ...e N Series LCD Keyboard Drawer 10 1 12 How to Use the Slides 11 1 13 How to Install One Man Installation Slides 12 1 13 1 Package Contents 12 1 13 2 Install the Front Mounting Ear x 2 pcs 12 1 13 3 Install into Rack 13 1 14 Connect to Server via USB Interface 14 1 15 Connect to KVM via USB Interface 14 1 16 Connect to Server via PS 2 Interface 15 1 17 Connect to KVM via PS 2 Interface 15 Section 2...

Page 3: ...www avenview com 3 4 1 KVM Options 21 4 2 DVI D Option 21 4 3 S Video RCA Input Option 21 4 4 S Video BNC Input Option 22 4 5 DC Power Option 22 Section 5 Troubleshooting 23 Section 6 Dimensions 24 ...

Page 4: ...misuse neglect fire water lightning or other acts of nature unauthorized product modification or failure to follow instructions supplied with the product Repair or attempted repair by anyone not authorized by us Any damage of the product due to shipment Removal or installation of the product Causes external to the product such as electric power fluctuation or failure Use of supplies or parts not m...

Page 5: ... spilled on to the power supply or on other hardware may cause damage fire or electrical shock Only qualified service personnel should open the chassis Opening it yourself could damage the equipment and invalidate its warranty If any part of the equipment becomes damaged or stops functioning have it checked by qualified service personnel 1 3 Regulatory Notices Federal Communications Commission FCC...

Page 6: ...able from 270mm to 870mm RKVM 19 mounting depth adjustable from 390mm to 920mm RKVM 15 SD RKVM 17 SD mounting depth adjustable from 110mm to 710mm RKVM 19 SD mounting depth adjustable from 150mm to 750mm 4 CB 6 2 in 1 USB keyboard cable x 1 pc or CD 6 3 in 1 PS 2 keyboard cable x 1 pc 5 User manual x 1 pc 6 Power cord x 1 pc 7 Auto Switch power adapter for external power version x 1 pc ...

Page 7: ... 1 6 Unpacking The LCD Keyboard Drawer comes with the standard parts shown on the package contents Check and make sure they are included and in good condition If anything is missing or damage contact the supplier immediately 1 7 Optional Accessories PS 2 3 in 1 KVM cable CD 6 6 feet CD 10 10 feet CD 15 15 feet CD 33 33 feet USB 2 in 1 KVM cable CB 6 6 feet CB 10 10 feet CB 15 15 feet SUN iMAC USB ...

Page 8: ...at5 KVM 16 32 port high density Cat5 KVM KVM Extender IP KVM extender Cat5 PS 2 KVM Extender Cat5 USB KVM Extender 1 9 Structure Diagram 1 Carry handle to release the 2 pt lock 2 2 point lock 3 LCD interchangeable module kit 4 LCD membrane 5 Adjustable rear mounting L bracket 6 Micro switch for screen auto power off 7 Membrane switch KVM Option 8 Keyboard interchangeable module kit 9 Mouse interch...

Page 9: ...e fasteners slightly loose Figure 2 Measure the front and rear mounting depth of the rack Align each rear L bracket to a suitable length and tighten the fasteners shown in Figure 2 Figure 3 Fix the LCD keyboard drawer into the rack Hardware screws and cage nuts for fixing the mounting bracket to the rack is not provided ...

Page 10: ...se N Series LCD Keyboard Drawer Figure 4 Gently pull the tab toward the front of the LCD shown in Figure 4 Figure 5 Flip up the LCD to a suitable angle as shown in Figure 5 Figure 6 Operate the LCD keyboard drawer as shown in Figure 6 ...

Page 11: ...of each slide as shown in Figure 7 Figure 8 Push the white arrow button on either side of the LCD keyboard drawer to unlock as shown in Figure 8 Avoid pressing the red button located on either side Figure 9 Hold down the white arrow button until the LCD keyboard drawer is located in the rack as shown in Figure 9 ...

Page 12: ...nt mounting ear left right x 2 pcs 3 Support bracket x 4 pcs 4 M6 cage nut x 8 pcs 5 M6 washer x 8 pcs 6 M6 15mm screw x 8 pcs 7 M3 2 4 5mm screw x 14 pcs 1 13 2 Install the Front Mounting Ear x 2 pcs Disassemble the standard front mounting ears carefully Install the optional front mounting ears with M3 2 4 5mm screw x 8pcs ...

Page 13: ...screws slightly loose Attach left and right front mounting ears to vertical rails Tighten the screws Attach the support brackets to chasis with M3 2 4 5mm screws x 6 pcs Installation complete Pickup the unit Insert inner members of slides into the already mounted internal slide members in the rack Model No NBK 01 ...

Page 14: ...1 15 Connect to KVM via USB Interface Figure 11 Example of connecting CD 6 2 in 1 USB KVM cable to KVM via USB Interface RKVM N17 SD RKVM N19 SD Series are external power versions The above connection is only for the LCD keyboard without KVM switch built in For the LCD keyboard drawer with KVM switch built in please refer to KVM switch user manual ...

Page 15: ...1 17 Connect to KVM via PS 2 Interface Figure 7 Example of connecting CD 6 3 in 1 PS 2 KVM cable to KVM via PS 2 Interface RKVM N17 SD RKVM N19 SD Series are external power versions The above connection is only for the LCD keyboard without KVM switch built in For the LCD keyboard drawer with KVM switch built in please refer to KVM switch user manual ...

Page 16: ...Function Power light Green On Orange Power saving Power on off LCD Display the OSD menu Scrolls through menu options and adjusts the displayed control Exit the OSD screen Shortcut key to auto adjustment by pressing the button for 5 seconds or Toggle analog digital video connection DVI D and video options only ...

Page 17: ...d during the process PHASE CLOCK Phase Clock To enter into the Phase Clock sub menu H V POSITION H V Position Align the screen image left or right and up or down MISC Information Display the current resolution refresh rate and frequency information on the screen OSD Timer Set the time duration in seconds that the OSD is visible after the last button is pressed The factory default is 10 seconds Col...

Page 18: ...played during the process H Position Align the screen image left or right V Position Align the screen image up or down Clock Adjust the clock value Phase Adjust the phase value 3 Function OSD Position Adjust OSD menu horizontal and vertical position OSD Zoom Adjust the difference between the image background black level and the foreground white level Color Temp Select the screen color 5500K 6500K ...

Page 19: ...4 60 70 75 Hz Plug Play DDC EDID 1 3 Console Port Combo 3 in 1 DB 15 connector for VGA keyboard mouse Support USB PS 2 servers or KVM Switches Power Input Auto sensing 100 to 240VAC 50 60Hz Power Consumption Max 40 Watt Standby 5 Watt Compatibility Multi platform Mix PCs SUNs IBMs HPs DELLs Regulation Approval FCC CE Options KVM Integration Cat5 DB 15 KVM with IP console and 2 console selection Ke...

Page 20: ...www avenview com 20 3 1 Keyboard Mouse Supporting layouts N keyboard integrated with touchpad N keyboard integrated with Trackball ...

Page 21: ...n with cost efficient DB 15 KVM integration with either 8 or 16 ports Please ask your supplier for full KVM details 4 2 DVI D Option Internal power version DVI D 3 in 1 VGA KB mouse console port External power version Package includes a 6 DVI D cable The depth of RKVM 17 SD RKVM 19 SD will be extended from 480mm 18 9 to 520mm 20 5 4 3 S Video RCA Input Option External power version Package include...

Page 22: ...g Input Voltage 12 Volt 24 Volt 48 Volt Input Rage 9 18V 18 36V 36 75V Input Current No Load 50 mA 50 mA 50 mA Full Load 4950 mA 2450 mA 1220 mA Output Rating Output Voltage 12 Volt 12 Volt 12 Volt Output Current 4 16A 4 16A 4 16A Efficiency 84 85 85 Package does not include power cord and AC power adapter Internal power version S Video BNC 3 in 1 VGA KB mouse console port ...

Page 23: ...ing the phase or pixel rate automatically or normally The membrane button power light is not ON Pres the Power ON OFF on LCD membrane button to check if the monitor is in the ON mode Check to see if the power cord is properly connected to the LCD keyboard drawer and power outlet Screen image is not centered or sized properly Press the button for two seconds to automatically adjust the image Adjust...

Page 24: ...56 x 168 mm 22 2 x 33 7 x 6 8 in 16kg 35lb 22kg 48lb RKVM N19 442 x 600 x 44 mm 17 4 x 25 6 x 1 73 in 589 x 856 x 168 mm 22 2 x 33 7 x 6 8 in 17kg 37lb 23kg 51lb RKVM N17 SD 442 x 480 x 44 mm 17 4 x 18 9 x 1 73 in 581 x 705 x 175 mm 22 9 x 27 8 x 6 9 in 15kg 33lb 19kg 42lb RKVM N19 SD 442 x 480 x 44 mm 17 4 x 18 9 x 1 73 in 581 x 705 x 175 mm 22 9 x 27 8 x 6 9 in 16kg 35lb 20kg 44lb ...

Page 25: ...patory profits or for punitive incidental or consequential damages in connection with the furnishing performance or use of the Avenview hardware software or other products and documentation provided herein Avenview Inc reserves the right to make changes without further notice to a product or system described herein to improve reliability function or design With respect to Avenview products which t...

Reviews: