


ATR2500-USB
Instruction Manual
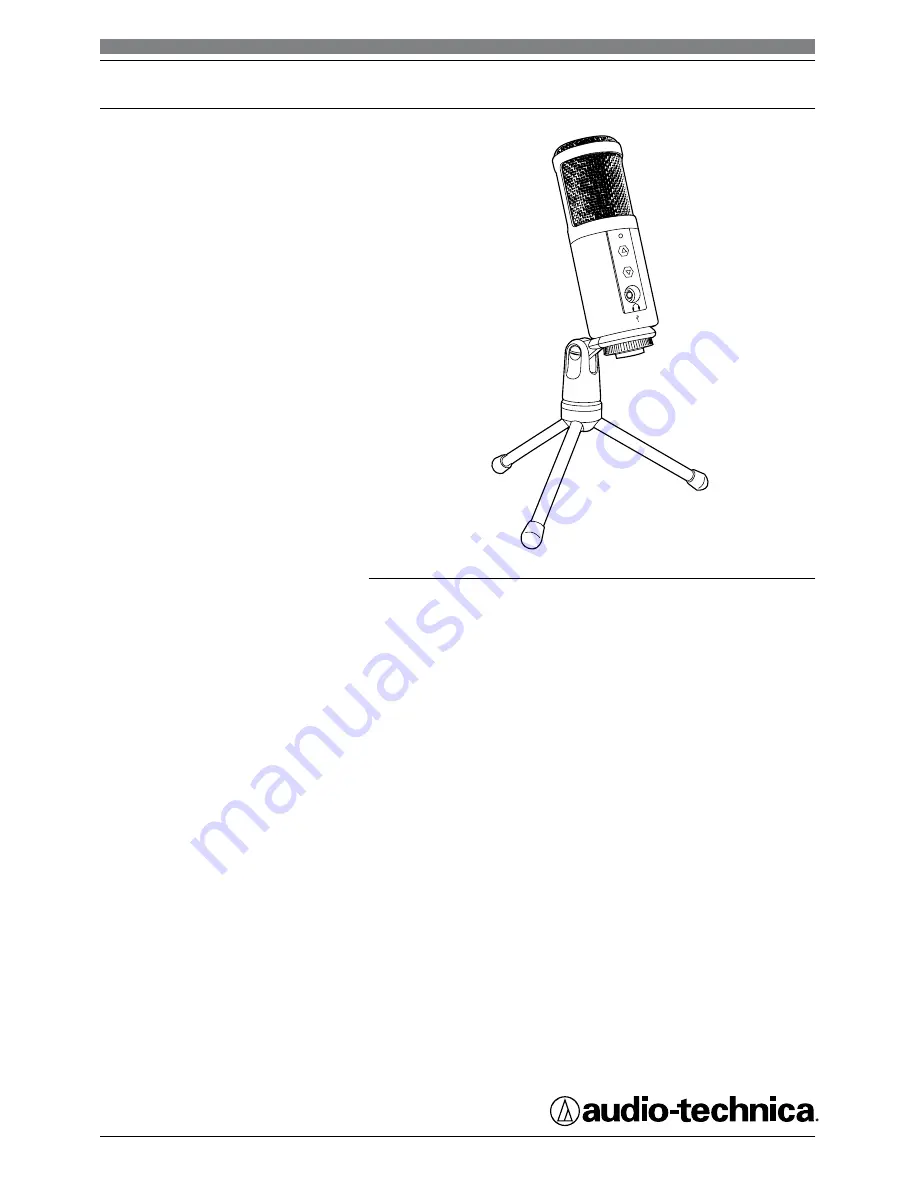
ATR2500-USB
Cardioid Condenser USB Microphone
Contents
Introduction & features
2
Setting up your microphone with pivot mount & desk stand 3
Preliminary setup with Mac OS X 4
Preliminary setup with Windows XP 6
Preliminary setup with Windows Vista 9
Preliminary setup with Windows 7 10
Using headphones 13
Selecting software 13
Setting your software levels 13
Positioning your microphone 13
Protecting your microphone 13
Specifications 14
Warranty 15


