

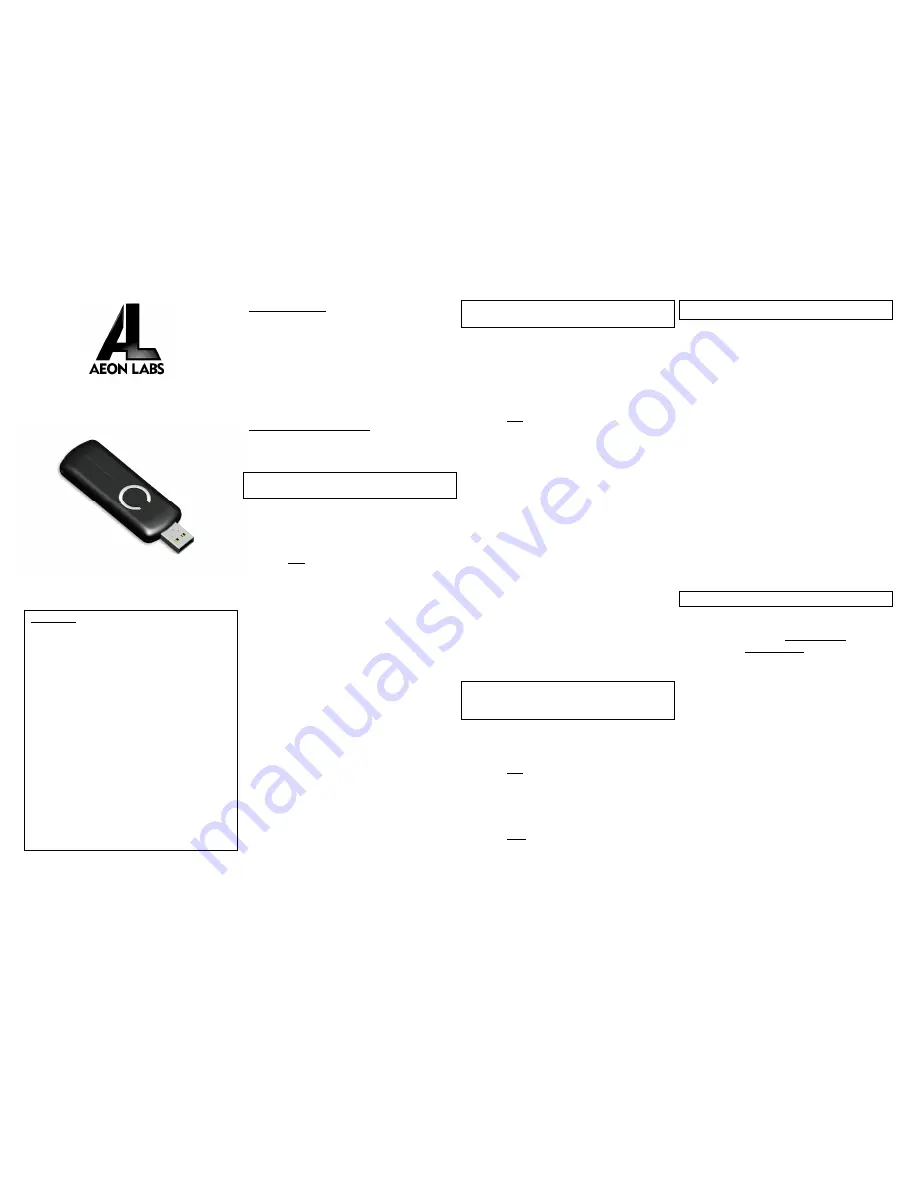
Aeon Labs Z-Stick Series 2
(Z-Wave USB Adapter)
Introduction:
The Aeon Labs Z-Stick S2 (Series 2) is a self-powered Z-Wave
USB adapter with remote network creation capabilities
(independent
from
external
power
and
host
microprocessor). By being able to remotely include/remove
Z-Wave devices, this greatly simplifies Z-Wave network
installation. When connected to a host controller (via USB),
it enables the host controller to take part in the Z-Wave
Network.
The Z-Stick S2 is also device firmware upgradeable by the
end consumer. This enables the product to always have the
latest Z-Wave protocol, capabilities and commands.
By taking advantage of the Z-Wave mesh network,
commands can be routed to their destination via
intermediary “listening” Z-Wave products. Products that
are Z-Wave certified can be used and communicate with
other Z-Wave certified devices.
Operating instructions:
The Z-Stick operates in three distinct modes:
Inclusion-
Mode, Removal-Mode and SerialAPI-Mode
. Both
Inclusion-Mode and Removal-Mode require the Z-Stick to
be unplugged from the USB connector of the host, while
SerialAPI-Mode requires that the Z-Stick to be plugged into
the USB connector of the host. Software drivers for the
Silabs CP2102 may need to be installed for the Z-Stick to be
recognized on some computers. (drivers can be found at
http://www.aeon-labs.com/support) .
•
Inclusion-Mode : Adding/Including Z-Wave Devices
into the Z-Wave Network
1.
To initiate Inclusion-Mode, unplug the Z-Stick
from the USB connector and then tap the
button. (The LED will blink slowly.)
Note
:
While in Inclusion-Mode, the Z-Stick is in
perpetual add/inclusion. There is no need to
press the button on the Z-Stick again to include
each new device.
2.
To include a new Z-Wave device into the
network, simply go to the device with the Z-
Stick and press the button on the device you
wish to include. (The LED on the Z-Stick will
blink fast during a network neighbor discovery
and stay solid for 3 seconds to indicate
successful inclusion of the device into the
network.)
3.
The LED will then return to blinking slowly,
indicating readiness for further device inclusions.
Repeat step 2 for each device as you wish to
include.
4.
Tap the Z-Stick button to turn it off.
•
Removal-Mode : Deleting/Removing/Excluding Z-
Wave Devices from the Z-Wave Network
1.
To initiate Removal-Mode, unplug the Z-Stick
from the USB connector. Then press and hold
down the button for approximately 3 seconds.
(The LED will transition from blinking slowly to
blinking fast.)
Note
:
While in Removal-Mode, the Z-Stick is in
perpetual removal/exclusion where it will
remove Z-Wave devices from the networks they
are currently paired to. There is no need to
press the button on the Z-Stick again to exclude
each device.
2.
To remove a Z-Wave device from the network,
simply go to the device with the Z-Stick and
press the button on the device you wish to
remove. (The LED on the Z-Stick will
immediately stay solid for 3 seconds to indicate
successful removal from the network.)
3.
The LED will then return to blinking fast,
indicating
readiness
for
further
device
exclusions. Repeat step 2 for each device as
you wish to exclude.
4.
Tap the Z-Stick button to turn off.
•
SerialAPI-Mode : Allowing a Host Processor To Take
Control of the Z-Stick and Take Part in the Z-Wave
Network
1.
To initiate SerialAPI-Mode, plug the Z-Stick into
the USB connector of the host.
Note
:
While in SerialAPI-mode, the Z-Stick is
always listening (it is awake and always in RX
receive mode) for instructions and acts as a Z-
Wave adapter and responds to commands sent
through USB by the host processor software.
Note:
Pressing the Z-Stick button will not have
any effect while in SerialAPI-Mode.
•
Other Functions:
•
Factory reset on the Z-Stick: This must be done
through the host software which takes control
of the Z-Stick USB adapter while the Z-Stick is in
SerialAPI-Mode. Please consult the instruction
manual of the host software to perform a
network reset (i.e. factory reset on the Z-Stick).
This function can only be preformed via the
host software.
•
Add the Z-Stick to a pre-existing Z-Wave
network: This must be done through the host
software which takes control of the Z-Stick USB
adapter while the Z-Stick is in SerialAPI-Mode.
Please consult the instruction manual of the
host software to add the Z-Stick to a pre-
existing Z-Wave network (i.e. “Learn”, “Sync”,
“Add as Secondary Controller”, etc.). This
function can only be preformed via the host
software.
•
Upgrading the Z-Stick with the Latest Software
1.
Download the Aeon Labs Z-Stick upgrade
software at http://www.aeon-
labs.com/Spport and run the downloaded
program.
2.
Follow the on screen instructions to
complete installation.
- 1 -
- 2 -
- 4 -
- 3 -
http://waterheatertimer.org/How-to-wire-Intermatic-CA3750.html
_________________________________________________________________


