


QUICK INSTALLATION GUIDE
300Mbps Wireless router with repeater function
WRP-300
EN
V 1.0_20140410
-1-
-2-
-4-
-3-
-5-
PACKAGE CONTENTS:
- 300Mbps Wireless router (WRP-300)
- Ethernet cable (RJ-45)
- Quick Installation Guide
- Resource CD
MINIMUM REQUIREMENTS:
- broadband modem (xDSL / Cable) with Ethernet port (RJ-45)
- wireless adapter (network adapter card) or adapter card with Ethernet port (RJ-45) and
a cable for connecting with computer
- Internet Explorer ® 5.0, Firefox ® 2.0 or Safari ® 1.4 or higher
CHAPTER I (Connecting the device)
NOTE:
During connecting and configuration of the router only cable network connection
should be used, with Ethernet cable (RJ-45).
1) Turn off all the network devices (router, modem, computer).
2) Plug the Ethernet cable (RJ-45) into the LAN port in modem and WAN port in router.
3) Plug the Ethernet cable (RJ-45) into the LAN port and LAN port in the
computer.
4) Connect the router WRP-300 to a power outlet.
5) Turn on all the network devices (router, modem, computer).
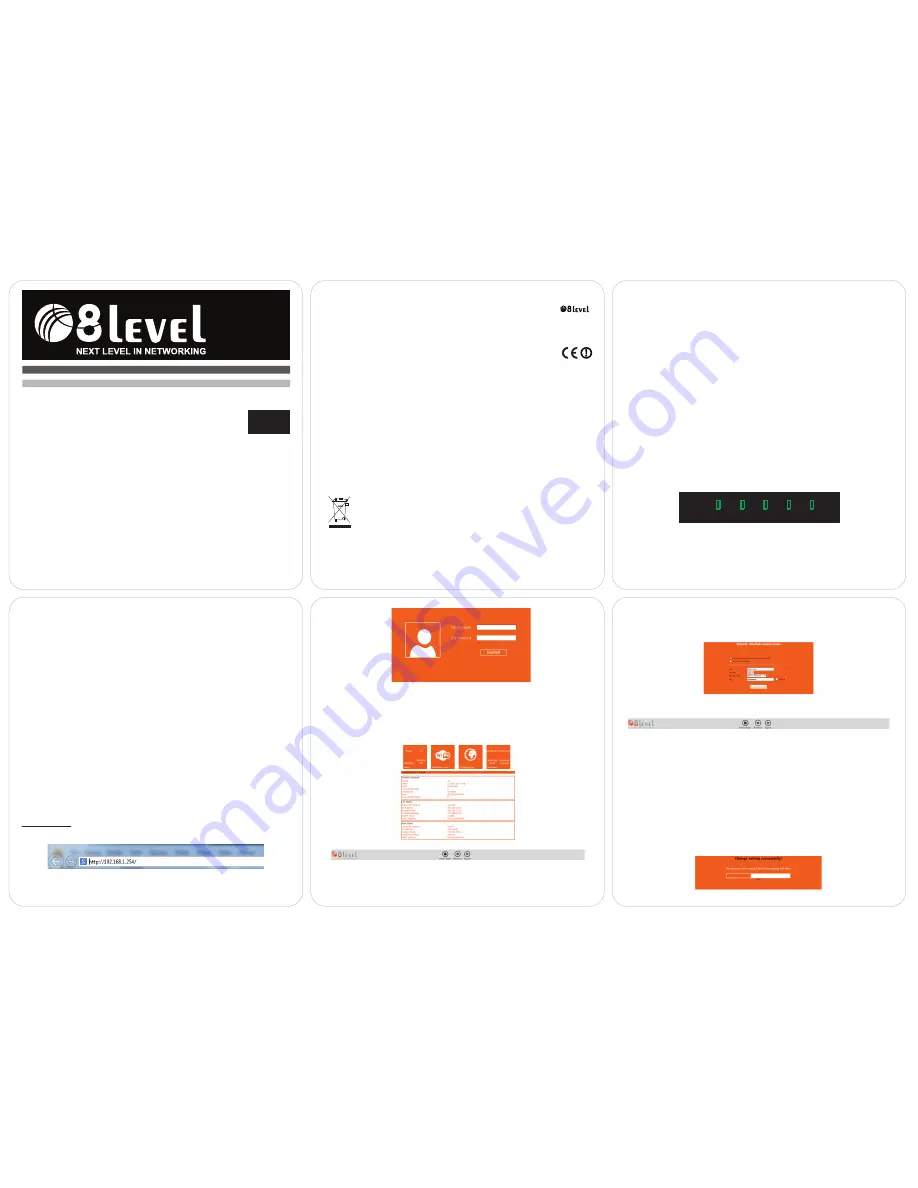
LED designation - front panel of the device
CHAPTER II (configuration of the internet parameters)
The following steps of the installation are very similar for operating systems Windows 2000
/XP/Vista/7. The installation process has been described on the example of Windows 7.
Preparing the computer to router configuration:
1) In the Windows system menu choose
Start> Control Panel> Network and
Sharing Center.
2) Then choose
Change adapter settings
and right-click the icon
Local Network
and
then choose
Properties
.
3) Double-click
Internet Protocol
(TCP/IPv4).
4) Select
Obtain an IP address automatically
and
Obtain an DNS server address
automatically
and click
OK
.
5) Click
OK
.
6) After configuring the settings of obtaining an IP address and DNS server address
automatically, log in to configuration page of the router.
2.2.1 Logging in to WWW (HTML) interface of the router:
Default settings:
IP address:
192.168.1.254
Username:
admin
Password:
admin
1) Open an internet browser window and type the router IP address in the address field:
192.168.1.254
(default address), and press
Enter
on the keyboard.
LAN
WAN
WPS
WLAN POWER
LAN
- indicates the activity of the interface (LAN)
WAN
- indicates the activity of the interface (WAN)
WPS
- indicates the activity of the WPS function
WLAN
- indicates activity of wireless network interface
POWER
- indicates connection to the power
2) In the dialog box type Username:
admin
and Password:
admin
, then click
SUBMIT
.
2.2 Configuration of the internet connection through WWW (HTML) interface:
The device can operate in four different modes
(Router / AP / Repeater / Wireless
ISP)
. In the following, we will discuss the basic configuration of each of these modes.
2.2.1 Configuration in the Router mode:
After clicking on the icon router configuration window will appear where you can enter
basic configuration parameters for this mode.
a) If you choose
dynamic IP
- router will obtain address IP automatically from the ISP.
b) If you select
PPPoE
then you will be able to enter a username and password, which
you obtain from the ISP.
In the next step, we set the parameters of the access to the wireless network:
a) In the
SSID
field, enter the name of your network (the default network name
is 8level-Net)
b) In the
Channel
field, set the radio channel of the access point (default auto)
c) In the
Security Mode
, select the type of security (recommended WPA2 Personal)
d) In the
Key
, enter the wireless security key
Then press the
Save & Reboot
to approve the settings. The device will then reboot - wait
until you see the appropriate message.
NOTE:
Most of the connections uses a method connection through the Dynamic IP (DHCP)
in connection with this router is the default setting in this mode. If you want to continue
with the configuration in this mode, click Router.
COPYRIGHT & TRADEMARKS
We reserve the right to change the product specification without notification.
is a registered trademark of 8level. No part of the manual may be reproduced, translated
or processed in any other form without permission from 8level NEXT LEVEL IN NETWOR-
KING. All rights reserved. Copyright © 2014 8level.
CE DECLARATION OF CONFORMITY
The product fulfils the following requirements according to:
R&TTE Directive 1999/5/EC
EMC Directive 2004/108/EC
LVD Directive 2006/95/EC
SAFETY NOTICE
Do not use this product near water. Using the product during a thunderstorm should be
avoided. Do not place heavy objects on the casing.
RECYCLING NOTICE
The symbol of the crossed-out wheeled bin on this product means that it is
forbidden to place the equipment waste together with other waste (under
penalty of fine). Detailed information about recycling of the product can be
obtained at local authorities, local waste treatment plants or local
distributors. Forwarding the equipment waste to recycling or recovery
points helps to avoid the negative influence of the harmful components present in the
equipment on the environment and human health; in this scope the primary role is played
by each household.


