ENGLISH
7
Configuring TCP/IP
1. In the Network window Configuration tab, select your network adapter’s TCP/IP entry and click Properties.
2. Click the IP Address tab. Click Obtain an IP address automatically.
3. Click the DNS Configuration tab. Select Disable DNS.
4. Click the Gateway tab. Highlight any installed gateways and click Remove until there is none listed.
5. Click OK to save and close the TCP/IP Properties window.
6. Click OK to close the Network window.
7. Turn on your OMNI ADSL LAN and restart your computer when prompted.
Insert the Windows CD if prompted.
Verifying TCP/IP Properties
1. Click Start and then Run. In the Run window, type “winipcfg” and then click OK to open the IP Configuration
window.
2. Select your network adapter. You should see your computer’s IP address, subnet mask and default gateway.
Setting up Your Windows NT/2000/XP Computer
Configuring TCP/IP
1. Click Start, Settings, Network and Dial-up Connections and right-click Local Area Connection or the
connection you want to configure and click Properties. For Windows XP, click start, Control Panel, Network
and Internet Connections and then Network Connections. Right-click the network connection you want to
configure and then click Properties.
2. Select Internet Protocol (TCP/IP) (under the General tab in Win XP) and click Properties.
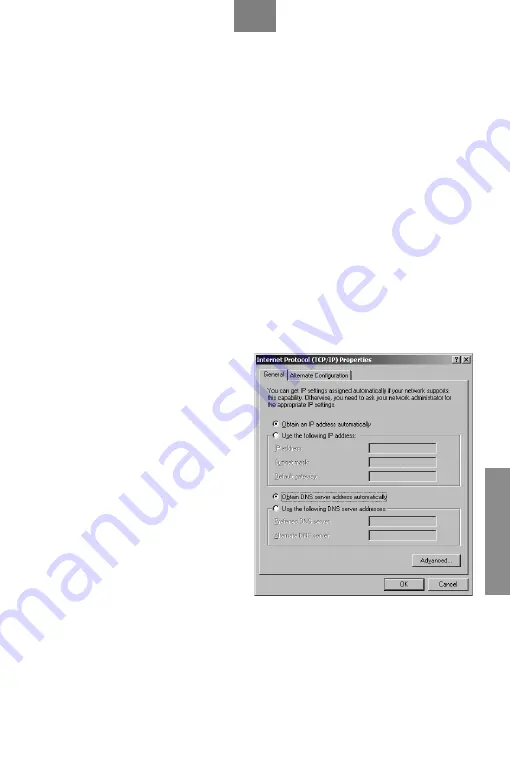
3. The Internet Protocol TCP/IP Properties window
opens. Click Obtain an IP address automatically.
4. Click Obtain DNS server automatically.
5. Click Advanced, IP Settings tab and remove any
installed gateways, then click OK.
6. Click OK to save and close the Internet Protocol
(TCP/IP) Properties window.
7. Click OK to close the Local Area Connection
Properties window.
8. Turn on your OMNI ADSL LAN and restart your
computer (if prompted).
Verifying TCP/IP Properties
1. Click Start, Programs, Accessories and then
Command Prompt.
2. In the Command Prompt window, type “ipconfig”
and then press ENTER. The window displays
information about your IP address, subnet mask
and default gateway.


