Digital Video Recorder User Manual
25
Step1:
Enable motion detection alarm; select the alarm holding time.
Step2:
C
OLFN³6HWWLQJ´EXWWRQRIPRWLRQWULJJHUWRSRSXSD
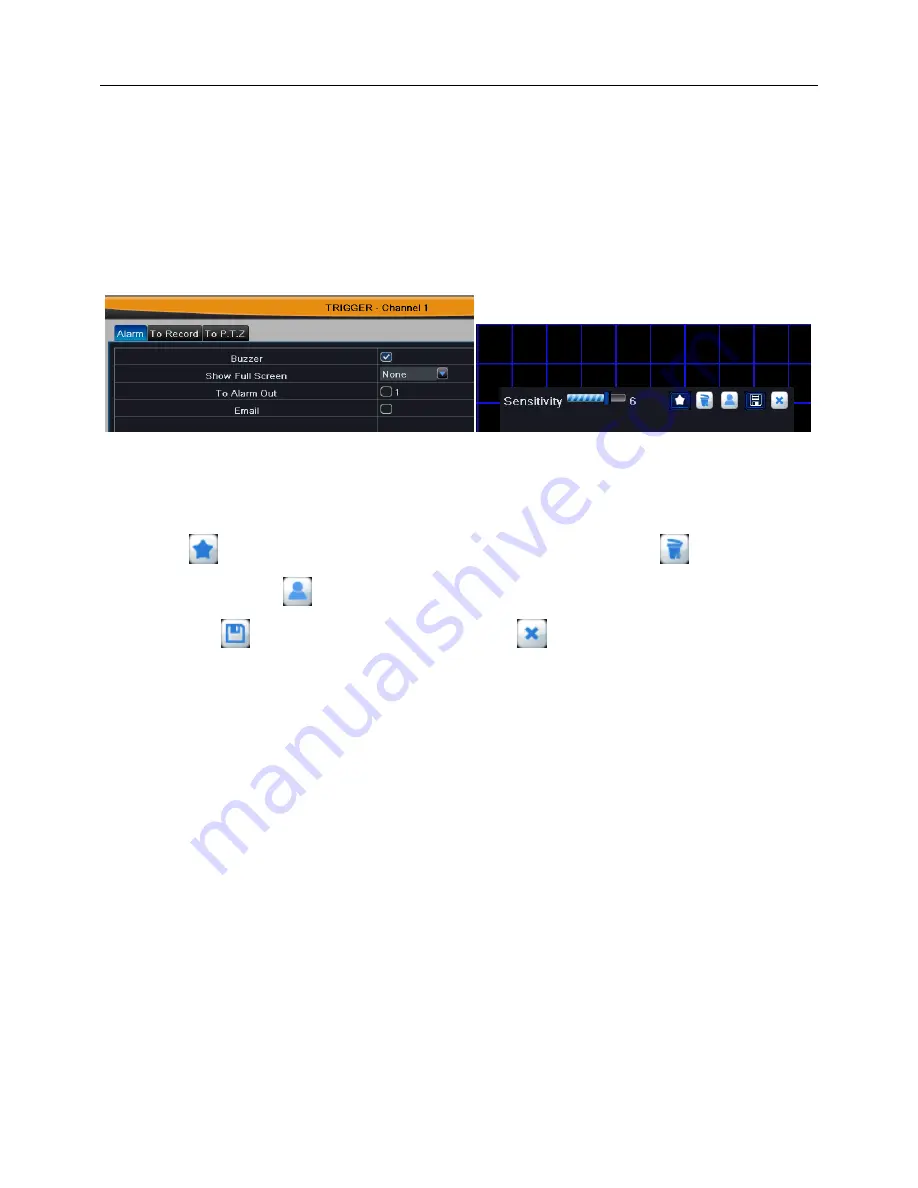
window, as shown in Fig
4-26. The setup steps of motion trigger are familiar with sensor alarm handling; user can
refer to Chapter 4.6.1 Sensor
Æ
alarm handling for more details.
Step3:
Click
³6HWWLQJ´ EXWWRQ RI
motion area to pop up a window, as shown in Fig
4-27:
Fig 4-26 motion-trigger setting Fig 4-27 motion-area setting
Due to the sensitivity is influenced by color and time (day or night), user can drag
slider to adjust the sensitivity of motion detection (1-8) according to the practical situation.
Click
button to set the whole area as detection area; click
button to clear
detection area; click
button to test whether the sensitivity and motion area are
suitable; click
button to save the setting; click
button to exit current interface.
Step4:
T
LFNRII³DOO´DQGWKHQGRUHOHYDQWVHWXS
, user can set all channels with same
parameters.
Step5:
&OLFN³
Defaul
W´EXWWRQWR
r
HVWRUHWKHGHIDXOWVHWWLQJFOLFN³
A
SSO\´EXWWRQWRVDYH
WKHVHWWLQJFOLFN³
E
[LW´EXWWRQWRH[LWFXUUHQWLQWHUIDFH
②
Schedule
The schedule of motion detection is shown in Fig 4-28.
The setup steps of motion detection schedule are familiar with schedule; user can
refer to 4.5.1 Schedule for details.
Note: The default schedule of sensor alarm is full-selected, that is, the color of
schedule setting interface is blue.


