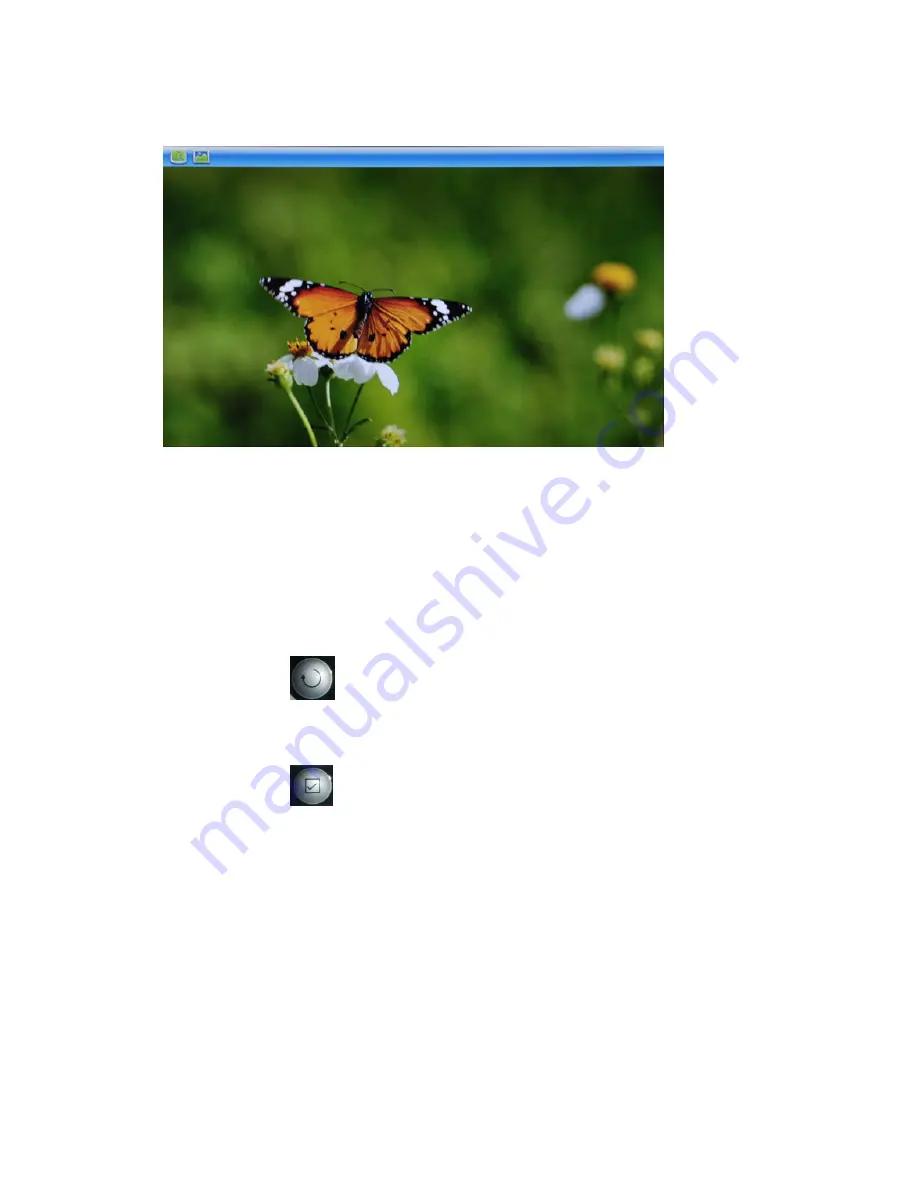
background image


- 9 - 


Press Enter to start 

Photo Preview Mode 

(Press ENTER to switch between Photo Preview 

and Slideshow Modes) 


Use Left\Right buttons to browse the previous or next photo 


PHOTO ROTATE & ZOOM 


In 

Photo View Mode, press SETUP or MENU 

to bring up Rotate & Zoom Menu (

Note:

 Exit 

Slideshow mode by pressing ENTER Key to use Rotate and Zoom Buttons on the Remote) 


Each time Rotate is selected the photo is turned clockwise 90 degrees 

NOTE:

 You can also use 

 button on the remote to rotate pictures 

 
Each time Zoom is selected the photo is magnified by certain ratio 
 

NOTE:

 You can also use 

 button to use zoom feature 


Summary of Contents for HF-ZW104B

Page 1: ...ZW104B The pictures diagrams and certain functions described in this manual may differ from the actual product due to different models USER MANUAL Visit www hittusa com to check if an updated user man...

Page 2: ...eat Keep digital frame out of direct sunlight Do not store in very cold areas When the system warms up the moisture can form inside the case which may damage electronic circuit boards Do not attempt t...

Page 3: ...deos 14 File Management 14 Slideshow From the Selected Folder 15 Copying Files 15 Deleting Files 15 Calendar Analog Clock 17 Using the SETUP option 17 Connecting to a Computer 18 Copying Pictures Musi...

Page 4: ...play 800 600 pixels Memory card SD MMC MS and USB flash disk Picture format JPEG Base Line and Partial Progress Highest picture resolution supported by the frame 8000 8000 pixels Supports three pictur...

Page 5: ...otective screen cover Adjust the Digital Picture Frame stand on the back of the unit Plug AC adapter into power outlet Plug the other end into the unit If using a memory card or a USB drive insert the...

Page 6: ...r SLIDESHOW Start Picture Slideshow MUTE Mute sound DISPLAY MODE Full Auto Fit or Pan Scan EXIT Exit or Go to the previous Menu VOL Adjust the volume Rotate 90 180 270 Zoom In or Zoom Out INSERTING ME...

Page 7: ...ve and insert it in the USB Host port CHOOSING STORAGE MEDIA Press CARD SELECT on the remote to choose the storage media if one or more of the storage media built in memory or a memory card or USB dri...

Page 8: ...to make a selection and then press Enter to confirm the highlighted option From the Main Menu user can select browse pictures play music or videos or manage files functions User can also setup Calenda...

Page 9: ...ew Mode press SETUP or MENU to bring up Rotate Zoom Menu Note Exit Slideshow mode by pressing ENTER Key to use Rotate and Zoom Buttons on the Remote Each time Rotate is selected the photo is turned cl...

Page 10: ...E Use Left Right Up Down in Zoom Mode to shift viewing area SLIDESHOW Press Enter in Photo Viewing Mode to start Slideshow or press Slideshow button on the remote This frame has three slideshow modes...

Page 11: ...11 Single Window Four Windows...

Page 12: ...ect the preinstalled slideshow mode NOTE in four windows slideshow mode this frame will display 2 4 different photos according to pictures aspect ratio LISTENING TO MUSIC Go to the MAIN MENU Press EXI...

Page 13: ...13 Use Up Down buttons to select a music file Press Enter to start pause playing current music file...

Page 14: ...Up Down buttons to select a video file Press Enter to start playing the music file FILE MANAGEMENT Go to the MAIN MENU Press EXIT key repeatedly until the Main Menu is displayed and select File Manag...

Page 15: ...ES To delete multiple pictures from the frame s built in memory or memory cards connect the frame to your computer and when it s recognized as a removable disk just use the normal method you would use...

Page 16: ...lt in memory is selected From the Main Menu select FILE which is 4th icon from the left with picture of a folder using arrow keys and press ENTER The following file management screen will appear on th...

Page 17: ...alendar and Analog Clock Use Up Down buttons to display the next previous year s calendar Use Left Right buttons to display the previous next month s calendar Press Enter to confirm the selection USIN...

Page 18: ...and setup the frame as a USB storage device COPYING PICTURES MUSIC VIDEO FILES FROM YOUR COMPUTER Once the frame is recognized as a USB storage device depending on whether the frame has built in memo...

Page 19: ...U Press EXIT key repeatedly until the Main Menu is displayed and select System Setup and the select Set Alarm After the alarm is setup alarm time in shown on the calendar when Calendar and Analog Cloc...

Page 20: ...ing to camera industry standards and therefore cannot be displayed correctly on the Digital Picture Frame Please use your PC applications to convert such images into standard JPEG format before copyin...

Page 21: ...d dirt or the bike extreme heat or food c use of the Product for commercial purposes or subjecting the Product to abnormal usage or conditions d service installation alteration or modification in any...

Page 22: ...Built in Speakers Earphone Jack Start up Slideshow A C Adapter Input AC110 240V 50Hz 60Hz Output 12V Power Consumption 6 Watts Working Temperature 20 to 45 degrees Package Content Digital Picture Fram...

Page 23: ...23...

Page 24: ...articular installation If this equipment does cause harmful interference to radio or television reception which can be determined by turning the equipment off and on the user is encouraged to try to c...

Page 25: ...about the local regulations on how to dispose of your old unit from your local municipality For Customers in Canada and U S A Dispose of in accordance to local state provincial municipal or federal re...

Page 26: ...right to change or modify any information or specifications without notice The contents of this User Manual are provided as is Except as required by applicable law no warranties of any kind either ex...

Reviews: