NetBlaster ZX361-ISL User’s Guide Software: Windows
®
NT
&
21),*85(
,6/
4 - 5
&
21),*85(
$
91,&
4.5
1.
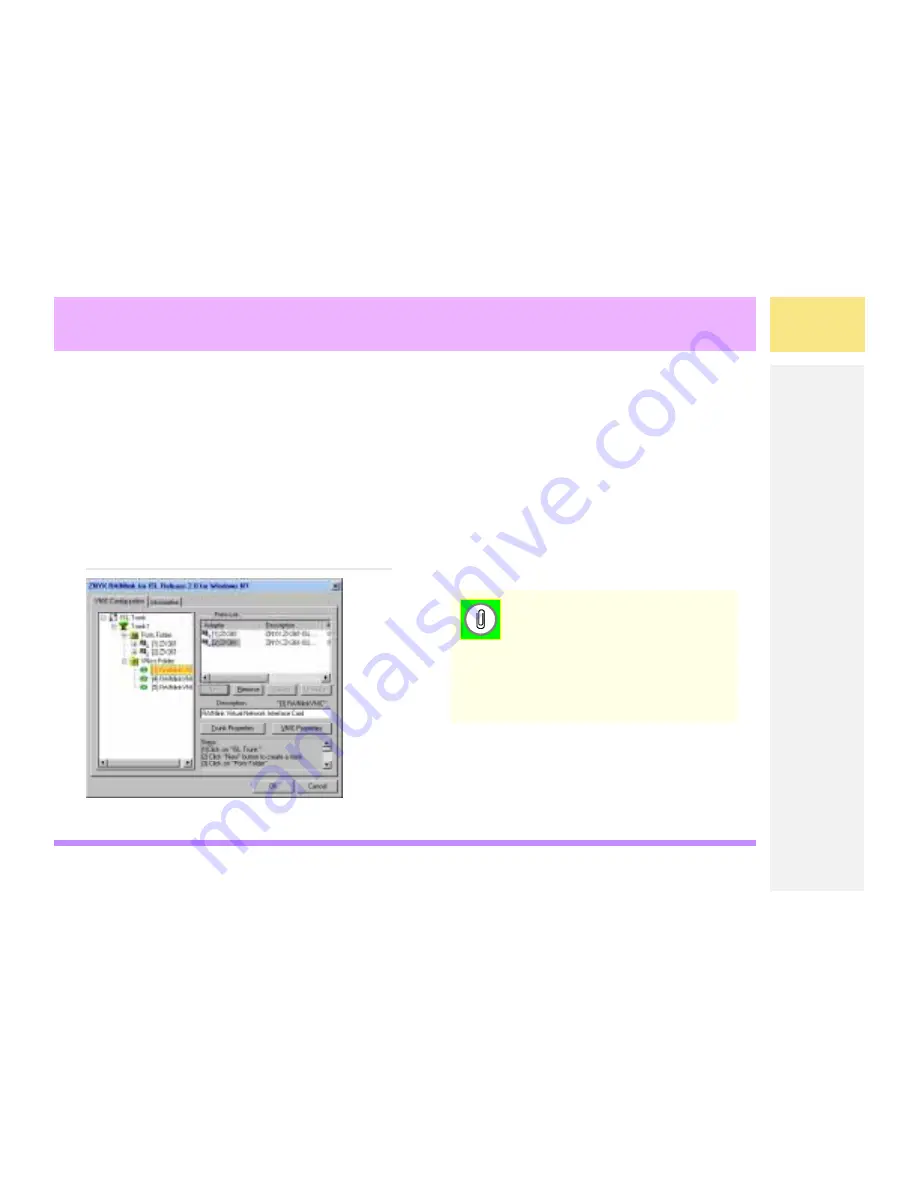
Highlight a VNIC (under
VNICs Folder
),
and click
VNIC Properties
to open the
VNIC Properties dialog.
You will use the information that you
recorded during the Hardware Installation
preparation to configure the VNICs for each
VLAN.
2.
Click one of the
Media Types
, and see
the following examples to enter the
proper VNIC Properties information:
•
Figure 4.10
Ethernet VNIC Configuration
on page 4-6
•
Figure 4.11
Token Ring VNIC Configuration
on page 4-6
).
Remember that you are essentially creating
a virtual NIC that will reside in the VLAN for
which you specify in these boxes.
Figure 4.9
ZNYX RAINlink Dialog
1RWH)RU7RNHQ5LQJ\RXDUHFUHDWLQJD
YLUWXDODGDSWHU91,&ZLWKLQD%5)7KLV
91,& FDQ FRPPXQLFDWH ZLWK DQ\ RWKHU
&5)ZLWKLQWKHVDPH%5)
)RU H[DPSOH LI \RX KDYH IRXU &5)V
ZLWKLQRQH%5)\RXRQO\QHHGWRFUHDWH
RQH91,&ZLWKLQWKDW%5)
Summary of Contents for NetBlaster ZX361-ISL
Page 2: ...NetBlaster ZX361 ISL User s Guide Software Windows NT...
Page 6: ...NetBlaster ZX361 ISL User s Guide Software Windows NT 85 6 vi...
Page 14: ...NetBlaster ZX361 ISL User s Guide Software Windows NT 167 5 9 5 1 6...
Page 42: ...NetBlaster ZX361 ISL User s Guide Software Windows NT 1 I 4...


