24
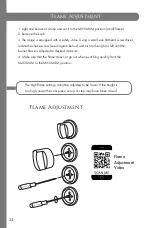
1. Light one burner at a time and set it to the MINIMUM position (small flame).
2. Remove the knob.
3. The range is equipped with a safety valve. Using a small-size flathead screwdriver,
locate the choke screw (see diagram below) and turn to the right or left until the
burner flame is adjusted to desired minimum.
4. Make sure that the flame does not go out when switching quickly from the
MAXIMUM to the MINIMUM position.
Flame Adjustment
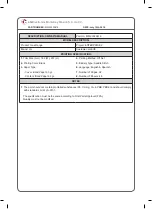
2.0 x 50 mm
2.0 x 50 mm
Flame Adjustment
The high flame setting cannot be adjusted to be lower. If the height is
too high, revisit the conversion set up. A step may have been missed.
Flame
Adjustment
Video
Summary of Contents for RA-WM-24
Page 1: ...Dual Fuel Ranges Installation Guide and Users Manual...
Page 2: ......
Page 20: ...14 Model RA24 Model RA30 Wiring Schematics...
Page 21: ...15 Model RA36 Model RA48 Wiring Schematics...
Page 22: ...16 Wiring Schematics Model RA60...
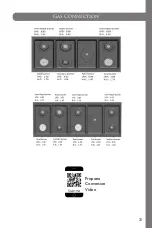
Page 27: ...21 Propane Conversion Video Gas Connection...
Page 32: ...26 Users Manual...


