background image

Device Name: 

Any character, up to a combination of 50 characters. 

Communication type: 

TCP/IP. 

IP Address:

 Please enter the IP Address of the device, the default IP address is 192.168.1.201. 

Communication port

: The default value is 4370. 

Communication Password: 

Any character, up to a combination of 8 characters (No blank). You need to input this 

field only when you add a new device with the communication password. It cannot be modified when you edit the 

device information except in [Modify communication password] operation. 

Note

:


You do not need to input this field if the device has no communication password, such as when it is a new factory 

device or just after the initialization. 

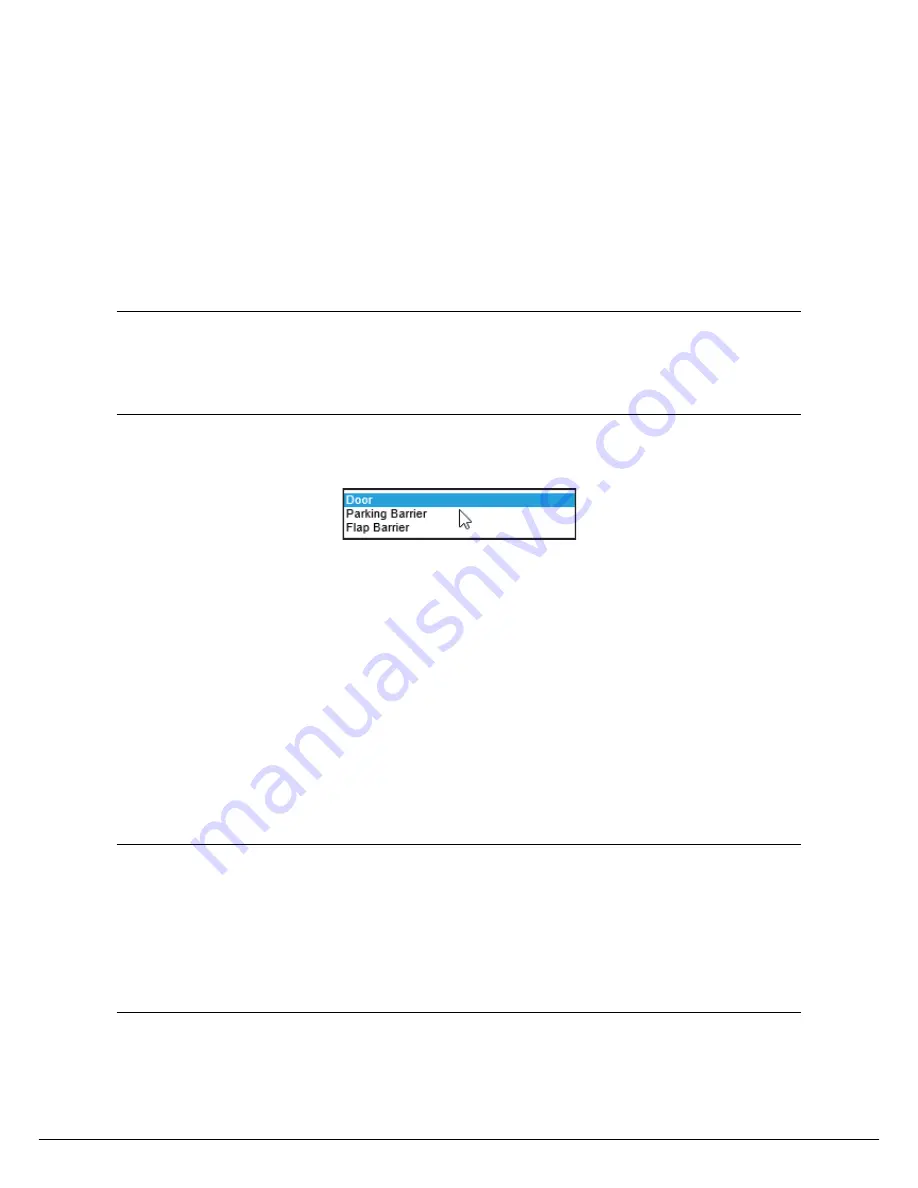
Icon Type:

 It will set the representation of the device. You can choose as per the kind of device; Door, Parking 

barrier, Flap Barrier.


Control Panel Type: 

Standalone Device.


Area: 

Specify areas of devices. After Area Setting, devices (doors) can be filtered by area upon Real-Time Monitoring. 

Add to Level: 

Automatically add the device to the selected level. The device cannot be automatically added to the 

selected level if the number of personnel exceeds 5000. You can add personnel after the device is successfully 

added. 

Clear Data in the Device when Adding:


If this option is being ticked, after adding device, the system will clear all 

data in the device, except the event logs. If you add the device just for demonstration or testing of the system, 

there is no need to tick it. 

2) After editing, click [OK], and the system will try connecting the current device: 

Note

:


When you add a new device to the system, the system will clear all user information, time zones, holidays, and 

access control levels settings (including access control group, anti-passback, interlock settings, linkage settings, etc.) 

from the device, except the events record in the device. Unless the information in the device is unusable, we 

recommend you not to delete the device in used, to avoid the loss of information. 

3) One PC can connect with multiple devices, and the access control software in PC can manage multiple devices 

at the same time. If you want to add devices, please click [New]. If you want to delete devices, select devices and 

click [Delete]. For details, please refer to “ZKBiosecurity User Manual”. 

Summary of Contents for SCR-100 Plus

Page 1: ...User Manual ProRF Version 1 0 Date Nov 2018...

Page 2: ...escribed in this manual may include software that is copyrighted by our company and its possible licensors No one may copy publish edit take excerpts of decompile decode reverse engineer rent transfer...

Page 3: ...Software 2 2 1 Adding a device 2 2 1 1 Device Settings 5 2 2 Adding a user and a card 5 2 3 Access Control Settings 6 2 4 Upload and download 6 2 4 1 Sync All Data to Device 7 2 4 2 Get Event Entries...

Page 4: ...or anti passback function The device can connect with Ethernet over TCP IP It can be embedded with Webserver to visit query records and so on via Internet 1 2 Communication Connections The background...

Page 5: ...click the ZKBiosecurity icon to enter the system The user name of the super user is admin and the password is admin then click login After the first login to the system please reset the password in P...

Page 6: ...ed level The device cannot be automatically added to the selected level if the number of personnel exceeds 5000 You can add personnel after the device is successfully added Clear Data in the Device wh...

Page 7: ...device in the Ethernet 1 Click Access Device Device Search Device to open the Search interface 2 Click Search and it will prompt Searching 3 After searching the list and total number of access control...

Page 8: ...e Personnel No contains only numbers by default but may also include letters Notes When configuring a personnel number check whether the current device supports the maximum length and whether letters...

Page 9: ...ack function Wiegand format Interlock function Linkage function First Card Normal Open function Multi Card Opening function Remote door opening and closing Real time monitoring For more details please...

Page 10: ...ce page 2 Click Synchronize the following interface will be shown Note The operation of Synchronize All Data is mainly to delete all data in the device first except event record Download all settings...

Page 11: ...twork status is healthy and the communication between the system and device is normal the system will acquire transactions of the device in real time and save them into the system database However whe...

Page 12: ...nformation in the Device page Renew the current information in the device The final value will be displayed in the device list 2 5 Monitor in real time Suppose a user with an ID card has been uploaded...

Page 13: ...her relevant provisions of Directive 2014 53 EU Importers ZKTECO EUROPE SL Address Carretera de Fuencarral 44 Edificio 1 Planta 2 28108 Alcobendas Madrid Spain A copy of the declaration of conformity...

Page 14: ...s equipment does cause harmful interference to radio or television reception which can be determined by turning the equipment off and on the user is encouraged to try to correct the interference by on...

Page 15: ...www zkteco com Copyright 2018 ZKTECO CO LTD ZKTeco Logo is a registered trademark of ZKTeco or a related company All other product and company names mentioned are used for identification purposes onl...

Reviews: