4
MOUNT READER TO THE WALL
A:
Place the
Mounting Guide
on the spot on a wall you are considering mounting the
reader. When you find a spot you like, peel the clear sticker off & place it on the wall
where you want to mount your reader
.
The
Measuring Tape
might come in handy at this
step. This location needs to be
close enough to an electrical outlet for the AC Power
Adaptor cord to plug in and also close to a Network Port so the Network Cable can be
plugged in to access a wired network or for troubleshooting your reader.
SUGGESTION:
Keep in mind the variety of heights amongst your employees. A slightly
lower versus higher position will probably work be for everyone.
B:
With the
Mounting Guide
sticker on the wall, use the
Stylus
to punch a hole at each of
the
X
spots. This might require a hammer or drill, depending on the composition of your
wall. Then insert the
Anchors
into the holes made with the stylus.
C:
Place the
Reader Mounting Bracket
against the wall, line up its holes with those in
your wall, and insert the long screws. Tighten securely.
D:
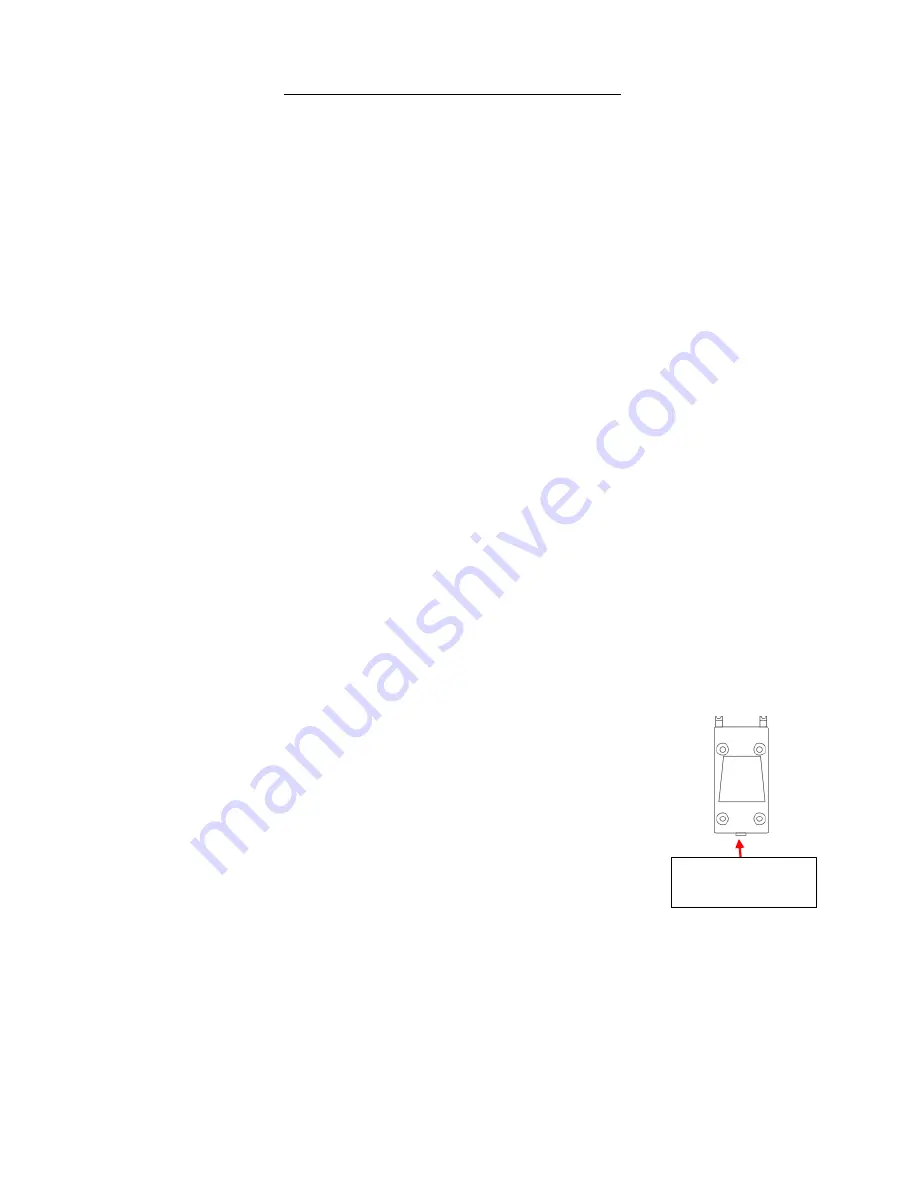
Attach the
Reader Back Plate
to the
Mounting Bracket
with 4 of
the small black screws. Align slots on the back of the reader to the
top 2 tabs (
1 & 2
) of the
Reader Back Plate
& slide the reader on to
it. Secure the reader to the
Reader Back Plate
at the bottom of the
reader by inserting the remaining small black screw.
Next, proceed to NETWORK SETUP.
2
1
Insertion Point for
Tiny Black Screw


