background image

WWW.

ZIPPITY

-OUTDOOR.COM

1

ASSEMBLY 

INSTRUCTIONS

ZP19024

WWW.

ZIPPITY

-OUTDOOR.COM

VER. 

062221

ZP19024

ASSEMBLY


INSTRUCTIONS

5 HRS

Approximate assembly and installation time

Want to see a video on how to 

assemble this product?  

Scan the QR code

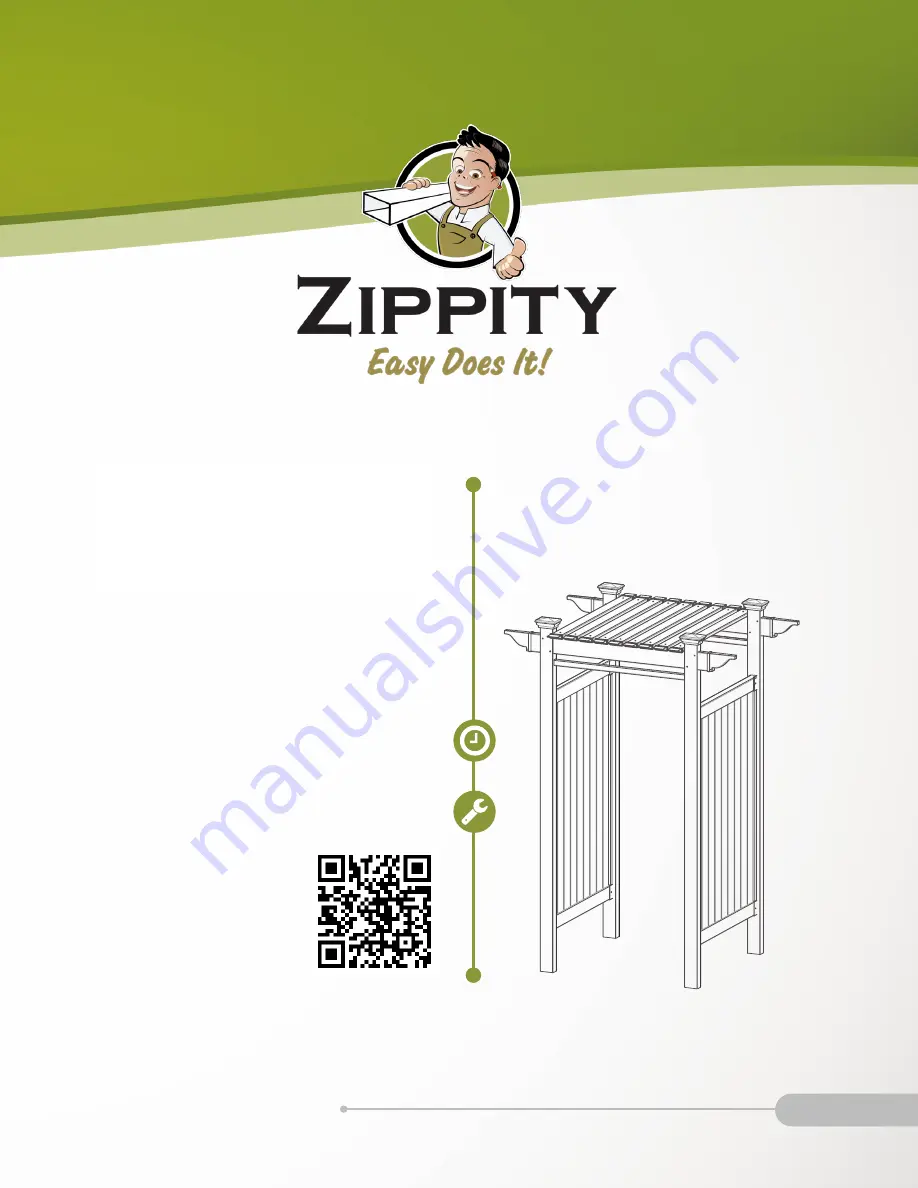
OCEANSIDE

OUTDOOR VINYL 

SHOWER KIT

(3’ X 3’ ENCLOSURE)

Summary of Contents for OCEANSIDE ZP19024

Page 1: ...NS ZP19024 WWW ZIPPITY OUTDOOR COM VER 062221 ZP19024 ASSEMBLY INSTRUCTIONS 5 HRS Approximate assembly and installation time Want to see a video on how to assemble this product Scan the QR code OCEANS...

Page 2: ...service department parts nychbrands com support zippity outdoor com 704 892 5222 877 234 6196 Customer service agents are available to take calls weekdays from 9am 5pm EST If you call outside of busin...

Page 3: ...ITY OUTDOOR COM 3 ASSEMBLY INSTRUCTIONS ZP19024 37 1 8 in 35 5 8 in 48 1 8 in 41 in Top View Side View 10 in 60 in 46 5 8 in 35 1 8 in 39 1 8 in Front View 77 in 80 in 88 3 4 in 61 5 8 in 35 1 4 in 42...

Page 4: ...D 1 2 x 3 x 873 8 Rail Bracket 8 Post Cap 4 Decorative End Cap 4 1 Self Drilling Stainless Steel Screw 46 Self Drilling Stainless Steel Screw 48 Shade Slat 9 Vinyl Weld Glue 1 O P N M A E I B F J C G...

Page 5: ...2 ZP19012 Zippity Post Extension 1 x 3 Concrete Wedge Anchor 16 x 4 Hex Head Bolt w Nut and Washer 16 80 lb Concrete Mix 2 STEP 2 INSTALLING MOUNTING ACCESSORIES Concrete or wood surface mounting Ins...

Page 6: ...a flat surface and align the Rail Brackets M with the pre drilled holes on post A Secure the brackets to post A with 8 Self Drilling Stainless Steel Screws O Repeat step 3 1 for Posts B B C C and D D...

Page 7: ...al rail should pop into the rail bracket Post B Post A K 1 Position 1 U Channel H between the two rail brackets Ensure the open groove of the U channel is centered with the brackets 2 Drive 3 11 4 Sel...

Page 8: ...rd G into the horizontal rail then insert the privacy board into the U channel Angle the privacy board as illustrated This will make it easier to get the privacy board into the U channel Insert the la...

Page 9: ...INSTALL POST CAPS STEP 6 2 Apply a small amount of Vinyl Weld Glue P to the inside of each Decorative End Cap F Attach the decorative end caps to the ends of the beams STEP 7 2 L E Align The side of...

Page 10: ...rete wedge anchors NOT INCLUDED or similar sized lag screws NOT INCLUDED if mounting on wood to secure the surface mount STEP 8 2A Post Extension install Mark the post locations and temporarily set th...

Page 11: ...the product instructions STEP 9 2 J 1 Drive a 11 4 self drilling stainless steel screw through the pre drilled holes on each end of a Shade Slat J until the screw comes out the bottom of the shade sl...

Page 12: ...WWW ZIPPITY OUTDOOR COM 12 ASSEMBLY INSTRUCTIONS ZP19024 WWW ZIPPITY OUTDOOR COM 704 892 5222 877 234 6196 support zippity outdoor com 6935 Reames Rd Ste K Charlotte NC 28216...

Reviews: