background image

Attaching the Covering to the Dome:

Method 1:  Using the Dual Covering Hubs:

The Dual Covering Hubs have an extra ridge at the edge of the hub that allows you to
attach the greenhouse plastic to the hub by cinching the zip ties over the plastic above
the ridge, which secures the plastic to the hub.

The design of the Dual Covering Hubs allows you to attach two layers of greenhouse 
covering to the dome, one on the inside, and one on the outside. This creates a “dead 
airspace” insulation pocket, and increases the greenhouse's ability to hold heat during 
the nighttime hours.

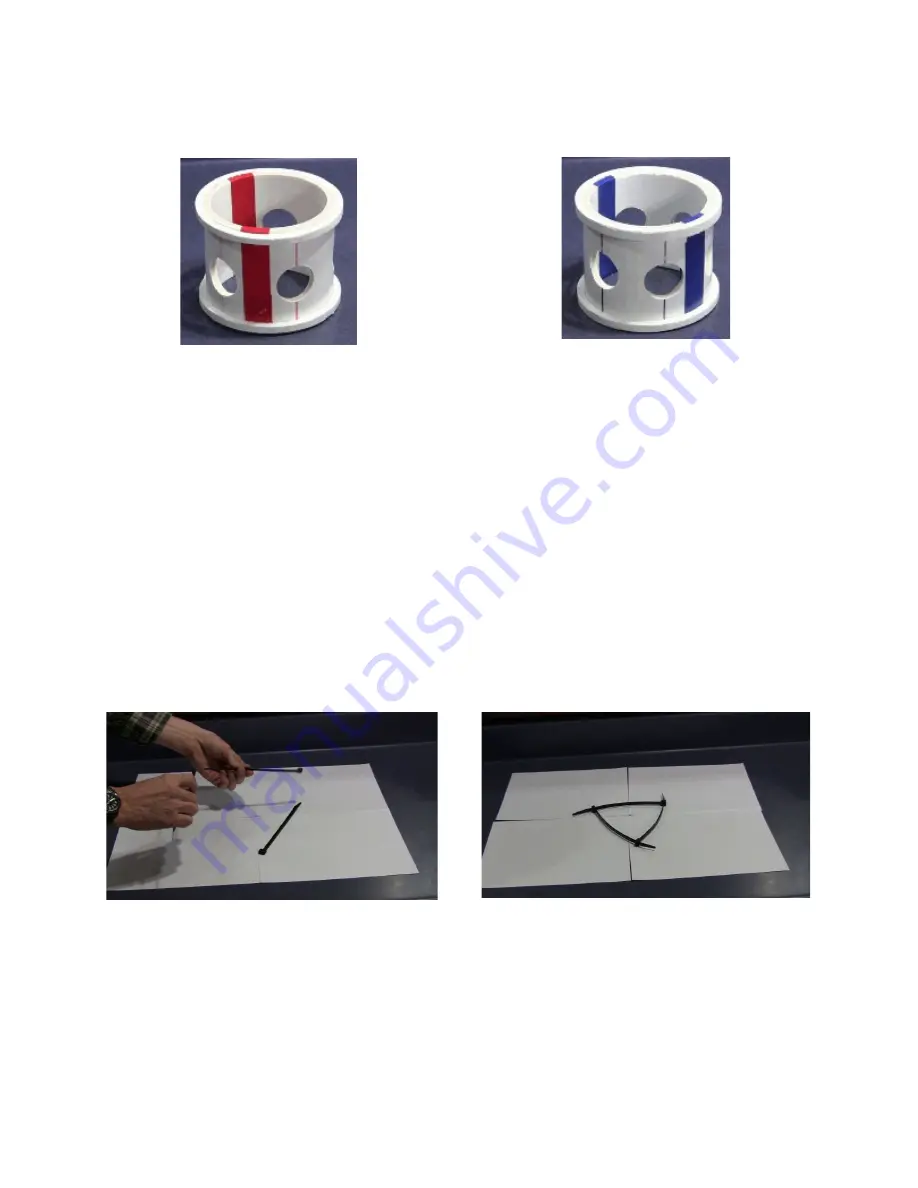
To attach the greenhouse covering to a Dual Covering Hub:

Connect 3 Heavy Duty 8” Zip Ties together in a “daisy chain” circle, with each of the
Zip Tie Ratchet Knobs on the outside of the circle.

Summary of Contents for 1 Extension Tunnel Dome

Page 1: ...Zip Tie Domes 1 Extension Tunnel Dome Assembly Manual c 2022 Zip Tie Domes 1857 Brindley Hollow Rd Buffalo Valley TN 38548 931 858 6892...

Page 2: ...Zip Tie Domes 1 Extension Tunnel Dome Assembly Manual Side View End View Top View...

Page 3: ...are Height 8 8 3 8 Width 17 4 3 4 Length 25 10 3 8 Floor space 377 square feet Step 1 Find a level area wide enough to assemble the dome Step 2 Unpack the dome materials where the dome will be constru...

Page 4: ...Hub Dual Covering Hub 3 Purple Support Hubs Standard Hub Dual Covering Hub 6 Red 5 way Hubs Standard Hub Dual Covering Hub 41 Center Rings and 212 Zip Ties The Zip Ties are available as 120 lb UV resi...

Page 5: ...end of the strut into the opening on the side of the hub Insert a zip tie into the end of the strut Place a center ring on the end of the strut Loop the zip tie through the center ring Tighten the zi...

Page 6: ...and lay them in a slight V at one end of the dome footprint A2 Take two black struts and put a black strut on the ends of the blue struts in the shape of a circle A3 Take two yellow struts and put a...

Page 7: ...he ends of the yellow struts along the length of the tunnel dome A5 Take two yellow struts and put a yellow strut on the end of each of the blue struts A6 Take two black struts and place them at the e...

Page 8: ...bs and center ring between every strut and connect them together to create the tunnel dome foundation The struts should be inserted on opposite sides of the hub or 180 degrees apart and attached to th...

Page 9: ...B1 Take 8 Red Struts and 4 Red Hubs Lay the struts and hubs in the shape of a 4 red triangles over the 4 black struts near the ends of the tunnel dome foundation...

Page 10: ...t the very ends of the tunnel dome B3 Take 4 blue struts and two purple support hubs Put a blue triangle with a purple support hub over the 2 blue struts on the sides of the tunnel dome The Standard p...

Page 11: ...the curved slots on the edge of the purple hub point up to the top and down to the bottom of the triangle so that the support struts can be installed later The curved slots will allow the Support Str...

Page 12: ...bs the Purple Support Hub will have 6 holes on one end for the struts and 2 holes on the other end for the support struts You want the two openings for the support struts on the top of the hub and to...

Page 13: ...This will allow the Support Strut to be attached when the dome is complete Now let s finish the dome B4 Take 4 blue struts and lay a blue strut on either side of the blue triangle with a purple hub...

Page 14: ...e is over every strut in the foundation ring B6 Put blue hubs at the top of the remaining triangles B7 Connect the hubs and struts to the foundation ring It will be easier to connect the struts to the...

Page 15: ...uts and place a black strut over the blue V at each end of the tunnel dome B10 Take 4 blue struts and put a blue strut on each side of the purple hubs on the sides of the tunnel dome B11 Raise the 1st...

Page 16: ...struts and 2 red hubs Make 2 red triangles with a red hub and place them over the black strut at each end of the tunnel dome C2 Take 4 red struts and attach them to 4 blue hubs Insert these into the 4...

Page 17: ...hubs Attach with zip ties at the bottom and the top C4 Take 8 blue struts and 4 blue hubs Make 4 blue triangles and place them over the 4 empty blue struts on the sides of the tunnel dome C5 Take 4 re...

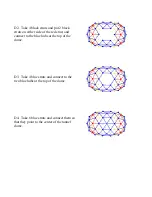
Page 18: ...truts and place a blue strut above the blue V to on the sides of the dome to complete the top of the 2nd tier Completing the Dome D1 Take 2 red struts and 2 blue hubs and attach each red strut to a bl...

Page 19: ...either side of the red strut and connect to the blue hubs at the top of the dome D3 Take 4 blue struts and connect to the two blue hubs at the top of the dome D4 Take 6 blue struts and connect them so...

Page 20: ...D5 Put a single purple hub in the center Make certain the openings in the purple hub point to the sides of the tunnel dome Standard Purple Hub Dual Covering Purple Hub...

Page 21: ...D6 Attach the two support struts Each Support strut comes in 2 pieces for shipping and have to be connected together Slip a 1 PVC pipe Coupler over the end of a support strut...

Page 22: ...the curved slot on the edge of a purple support hub and attach the strut to the center ring with a zip tie Take another support strut without a coupler and attach it to the support hub directly above...

Page 23: ...the sides of the struts After the dome is complete check the width of the dome to make sure it is correct and that it matches the width stated in the Assembly Manual or on the Tunnel Dome Calculator T...

Page 24: ...rength How To Cut Your Own Struts Use the Dome Calculator at www ZipTieDomes com to determine your strut lengths Here are some of the common strut sizes for the 1 Extension Tunnel dome 1 1 Extension T...

Page 25: ...f 30 Red C Struts 2 9 5 8 Length of 8 Yellow D Struts 3 3 Length of 2 Support Struts 5 8 1 2 when assembled Tunnel Dome Height 5 10 7 8 Tunnel Dome Width 11 9 3 4 Tunnel Dome Length 17 6 7 8 Floor Are...

Page 26: ...l through the lettering on the outside of the pipe that will help you line up the holes on each end of the strut so they are parallel to each other Mark the pipe with Blue Black Red or Yellow colored...

Page 27: ...lso be damaged by oil based paints wood preservatives chlorine based disinfectants and certain pesticides especially those containing sulfur or copper This problem is not specific to our geodesic dome...

Page 28: ...astic to the hub The design of the Dual Covering Hubs allows you to attach two layers of greenhouse covering to the dome one on the inside and one on the outside This creates a dead airspace insulatio...

Page 29: ...of the struts and the ridge on the outside of the hub It is easier to attach two layers to the dome if you start with the covering on the inside of the dome To do this you will need to find the exact...

Page 30: ...ladder Make certain the longer part of the covering is aligned down the length of the tunnel dome Get under the covering and place the marked center of the covering over the hub at the top of the dom...

Page 31: ...my Hubs do not have a ridge on the edge of the hubs for attaching two layers of greenhouse covering With the Standard Economy Hubs only one layer of greenhouse covering can be attached to the outside...

Page 32: ...and Carriage Bolts The 4 Test Caps can be purchased from Lowe s or Home Depot in the plumbing section of the store For the 1 Extension Tunnel Dome you will need 28 Test Caps and 14 Carriage Bolts 5 lo...

Page 33: ...Test Cap into the hub opening securing the greenhouse covering to the hub On the inside of the dome thread a Test Cap over the carriage bolt and secure with a washer and nut How to Build a Greenhouse...

Page 34: ...d loop them through the zip tie on the end of the strut If you have Dual Covering Hubs place the daisy chain zip ties over the ridge on the hub on the outside of the dome and cinch it down to secure t...

Page 35: ...ect the ends Pull the loose plastic flaps up to the door and attach the plastic to the door with clear tape or greenhouse clips Patch any holes with clear tape You can attach a clear plastic flap on t...

Reviews: