13
Step 4
Select the devices whose IP addresses need to be modified, and then click
.
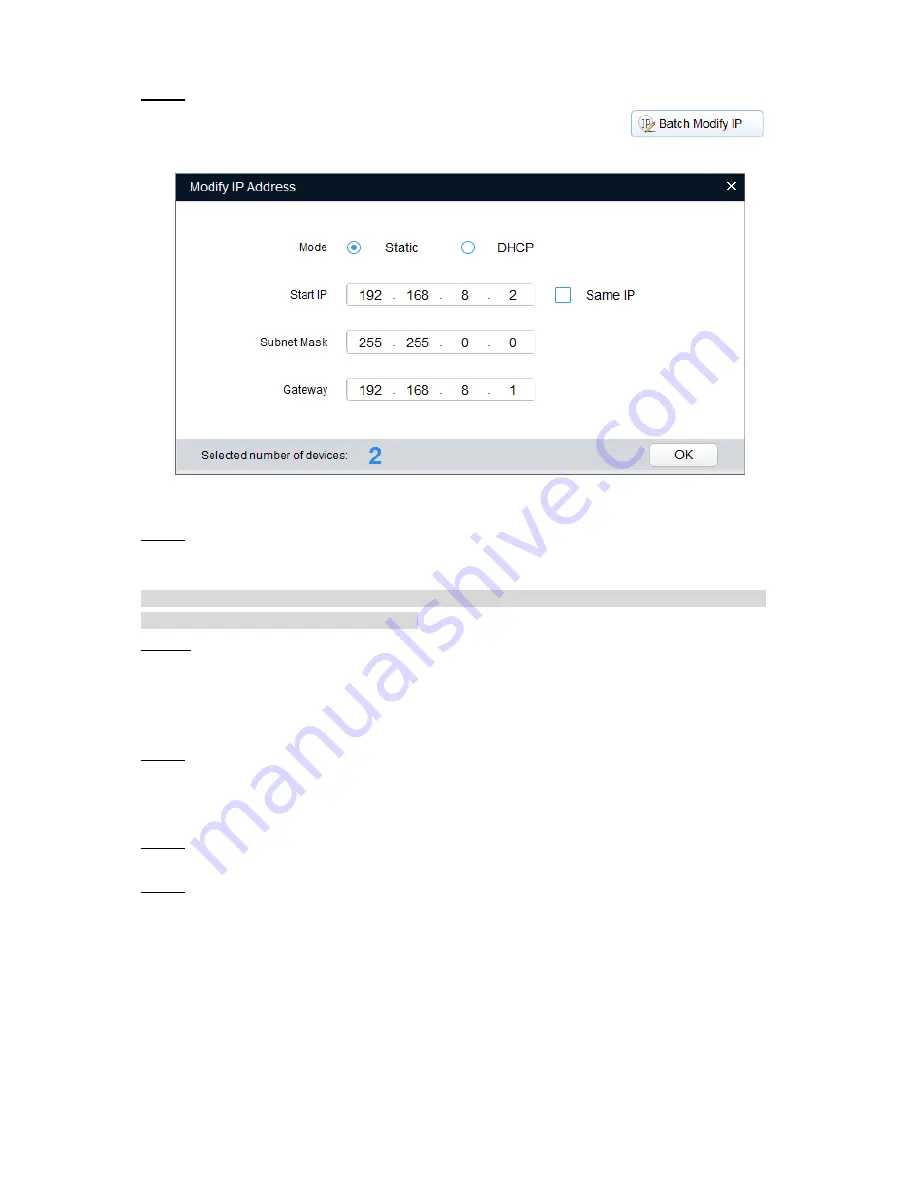
The system will display the dialog box of Modify IP Address, which is shown in Figure 3-2.
Figure 3-2
Step 5
Set the mode as
Static
, and enter the planned start IP, subnet mask and gateway.
Note
Set the mode as
DHCP
when there is DHCP server in the network, the device will automatically
acquire IP address from the DHCP server.
Step 6
Click
OK
to complete modification of device IP address.
3.3 Login WEB Interface
Step 1
Open IE browser, enter the modified camera IP address into the address bar and then press
Enter
button. Please operate according to the interface prompt if the interface displays guide of
Software License Agreement
and
Online Upgrade
.
Step 2
Enter username and password, click
Login
.
Step 3
For the first login, click
Click Here to Download Plug-in,
install controls according to system
prompt. The main interface will be shown in Figure 3-3 after control installation is completed.
Summary of Contents for DH-IPC-HF8242F-FD
Page 11: ...5 Figure 1 5 ...


