background image

Before Use

19

Initial Setting 

By using the Setup menu, you can make various adjustments
to items such as picture and sound. You can also set a 
language for the subtitles and the Setup menu, among other
things. For details on each Setup menu item, see pages 19
to 24.

To display and exit the Menu:

Press SETUP to display the menu. A second press of SETUP
will take you back to initial screen.

To go to the next level: 

Press 

B

on the remote control. 

To go back to the previous level:

Press 

b

on the remote control. 

General Operation

1. Press SETUP. The Setup menu appears.

2. Use 

/

B

to select the desired option then press 

V

or

ENTER to move to the second level. The screen shows the
current setting for the selected item, as well as alternate
setting(s).

3. Use 

v

/

V

to select the second desired option then press 

B

to move to the third level.

4. Use 

v

/

V

to select the desired setting then press ENTER to

confirm your selection. Some items require additional steps.

5. Press SETUP, RETURN or PLAY to exit the Setup menu.

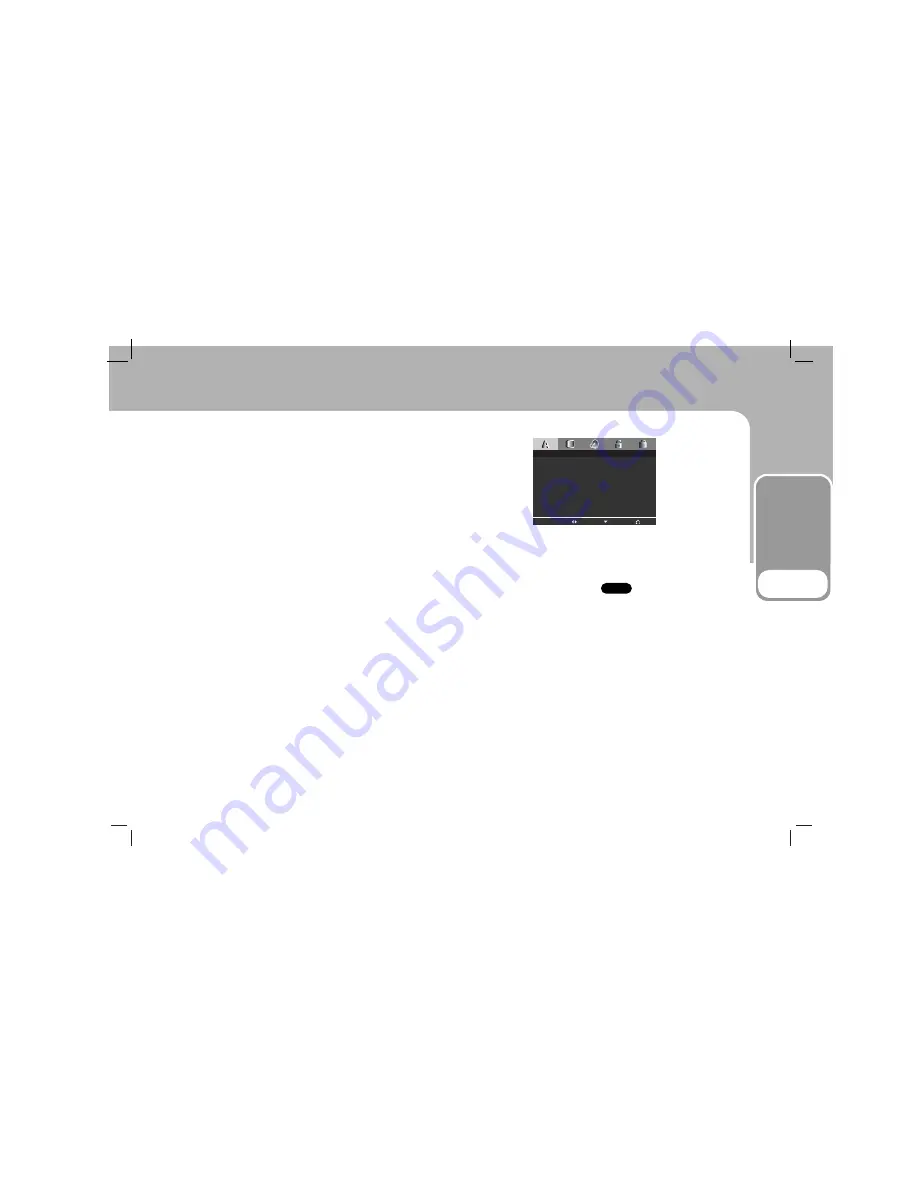
LANGUAGE

Menu Language

Select a language for the Setup menu and on-screen display.

Disc Audio / Subtitle / Menu 

Select the language you prefer for the audio track (disc
audio), subtitles, and the disc menu.

Original

: Refers to the original language in which the disc

was recorded.

Other

: To select another language, press number buttons then

Press ENTER to enter the corresponding 4-digit number according
to the language code list in the reference chapter. If you enter
the wrong language code, press CLEAR.

DVD

Menu Language

English

Original

Off

Original

Disc Audio

Disc Subtitle

Disc Menu

Move

Select

Exit

LANGUAGE

Summary of Contents for ZPA-314

Page 1: ...Installation and Operating Guide Warranty Model Number ZPA 314 Portable DVD Player Copyright 2005 LG Electronics U S A Inc For service support Call Toll Free Number 1 800 243 0000...

Page 2: ...water dripping or splashing and no objects filled with liquids such as vases should be placed on the apparatus CAUTION VISIBLE AND INVISIBLE LASER RADIATION WHEN OPEN AND INTERLOCKS DEFEATED NOTES ON...

Page 3: ...lose the authority to operate this equipment if an unauthorized change or modification is made REGULATORY INFORMATION FCC Part 15 This product has been tested and found to comply with the limits for a...

Page 4: ...O DANGEROUS VOLTAGE REFER SERVICING TO QUALIFIED SERVICE PERSONNEL ONLY 1 Read these instructions All these safety and operating instructions should be read before the product is operated 2 Keep these...

Page 5: ...outlet consult an electrician for replacement of the obsolete outlet 9 Protect the power cord from being walked on or pinched particularly at plugs convenience receptacles and the point where they ex...

Page 6: ...WMA discs JPEG discs About the Symbol Display may appear on your LCD display during operation and indicates that the function explained in this owner s manual is not available on that specific DVD vi...

Page 7: ...haped or octagonal It may result in malfunctions Notes on DVDs and Video CDs Some playback operations of DVDs and Video CDs may be intentionally programmed by software manufacturers This unit plays DV...

Page 8: ...w Motion 25 Title Menu 25 Disc Menu 25 Changing the Audio Language 25 Search 26 Still Picture and Frame by Frame Playback 26 Marker Search 26 Repeat 26 Repeat A B 27 Zoom 27 Camera Angle 27 Subtitles...

Page 9: ...u if available MENU Accesses menu on a DVD disc 5 b B v V left right up down Selects an item in the menu ENTER Confirms menu selection 6 PLAY N N Starts playback PAUSE X Pauses playback temporarily pr...

Page 10: ...power off in 10 minutes to prevent battery discharge 6 DC 9 5V IN Connect the AC adapter 7 Power ON OFF Switches the power on or off If the POWER switch on the main unit is off the remote control is n...

Page 11: ...u 9 0 9 number buttons Selects numbered items in a menu 10 SUBTITLE Selects a subtitle language 11 A B Repeat sequence 12 SLOW Reverse Forward slow playback 13 STOP x Stops playback 14 ZOOM Enlarges v...

Page 12: ...th the facing in the same direction as the on the battery holder 3 Replace the battery holder with battery into the remote control unit making sure that it is fully inserted Replace remote control uni...

Page 13: ...g so may cause electric shock Do not use an AC adapter other than one specified as it can cause a fire or damage to the player AC adapter This AC adapter operates on 100 240V 1 5A 50 60Hz MODEL NO DP...

Page 14: ...ay not work properly Do not leave your DVD player in a place where the temper ature exceeds 70 C 158 F or the pick up device may be damaged Examples include Inside a car with the windows closed and in...

Page 15: ...NOTES Do not detach the battery pack during playback Be careful not to drop the battery pack A Detaching the battery pack 1 Press the RELEASE knob 2 Slide the battery pack to the right until the hooks...

Page 16: ...imum using the headphones at room temperature 25 C NOTES Recharging times shown above depend on operating con ditions When the power is ON you cannot charge the battery Charge the battery at a tempera...

Page 17: ...ssary for additional connection information Video and Audio Connections to Your TV Make sure the DVD player is connected directly to the TV and not to a VCR otherwise the DVD image could be distorted...

Page 18: ...ponding in jack on your amplifier Use an optional digital audio cable Digital Multi channel sound A digital multi channel connection provides the best sound quality For this you need a multi channel a...

Page 19: ...d item as well as alternate setting s 3 Use v V to select the second desired option then press B to move to the third level 4 Use v V to select the desired setting then press ENTER to confirm your sel...

Page 20: ...e setting works only when the TV Aspect mode is set to 4 3 LetterBox Displays a wide picture with bands on the upper and lower portions of the screen Panscan Automatically displays the wide picture on...

Page 21: ...select 48 KHz When this choice is made this unit automatically converts any 96 KHz signals to 48 KHz so your system can decode them If your receiver or amplifier is capable of handling 96 KHz sig nals...

Page 22: ...e alternative must have the same rating or a lower one If no suitable alternative is found playback stops You must enter the 4 digit password or change the rating level in order to play the disc 1 Sel...

Page 23: ...can clear it using the fol lowing steps 1 Remove any disc from the unit and close the disc tray 2 Press SETUP and setup menu appears on the TV screen Use the numbered buttons to enter the 6 digit num...

Page 24: ...r buttons to select the track you want to view and press RETURN to return to the menu screen Menu settings and operating procedures may differ Follow the instructions on the each menu screen You also...

Page 25: ...P twice briefly to step back to the previous chapter track Slow Motion 1 Press SLOW t or T during playback The player will enter SLOW mode 2 Use the SLOW t or T to select the required speed t 1 16 t 1...

Page 26: ...back press ENTER when playback reaches the spot that you want to memorize 3 Repeat step 2 to enter up to nine Marker points on a disc 4 To remove the MARKER SEARCH menu press MARKER SEARCH To Recall o...

Page 27: ...atedly during playback to select a desired angle Note that the number of the current angle appears on the display Subtitles Press SUBTITLE repeatedly during playback to display the different subtitle...

Page 28: ...iles using software that cannot create a file system eg Direct CD it is impossible to playback MP3 WMA files We recommend that you use Easy CD Creator which creates an ISO 9660 file system File names...

Page 29: ...on a disc Normal does not play repeatedly NOTE If you press SKIP once during Repeat Track playback the repeat playback cancels Repeat A B 1 To repeat a sequence during disc playback press A B at your...

Page 30: ...now go into PAUSE mode 2 To return to the slide show press PLAY ENTER or press PAUSE again Zoom Use zoom to enlarge the video image 1 Press ZOOM during playback to activate the Zoom function 2 Each pr...

Page 31: ...he next page Press TITLE to move to the previous page Audio CD Menu MP3 WMA Menu 5 Press PLAY or ENTER to start 6 To resume normal playback from programmed playback Press DISPLAY then select a track o...

Page 32: ...nit for a long period of time since they leave marks on the surface Cleaning the unit To clean the player use a soft dry cloth If the surfaces are extremely dirty use a soft cloth lightly moistened wi...

Page 33: ...487 Kannada 7578 Kashmiri 7583 Kazakh 7575 Kirghiz 7589 Korean 7579 Kurdish 7585 Laothian 7679 Latin 7665 Latvian Lettish 7686 Language Code Lingala 7678 Lithuanian 7684 Macedonian 7775 Malagasy 7771...

Page 34: ...ael IL Italy IT Jamaica JM Japan JP Kenya KE Kuwait KW Libya LY Luxembourg LU Area Code Malaysia MY Maldives MV Mexico MX Monaco MC Mongolia MN Morocco MA Nepal NP Netherlands NL Netherlands Antilles...

Page 35: ...screen Select the correct input mode of the audio receiver so you can listen to the sound from the DVD player Connect the audio cable into the jacks securely Insert a playable disc Check the disc typ...

Page 36: ...tion audio 0 008 Operating conditions Temperature 5 C to 35 C Operation status Horizontal Connectors Video input output VIDEO In Out 1 0 V p p 75 negative sync 3 5mm mini jack x 1 Audio input output A...

Page 37: ...rom shipping installation adjustment of user controls calibration maintenance or failure to maintain or separate system components and 2 Damages or operating problems that result from normal wear and...

Page 38: ...rety for such advance shipment Your credit card will not be charged if you return the defective unit in 10 business days For advance shipment the return label will come with the replacement unit sent...

Reviews: