


W
A
TCHING
TV
23
Enter
Move
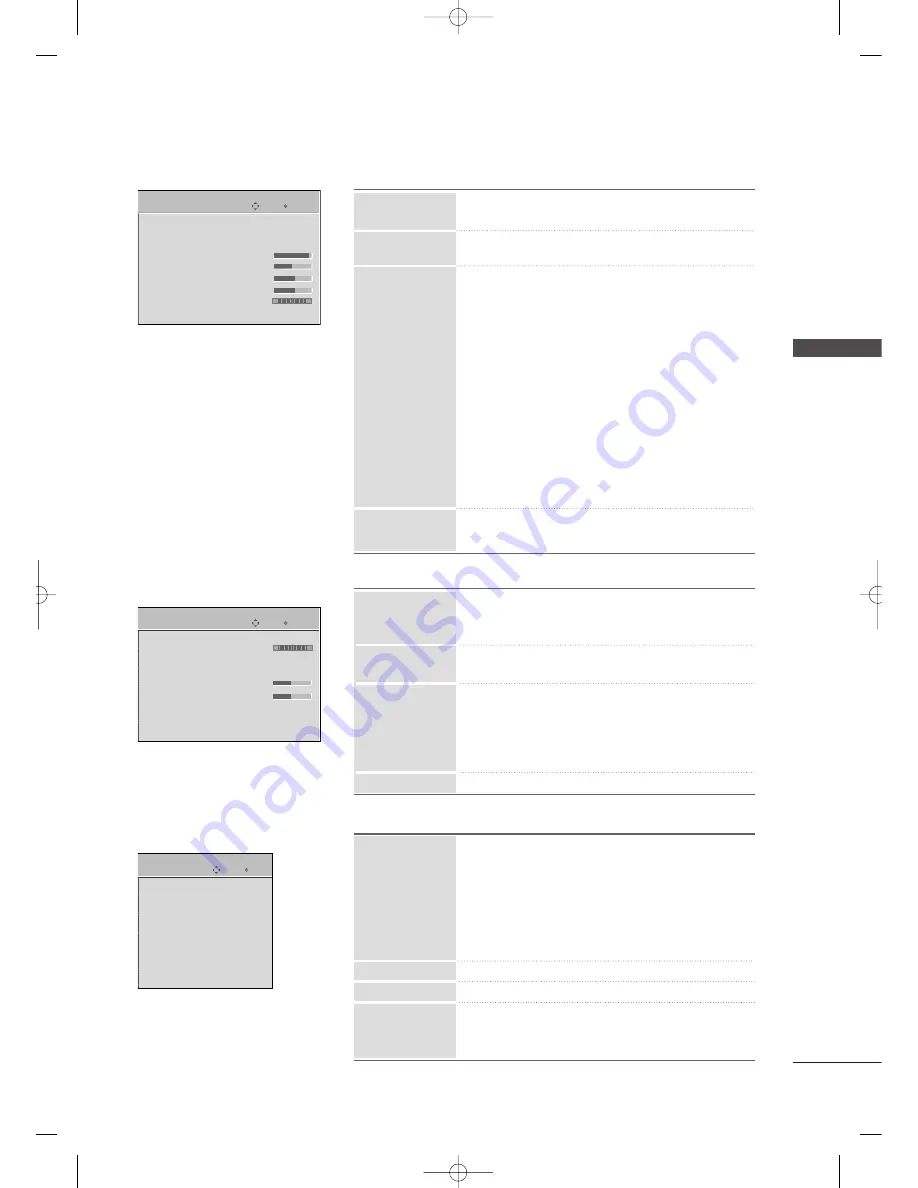
PICTURE
E
■
Select the desired picture format
■
Reduces the TV’s power consumption.
■
Select the Vivid, Standard, Cinema, Sport, Game,
Expert1 or Expert2.
■
Adjust the Contrast, Brightness, Sharpness, Color,
Tint.
■
Advanced Control: You can calibrate the screen for
each Picture Mode or set the video value according
to the special video screen.
■
Expert Control: By segmenting categories, Expert1
and Expert2 provide more categories which users
can set as they see fit, offering the optimal picture
quality for users.
■
Reset: Settings of the selected picture modes return
to the default factory settings.
■
Adjust the screen Resolution, Auto config, Position,
Size, Phase, Reset.
Aspect Ratio
Picture Mode
Screen (RGB-PC)
Power Saving
PICTURE
Aspect Ratio : 16:9
Power Saving
: Off
Picture Mode : Standard
• Contrast
90
• Brightness 50
• Sharpness 60
• Color
60
• Tint
0
R
G
AUDIO
Enter
Move
AUDIO
Auto Volume
: Off
Balance
0
Sound Mode
: Standard
• SRS TruSurround XT:Off
• Treble 50
• Bass 50
• Reset
TV Speaker
: On
L
R
■
Makes sure that the volume level remains consis-
tent whether you are watching a commercial or a
regular TV program.
■
Adjust the left/right sound of speaker to suit your
taste and room situations.
■
Select the Standard, Music, Cinema, Sport, and Game.
■
SRS TruSurround XT, Treble, Bass: Adjust the sound
to suit your taste and room situations.
■
Reset: Settings of the selected Sound Mode return
to the default factory settings.
■
Turn the TV speaker On or off.
Balance
TV Speaker
Auto Volume
Sound Mode
■
Auto: The time is set automatically from a digital
channel signal.
Select your viewing area time zone.
Select Auto, Off, On depending on whether or
not your viewing area observes Daylight Saving
time.
■
Manual: Set the clock manually.
■
Select On or Off.
■
Select On or Off.
■
Select the amount of time before your TV turns off
automatically: Off, 10, 20, 30, 60, 90, 120, 180, 240.
Off Time
On Time
Sleep Timer
Clock
Enter
Move
Clock
Off Time
: Off
On Time
: Off
Sleep Timer : Off
TIME
TIME
Z42PQ20-U 9/21/09 2:51 PM Page 23


