


27
Operation
RGB-PC Menu Options
RGB-PC Menu Options
RGB-PC Menu
DE F G
MENU EXIT
H-Position
50
V-Position
50
Clock
50
Phase
50
Auto config.
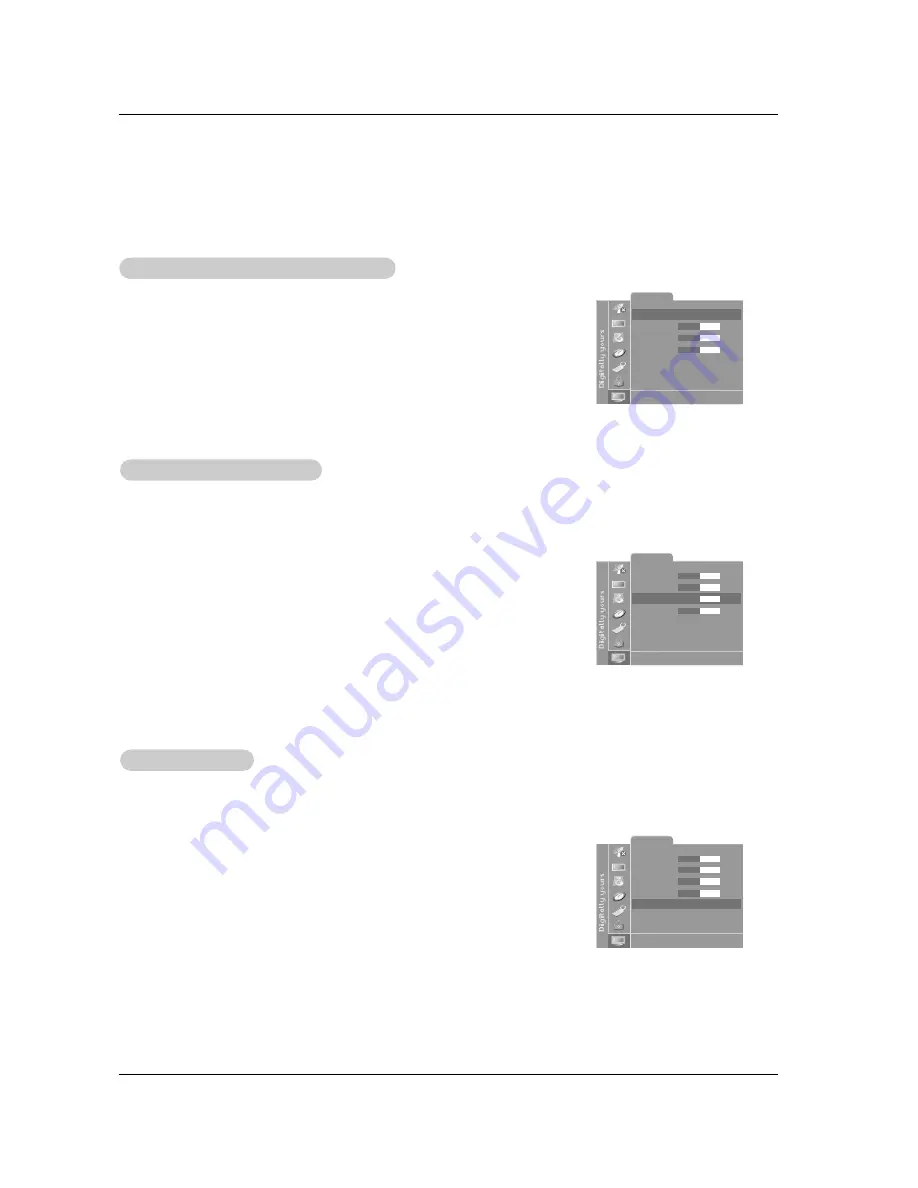
RGB-PC Menu
DE F G
MENU EXIT
H-Position
50
V-Position
50
Clock
50
Phase
50
Auto config.
Phase / Clock
Phase / Clock
Adjustment
Adjustment
Auto
Auto
Adjustment
Adjustment
- Automatically adjusts picture position and minimizes image shaking.
- If the image is still not correct, your Monitor is functioning properly but needs further adjustment.
1. Press the menu button and then use
D
/
E
button to select the
RGB-PC Menu
.
2. Press the
G
button and then use
D
/
E
button to select
Auto config.
.
3. Press the
G
button to run Auto configure.
• If the position of the image is still not correct, try Auto adjustment again.
4. If picture needs to be adjusted more after Auto adjustment in RGB-PC mode, you can
adjust the
Clock
/
Phase
.
1. Press the menu button and then use
D
/
E
button to select the
RGB-PC Menu
.
2. Press the
G
button and then use
D
/
E
button to select
H-Position
/
V-Position
.
3. Press the
F
/
G
button to adjust the position.
• The adjustment range are 0 ~ 100.
4. Press the exit button to save and return to TV viewing.
Adjusting Horizontal/ V
Adjusting Horizontal/ V
ertical Position
ertical Position
- Be sure to select the RGB-PC source before operation.
- If the picture isn’t clear after auto adjustment and especially if characters are still jittery, adjust the picture phase
manually.
- To correct the screen size, adjust
Clock
.
1. Press the menu button and then use
D
/
E
button to select the
RGB-PC Menu
.
2. Press the
G
button and then use
D
/
E
button to to select
Clock
or
Phase
.
4. Use the
F
/
G
button to make appropriate adjustments.
• The adjustment range of
Clock
is 0 ~ 100.
• The adjustment range of
Phase
is 0 ~ 31.
• Based on the input mode, the adjustment range of
Clock
/
Phase
may change.
4. Press the exit button to save and return to TV viewing.
RGB-PC Menu
DE F G
MENU EXIT
H-Position
50
V-Position
50
Clock
50
Phase
50
Auto config.


