background image

P A G E   2 9

206-3683

Installer’s Menus

Use the Installer’s Menus to make TV operation adjustments

1390-04   1.45                 01

03    POWER MANAGE

0

XX/XX/OX

TE =  10110000

Installer should leave item 00 FACT
MODE set to 0 (default).

Items 25-79

are service-type adjustments and only
qualified technicians having specialized
test equipment should access them.

Accessing the Installer’s Menu

Installer’s menus can be accessed by using the installer’s remote control.
Just press and hold MENU (about 8 seconds) until the display changes,
then press 9, 8, 7, 6, then ENTER. To exit the Installer’s Menu, press
ENTER again. 

Any changes you make will be stored in nonvolatile memory.

The Installer’s Menu opens with item 03, POWER MANAGE. Press the
SELECT key to sequence through the various items. Or, access an item
directly by entering the line number, then pressing MENU. For example, to
access the Start Channel option which is on line 11, press 11, then MENU.
To change a current setting use the Left/Right ADJ keys. 

Using the Installer’s Menu

Items 00-24 are immediately accessible only upon entering the Installer’s
Menu. Their numbers, descriptions, ranges, factory default settings, and a
place for listing any changes made on-site are given below. A second sec-
tion of the Installer’s Menu that is intended for qualified service techni-
cians only is not shown (items 25-79). Normally these items do not
require adjustment.

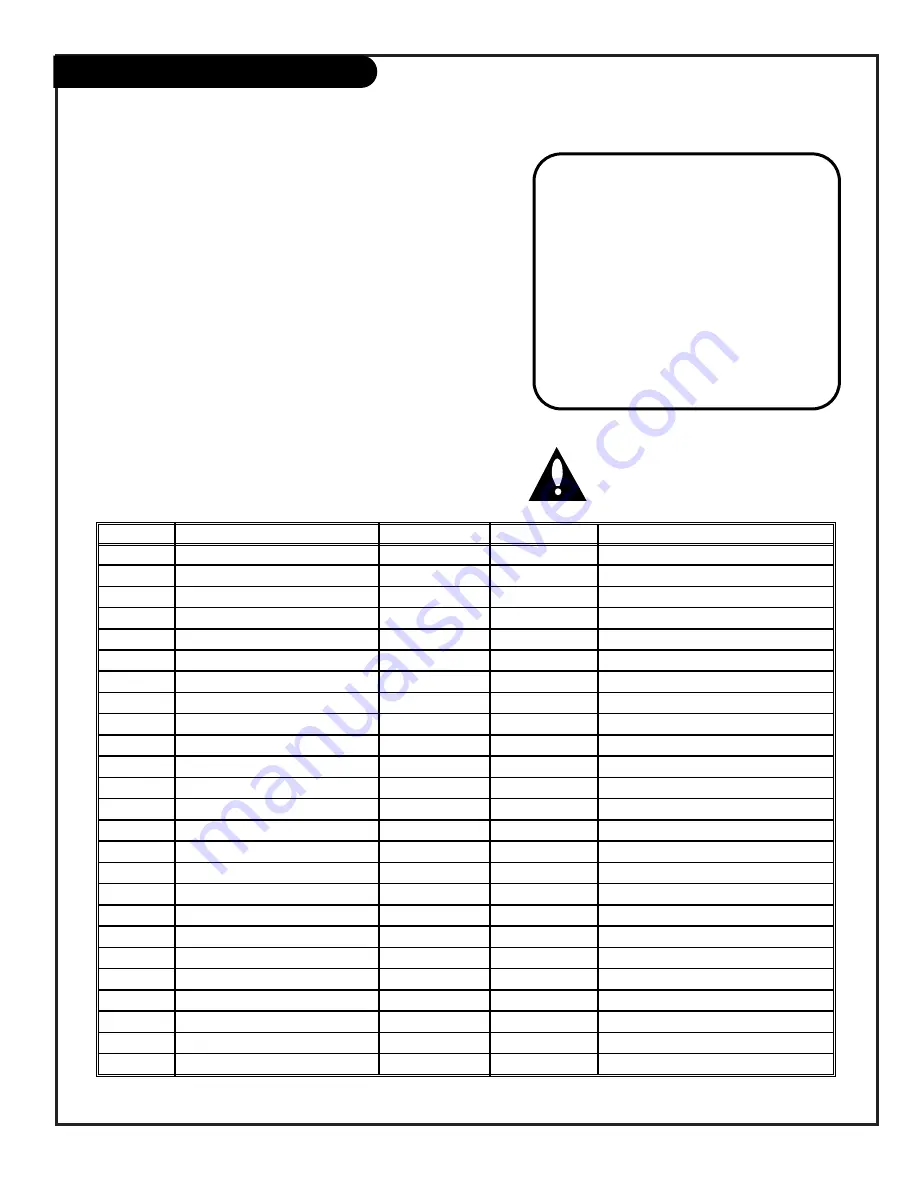
Items in the Installer’s Menu:

Item

Description

Range

Fact. Set

Recommend. Setting

00

FACT MENU

0 - 1

1

Leave default set 0

01

PRESET PX

0 - 1

1

02

PRESET AX

0 - 1

1

03

POWER MANAGE

0 - 7

0

04

VERT POS

0 - 30

15

05

HORZ POS

0 - 45

17

06

BAND/AFC

0 - 7

0

07

MIN VOLUME

0 - 63

0

08

MAX VOLUME

0 - 63

63

09

AC ON

0 - 1

0

10

KEY DEFEAT

0 - 1

1

11

STRT CHANNEL

0 - 255

255

12

STRT VOLUME

0 - 63, 255

255

13

HOSPITAL MODE

0 - 2

0

Leave default set 0

14

CHAN LOCK

0 - 1

0

15

GHOST CH.

0 - 1

0

16

SCAN MODE

0 - 3

0

Leave default set 0

17

TEXT MODE

0 - 1

1

18

SLEEP TIMER

0 - 1

1

19

ALARM

0 - 1

1

20

CH. OVER RIDE

0 - 1

1

21

OLD OCV

0 - 1

0

22

CAPTION LOCK

0 - 1

0

23

FUNCTION PRE

0 - 1

0

24

FEATURE LEVEL

0 - 1

1 Zen 1/0 P Lbl

Leave default set 1 (1 Zen 1)

Summary of Contents for Concierge H19E34Y

Page 1: ...Copyright 2002 Zenith Electronics Corporation t a b l e o f c o n t e n t s p a g e 5 Installation Operating Guide Warranty Model Numbers H19E34Y H20E34Y H25E34Y ConciergeTM TVs...

Page 2: ...mful interference when the equipment is operated in a residential installation This equipment generates uses and can radiate radio frequency energy and if not installed and used in accordance with the...

Page 3: ...d by placing the product on a bed sofa rug or other similar surface This product should not be placed in a built in installation such as a bookcase or rack unless proper ventilation is provided or the...

Page 4: ...d service person nel 20 Damage Requiring Service Unplug this product from the wall outlet and refer servicing to qualified service personnel under the following condi tions a If the power supply cord...

Page 5: ...a 6 Cable service 7 Antenna with VCR 8 Cable service with VCR 9 External Speaker 10 Step 2 Channel Search and Reception Setup Auto Program 11 Select Antenna or cable service and perform channel search...

Page 6: ...s A 300 to 75 ohm adapter is not included with the Zenith Concierge TV 300 TO 75 OHM ADAPTER Antenna Flat wire 300 ohm 300 75 ohm Adapter TV Back Panel Expanded View TV Back VIDEO IN ANTENNA CABLE M P...

Page 7: ...ut 3 4 output switch RF Coaxial Wire 75ohm TV Back Connections Panel Expanded View TV Back VIDEO IN Super Port SPEAKER OUT AUDIO IN ANTENNA CABLE M P I Locate the Antenna Cable jack on the back of the...

Page 8: ...ck Panel Expanded View TV Back VIDEO IN ANTENNA CABLE M P I Super Port SPEAKER OUT AUDIO IN In Out Audio Video 3 4 VCR Back VCR Back AV Panel output switch Locate the Antenna Cable jack on the back of...

Page 9: ...t switch Cable TV Wall Jack A V Cables Not included with TV RF Coaxial Wire 75ohm TV Back Panel Expanded View TV Back VIDEO IN ANTENNA CABLE M P I Super Port SPEAKER OUT AUDIO IN In Out Audio Video 3...

Page 10: ...nal speaker Connect a standard audio cable from the Speaker Out jack on the TV to the Audio In jack on the external speaker Audio In Speaker back TV Back Panel Expanded View TV Back VIDEO IN ANTENNA...

Page 11: ...ECT choose either CABLE TV or OFF AIR ANTENNA on your screen Press the Right or Left ADJ arrow key to begin the Channel Search Press ENTER when the channel search is complete 1 2 3 4 5 6 7 TIMER CH PR...

Page 12: ...o turn on your TV To access the menus press the MENU button on the control panel Cycle through the various menus by pressing MENU repeatedly Use the SELECT button to highlight the option you want to m...

Page 13: ...nnel numbers and press ENTER to go to new channel remote control part number SC652A 124 213 02A TIMER Press repeatedly to choose a TV turn off time up to 4 hours Use to pick AM PM in the Alarm menu VO...

Page 14: ...4 hours Use to pick AM PM in the Clock Alarm menus on some TVs VOLUME LEFT RIGHT Adjusts the sound levels CC CLOSED CAPTIONING Press to access closed captions Press ENTER to exit An overview of the ke...

Page 15: ...or up to 99 hours with the use of a password CONTROL MENU 25 OTHER MENUS AND ON SCREEN DISPLAYS Channel Time Shows the current time channel video type of incoming audio signal and XDS data if availabl...

Page 16: ...nu select the Add Del Blnk option Use Channel Up Down to select the option and choose Added Note If the option was turned off in the Service menu you will have to reinstate it before it can appear as...

Page 17: ...ing Custom Channel Labels First select a channel using the NUMBER keypad and ENTER or the Channel Up Down arrows on an Installer s remote control To select a deleted channel use the NUMBER keypad and...

Page 18: ...UTES The last two digits that are entered when setting the clock or the wake up alarm TIMER Chooses AM or PM when setting the clock Clock Auto Manual Operating Modes Setup Use MENU SELECT and ADJ Left...

Page 19: ...day Off Time Sets a time that the TV will turn itself Off each day On Off Timer Enables or disables the On Off Timer functions The On Off Timer can be disabled but the settings will be retained The c...

Page 20: ...E QUICK MUTE ON OFF ON OFF ON OFF AUTO PROGRAM ADD DEL BLNK CH LABELS CLOCK SET TIMER CAPTIONS LANGUAGE SETUP MENU TO SET CAPTIONS AUTO PROGRAM ADD DEL BLNK CH LABELS CLOCK SET TIMER CAPTIONS LANGUAGE...

Page 21: ...LUME CHANNEL TV FM CC MENU ALARM ADJ ADJ SELECT 2 1 4 Choose the language for the on screen menus Press the MENU key on the remote control so the Setup menu appears Use the SELECT key on the remote co...

Page 22: ...ou want Preset moves all the above options back to their original factory set lev els Using SELECT on the installer s remote control choose Contrast on your screen Using a Right Left ADJ arrow change...

Page 23: ...you can turn it on or off with the Lock On Off option If used this optional feature can block undesirable programming from appearing on the TV You can set different Parental Control viewing restric t...

Page 24: ...Set the Lock On Off option to either On or Off On Programs will be restricted Off Programs will not be restricted although restriction settings will be retained Note Some broadcasts do not include rat...

Page 25: ...ons Alarm Menu Press ALARM Sets a time the TV will turn itself on CHANNEL PREVIEW 5 9 20 32 44 AUX CC FOR PARENTAL CONTROL CH TO SELECT ENTER TO QUIT VOLUME Press the remote keys indicated below to ac...

Page 26: ...and 4 Note Be advised that running Auto Program overwrites any custom channel setups removes Blanked Deleted 2 Select a channel bank with an installer remote press SOURCE BANK and repeat CHANNEL BANK...

Page 27: ...4 AUTO PROGRAM removes any channels previously customized with ADD DEL BLNK The channels available on your antenna cable will be entered and any channels previously entered but not currently available...

Page 28: ...6 37 38 39 40 41 42 43 44 45 46 47 48 49 50 N K 1 2 3 4 B Purpose Channel Number A 101 102 103 104 105 106 107 108 109 110 111 112 113 114 115 116 117 118 119 120 121 122 123 124 125 FM N K 1 2 3 4 B...

Page 29: ...ent setting use the Left Right ADJ keys Using the Installer s Menu Items 00 24 are immediately accessible only upon entering the Installer s Menu Their numbers descriptions ranges factory default sett...

Page 30: ...n in the Setup Menu 07 MIN VOLUME Minimum Volume This function determines the minimum volume level allowable with the VOLUME VOL Up Down control In this way for example someone cannot set the volume t...

Page 31: ...below the lowest channel or up higher than the highest and TV goes to FM radio Channel down below lowest FM station or Channel up higher than the highest and TV channels return 3 Channel down below t...

Page 32: ...ay Before you begin The master TV should be connected to a good stable signal from an over the air antenna or cable service and turned on Teaching and Learning is only possible between identical model...

Page 33: ...ly to pick Memory 1 2 3 or 4 If you choose a Memory Bank that already has a master TV s setup already in it it will be overwritten by this master TV s setup Once the Clone memory bank is select ed pre...

Page 34: ...er Use the printed menu illustrations on the quick setup sheet supplied with the Clone as an aid to making your programming choices Although the menus are not all displayed the clone functions all ope...

Page 35: ...tings Block program Content based on individual parameters such as Strong Dialog Mature Language Sex Scenes Violence Scenes or Fantasy Violence Scenes in the Content Blk option How many hours do you w...

Page 36: ...CK Press ADJ Right arrow to go to the CONTENT BLOCK menu Use SELECT to highlight an option like SEX SCENES Press ADJ Right arrow to choose Unblocked TV PG AND ABOVE TV 14 AND ABOVE or TV MA AND ABOVE...

Page 37: ...cked TV Y7 Unblocked Blocked Unblocked TV G and Above TV PG and Above TV 14 and Above TV MA Unblocked TV Y and Above TV Y 00 Hours To Set Enter Code On Off SETUP MENU DIALOG LANGUAGE SEX SCENES VIOLEN...

Page 38: ...ess the remote keys indicated below to access these menus and displays Ch 25 PBS 7 15 OLD TIME MOVIES LENGTH 01 00 TIME LEFT 00 36 Rating TV 14 PM Channel Time Display Press ENTER Shows currently sele...

Page 39: ...net again 3 Let the cabinet air dry before turning the Concierge TV on Use a quality wood cleaner and polish This will protect the TV from dirt and dust as well as keep the cabinet looking new If the...

Page 40: ...A V cables properly installed Are the wires for external speakers if you have external speakers properly installed If the audio mode is set to SAP the channel may not have a SAP program Are you in TV...

Page 41: ...ent does not always have to be visible for your home to be using an antenna AUTO PROGRAM Auto Program has the Concierge TV automatically find all the channels available in your area DELETE Lets you re...

Page 42: ...P A G E 4 2 206 3490 O Notes...

Page 43: ...P A G E 4 3 206 3490 O Notes...

Page 44: ...abuse negligence acts of God or other causes beyond the control of Zenith Any alteration of the product after manufacture voids this warranty in its entirety THIS WARRANTY IS IN LIEU OF ANY OTHER WAR...

Reviews: