LSM 880
Left Tool Area and Hardware Control Tools
ZEISS
10/2014 V_01
000000-2071-464
243
Multiple positions
•
Select from the
Working Direction
drop down menu an entry other than
Single position
.
•
Select as many individual well positions as required (all are selectable) by just clicking on them. All
selected wells will be highlighted in blue. You can deselect a highlighted well by just clicking with the
right mouse button on it again.
Alternatively, a whole block of chambers can be selected / deselected by drawing a frame which
contains the centers of the selected / deselected chambers.
By pressing the
Select All
button, all wells will be selected.
By pressing the
Clear All
button, all wells will be deselected.
Selected wells will be highlighted and will be approached sequentially as follows:
Row by row:
Measurement is performed row by row. Each row starts from the left site.
Row by row meander:
Measurement is performed row by row. Rows start alternatively from the left
and right. First row starts from the left.
Column by column:
Measurement is performed column by column. Each column starts from the top.
Column by column meander:
Measurement is performed column by column. Columns start
alternatively from the top and bottom. First column starts from the top.
If the
Snap
action button is pressed, only the first highlighted position will be approached. To
approach all listed positions sequentially press the
Start Experiment
action button.
(3)
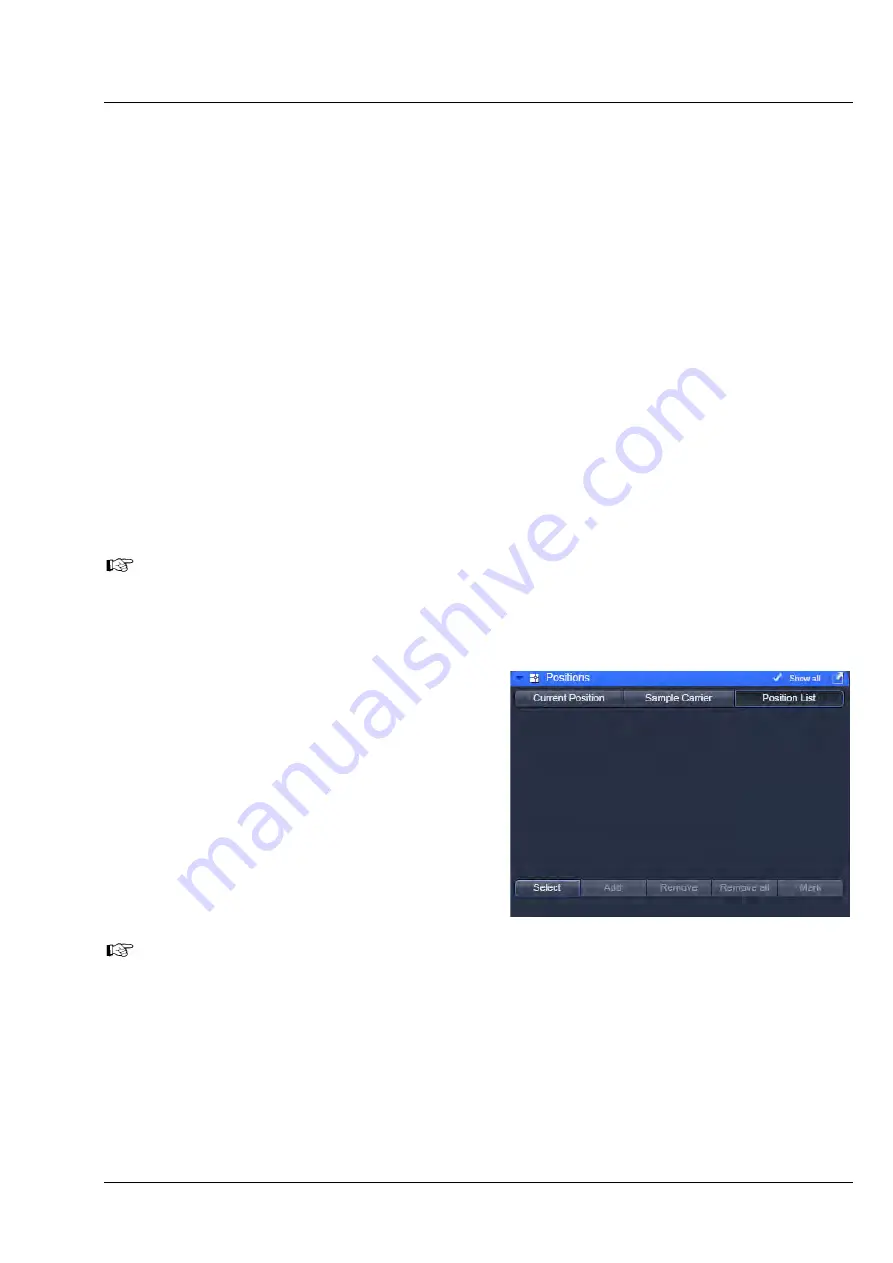
Position list
The
Position List
panel can be used to define
several measurement positions in a scanned image,
which will be approached sequentially. You can
approach these positions either with the scanning
stage if the
XY stage
button is activated, or by the
scanning mirrors, if the
Scanning
button is
activated.
•
Click on the
Positions List
tab to open the
Position List
panel (Fig. 323). Click on any
other tab to leave the panel.
•
Select between
Scanner
and
XY stage
.
Please note, if you toggle between
Scanner
and
XY Stage
, all marked positions will be
lost.
•
Press the
Select
button. This activates the cursor (cross line) to define positions in the scan image. You
can position the cross line via the cursor.
Activating / deactivating the
Select
button will show or hide added positions.
Fig. 323
Position List panel
Summary of Contents for LSM 880
Page 1: ...LSM 880 LSM 880 NLO Operating Manual October 2014 ZEN 2 black edition...
Page 650: ......
Page 678: ......
Page 687: ......
Page 688: ......


