DX
fig. 7
fig. 8
After having removed the front brackets from the stand
(fig. 5), fit the rear brackets (fig. 6 and 7) to the stands
back, using the screws supplied (fig. 8).
fig. 9
fig. 10
Undo the two screws found left and right on the lower
part of the tumble dryer back (fig. 9). Lift the machine
and correctly place it over the stand, trying to position
first the stand against the rear brackets and then the
suction caps over the stand surface (fig. 10).
fig. 11
Fit the rear brackets to the machines back using the
previously removed screws (fig. 11).
fig. 12
fig. 13
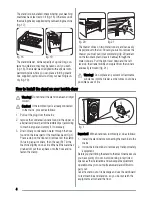
The stands drawer, with a capacity of up to 20 kg, con-
tains two dividers; they may be taken out if you wish
(fig. 12). The drawer was designed with a special com-
partment inside where you can place a folding plastic
box, supplied, quite useful to store your washing laun-
dry (fig. 13).
fig. 14
fig. 15
The drawer slides on two metal runners and can easily
be pulled out to the full. Should you wish to remove the
drawer, you must pull it out completely (fig. 14) and act
on the two black plastic levers halfway through the
metal runners. Pull the right lever down and the left
lever up: the drawer will be uncoupled from the runners
and easily removed (fig. 15).
Warning! Do not place any solvent or flammable
substance into the drawer, as the fumes could be a
possible cause of fire.
6


