background image


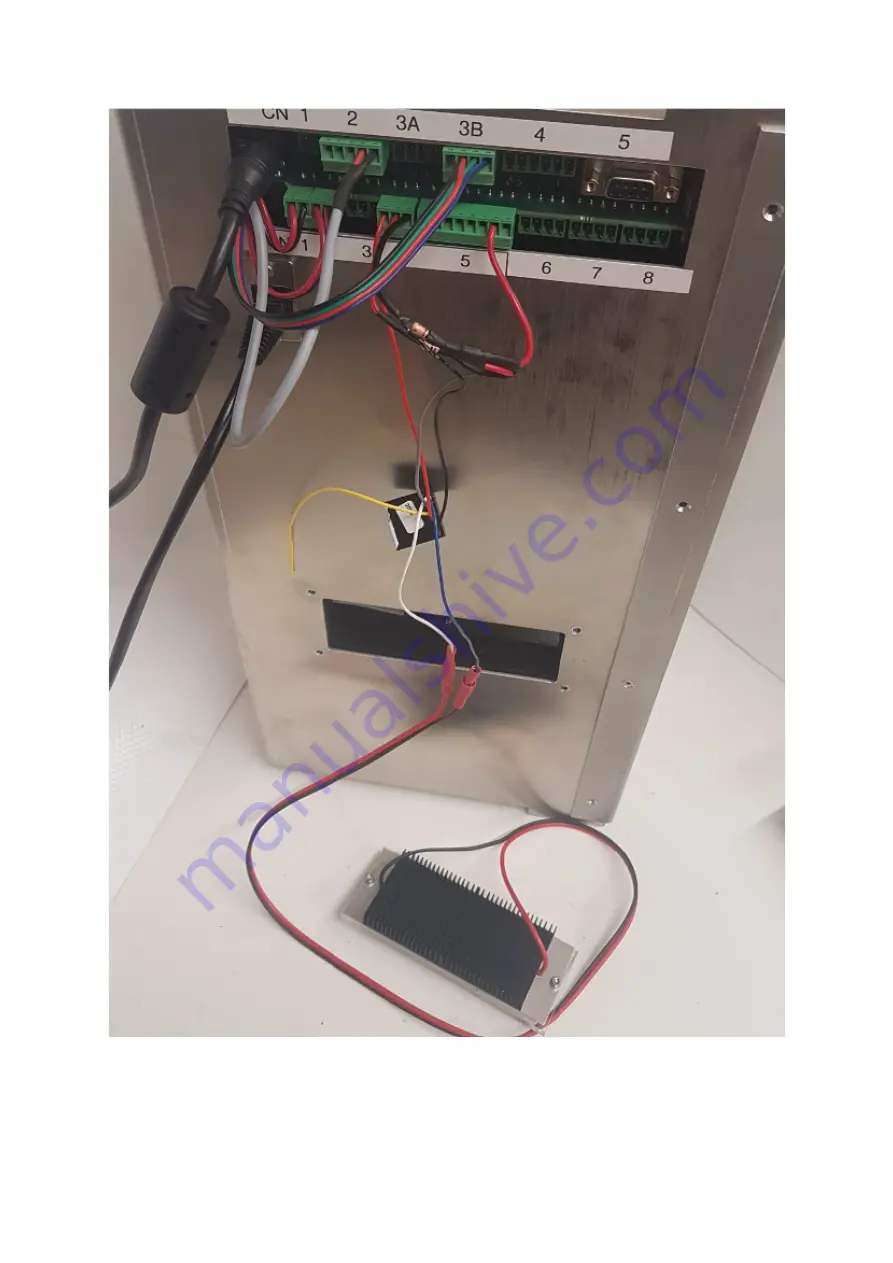
Connection of the LED holder to the MWP unit via the control circuit 


The LED holder can be attached to the light plate. This can then be inserted into 

the MWP unit with the foam door to prevent any excess light entering or exiting 

the unit (see images below). 

Summary of Contents for MWP

Page 1: ...ary depending on the unit MWP_vb with come with a diffuser stand MWP_sc with come with a clear stand 5 A standard temperature control system is included with all units The peltier temperature control...

Page 2: ...ocket of the MWP and plug it into the mains socket 3 Connect the ethernet cable at the side of the MWP unit just below the 12V power cable and plug this into any of the 4 slots available in the LAN se...

Page 3: ...ntiks type in the network password which is initially provided as behaviour simply go to the address bar of the web browser and type in the IP address for your Zantiks unit 6 Your web browser should n...

Page 4: ...rporates control of both the brightness of the light and the duration of the stimulus The brightness of the light is controlled by the voltage set on output4 This is the 7th connector on the 8 way out...

Page 5: ...ating how the wires for the light stand should be connected in CN4 and CN5 of the lower board The LED holder is then connected to the control circuitry with the push connectors Push plugs connecting L...

Page 6: ...to the MWP unit via the control circuit The LED holder can be attached to the light plate This can then be inserted into the MWP unit with the foam door to prevent any excess light entering or exitin...

Page 7: ...LED holder attached to light stand with green LEDs...

Page 8: ...permanently powered from the 3 way connector plugged in as in the previous photo CN4 CN4 each provides permanent 12V power a 12V power source switched by relays controlled from Zanscript and a ground...

Reviews: