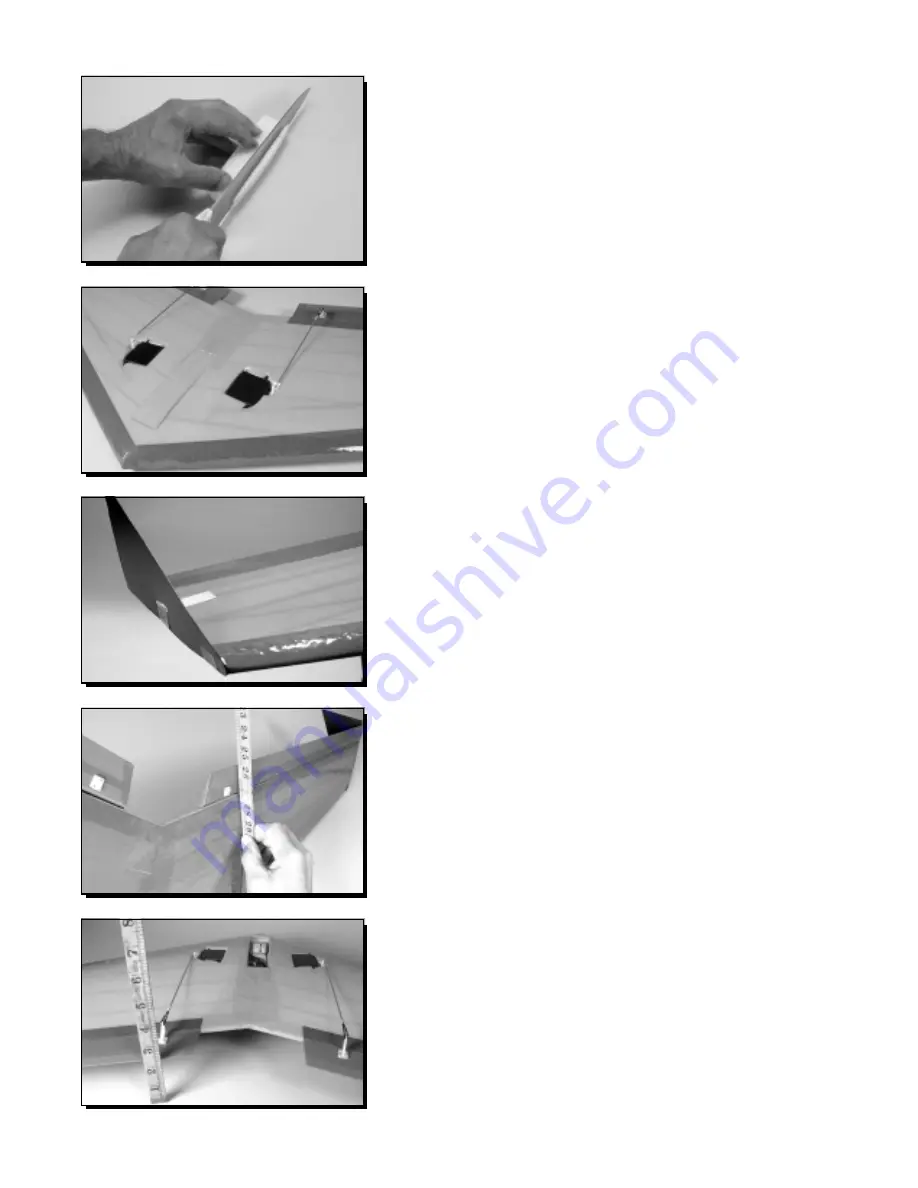
Put a piece of fiber filament tape through the slot in the winglet to
the top of the wing and wrap it around to the bottom of the wing.
Add two more pieces of tape to secure the winglet in place. Make
sure the elevons will not bind against the winglets as they move.
The winglets are at the very back of the airframe where excess
weight is a real balance factor. The tape method of fastening is both
light and strong. If a different winglet fastening system is preferred,
keep the weight down to the weight of two short strips of tape.
Use the cookie that was removed from the electronics bay to
make a hatch cover. Use the curved side to match the curvature
of the wing. Spray and tape the cover.
Turn the transmitter on and then the receiver. Set the wing on a
couple rolls of tape or anything that will let the elevons move
freely. Hold a ruler near the elevon. Pull the elevator stick back to
the full ‘up’ position without any right or left movement. The throw
should be 1/2”. The full down throw should be the same. Now
push the stick to the full right position. The right elevon should
move up and the left move down. The throw should be 1/2”. Less
throw can be adjusted by moving the control rod to the next hole
down on the servo control arm.
Turn the transmitter on and then the receiver. The initial trim
settings should be adjusted holding a straight-edge against the
bottom of the wing at the TE. The straight-edge should be flush
with the bottom of the wing and the elevon for the last three inches.
Use the threaded clevis to adjust them to the proper position, do
not use the trim levers on the transmitter.
15
Fit the hatch cover to the electronics bay to make sure that it fits.
Do not tape it in place until the wing is balanced.
Summary of Contents for ZAGI-DC
Page 19: ......


