background image


Shortcut Key Guide 

Ac vate the Signal Input Selec n menu.Use

 and 

 to navigate and M to select the source. 


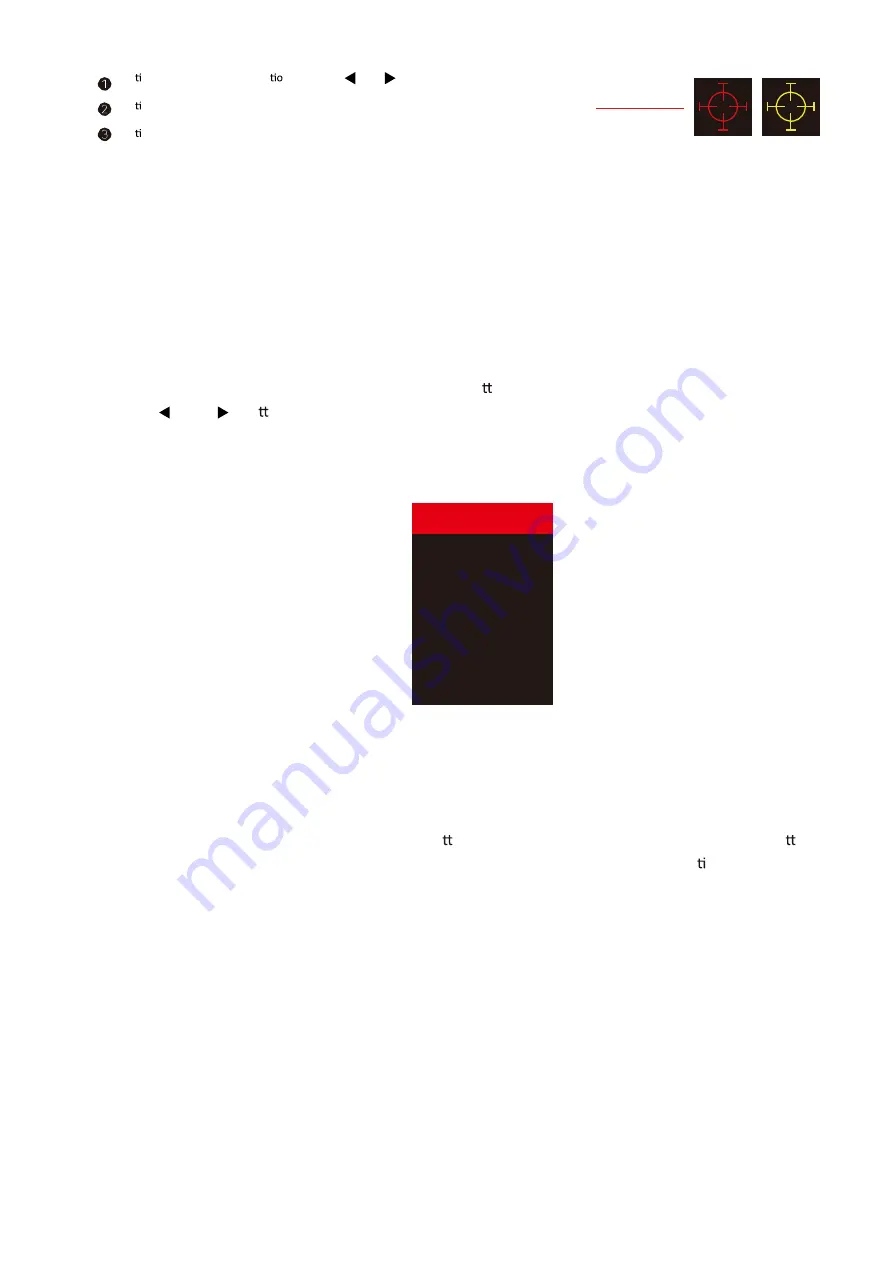
Ac veate the Line of Sight feature. Further press to cycle between the colors or turn o


Ac veate the ECO Mode feature.Further press to cycle through the presets. 


INITIAL SETUP


Connect the monitor to a power outlet.


1.   Press the POWER button on the monitor or to turn it on (The indicator will be blue).


2.   Connect the relevant cable to the corresponding input on the monitor. The source will be 

automatically detected.


3.   To change between inputs, press the “Source” bu on to enter the source menu. Use the


”and“

” bu ons to choose the input source between 

Auto Select, 

HDMI1,HDMI2 and DP.


MENU OPTIONS


The menu for the monitor can be accessed by pressing the menu button on the control panel. This menu is 
separated into the following sub menus: Picture Se ings, Image Settings, Colour Temperature, OSD Se ings, 
Reset, and Miscellaneous options, details of each menu can be found in the following sec on.


HDMI1

DP 

HDMI2 

Summary of Contents for UG34

Page 1: ...Model UG34 Instruction Manual 34 LED GAMING MONITOR Please read this manual thoroughly before use and keep it handy for future reference...

Page 2: ...acturer or sold with the apparatus When a cart or stand is used use caution when moving it to avoid any injuries or damage from it tipping over Unplug the apparatus during lightning storms or when unu...

Page 3: ...ap or shake the screen this may damage internal components WARNING To reduce the risk of re or electric shock do not expose this apparatusto rain or moisture The apparatusshall not be exposedto drippi...

Page 4: ...WHAT S INCLUDED...

Page 5: ...of the screws is 4 x M6 x 10 not supplied Do not use screws longer than specified or damage will occur to the internal components NOTE As the monitor is considered heavy please consult with a professi...

Page 6: ...ue 2 Connect the relevant cable to the corresponding input on the monitor The source will be automatically detected 3 To change between inputs press the Source bu on to enter the source menu Use the a...

Page 7: ...htness value from 0 to 100 Resolution 3440x1440 100Hz DP 3440x1440 100Hz Resolution 3440x1440 100Hz 3440x1440 100Hz HDMI1 Contrast Change the contrast ratio from 0 to 100 DCR Turn the Dynamic Contrast...

Page 8: ...0 to 100 Picture Mode Low Blue Light 2 2 Standard Warm 50 50 0 Resolution 3440x1440 100Hz 3440x1440 100Hz HDMI1 Picture Quality Setting Sharpness change the sharpness vlaue from 0 to 100 Response tim...

Page 9: ...ion by Auto 4 3 1 1 Audio Mute Turn on or o to mute the Audio source Volume Change the Audio source value from 0 to 100 Mute Off 50 Resolution 3440x1440 100Hz 3440x1440 100Hz HDMI1 Wide Screen Resolut...

Page 10: ...I2 1 4 Mediun TopRight Resolution 3440x1440 100Hz 3440x1440 100Hz HDMI1 OSD H Position OSD V Position OSD Time Out 50 50 20 20 Normal Resolution 3440x1440 100Hz 3440x1440 100Hz HDMI1 V position Change...

Page 11: ...tive Sync HDR Turn of or o HDR function MPRT Turn on or o MPRT function Firmware update Update Firmware by USB port Reset Return to factory mode FreeSync Adaptive Sync Firmware Update MPRT Reset Off O...

Page 12: ...onse Time MPRT 1ms Viewing Angle 178 178 CR 10 Contrast Ra o 3000 1 VESA Moun ng 100x100mm Colours 1 07B 10bit AMD FreeSync Yes G Sync Yes HDR HDR10 Signal Input HDMIx2 DPx1 USB Audio out Speakers 2x2...

Reviews: