


20
¾
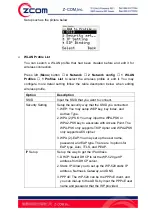
WPS
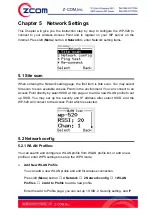
The Wp-520 provides the WPS feature that can connect to the WPS enable
Access point.
Press left (
Menu
) button,
4 Network
,
2 Network config
, and
3 WPS
to enter
WPS setting menu.
There are two modes supporting for the WPS link. One is PBC mode, the other
is PIN mode. When selecting PBC mode, the WP-520 will start to scan Access
Point that start PBC mode at the same time. When selecting the PIN mode, the
WP-520 will generate a PIN key randomly, and the Access Point which enables
the PIN mode should input the key that the WP-520 generates.
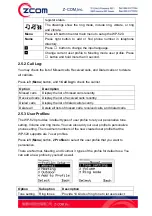
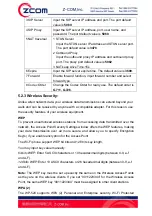
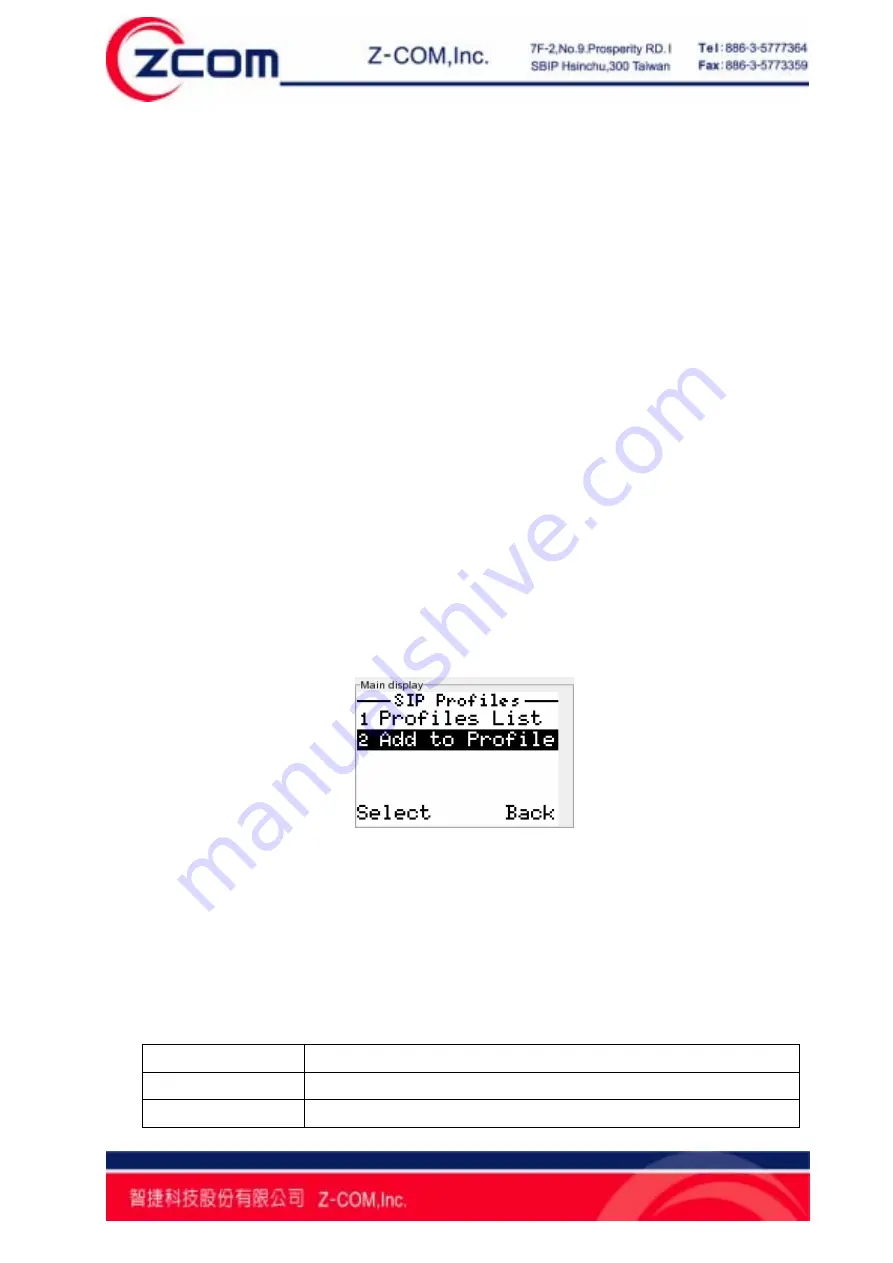
5.2.2 SIP Profiles:
¾
Add New SIP Profile
You can add a new SIP profile and edit for SIP server register.
Press left (
Menu
) butto
n →
4 Network
→
2 Network config
→
2 SIP
Profiles
→
2 Add to Profile
to add a new profile.
After inputting SIP profile name, you can set up the phone number, and the
address of SIP server, SIP proxy, and NAT traversal, SIP server expire time,
forwarding phone number and Codec order.
¾
Profile List
You can search a SIP profile that had been created before to active or inactive it
and edit it for SIP server register or delete the profile.
Press left (
Menu
) butto
n →
4 Network
→
2 Network config
→
2 SIP
Profiles
→
1 Profile List
to search a profile.
The more detail description refers to the table below when edit SIP profile.
Option Description
1 Display Name
Input the profile name that you want to display.
2 Phone Number
Input the phone number that you register on SIP server.


