


1
Safety Precautions
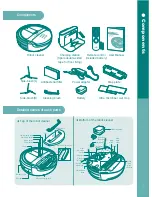
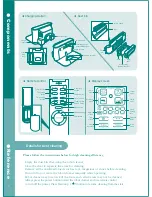
Components and
detailed names
Reference
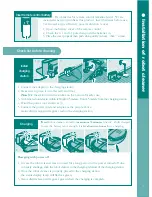
Installation of robot cleaner
Usage of robot cleaner
Product control &
maintenance
Storage
Check before repair report
Display error message
Warranty
Details for best cleaning
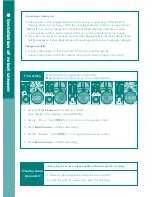
Operating principles of robot cleaner
•
Running of robot cleaner
•
Suction of robot cleaner
•
Using remote control
•
Necessary information
Check list before using
•
Insert battery
•
Assemble side-brush
•
Assemble ultra microfiber mop
•
Remove protection film
•
Insert remote control battery
Check list before cleaning
•
Install Charging station
•
Charging
•
Time setting
•
Cleaning space preparation
Using the robot cleaner
•
Start / stop cleaning
•
Using move, charge, turbo function
Cleaning mode
•
Auto-mode
•
Carpet mode
•
Climb mode
•
Mopping mode
Timer cleaning
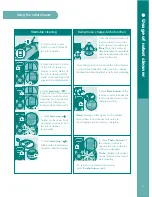
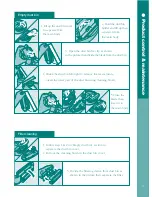
Empty dust bin
Filter cleaning
Change antibacterial filter
Ultra microfiber mop control
Main brush cleaning
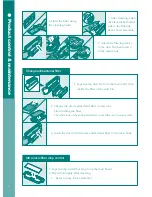
Sensor control
Front-wheel cleaning
Side-brush cleaning
Mend the robot cleaner
Mend the Charging station
2
5
6
7
8
9
11
12
12
13
17
18
19
20
●
contents


