background image

Schedule

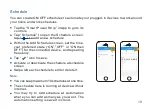
You can create ON/OFF schedules to automate your plugged-in devices to work around 
your home and work schedules.

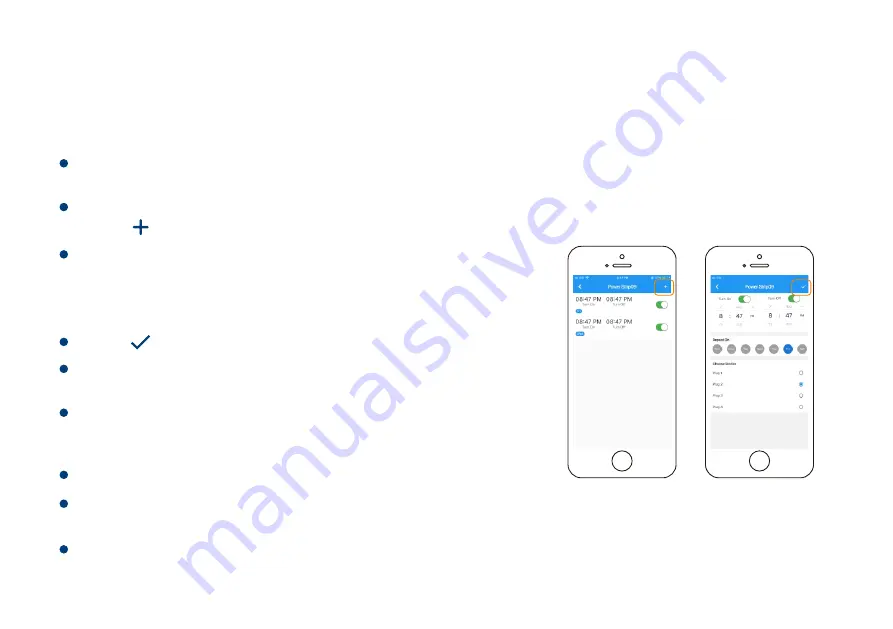
Within the Add Schedule screen, set the time, 
your  preferred  state  (“ON”,”OFF”  or  “ON  then 
OFF”) for the connected device, and repeating 
frequency.

Note

Tap “Schedule” to open the Schedule screen, 
tap “        ” to add a new schedule.

Activate or deactivate the schedule at schedule 
screen.
Swipe left each schedule to edit or delete it.

You can keep maximum 10 schedules at one time. 

The schedule here is running at device without 
internet.

You  may  try  to  add  schedule  at  Automation 
where you can add as many as you want. The 
automation setting is saved in cloud.

Tap “       ” icon to save.

10

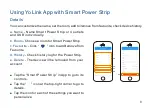
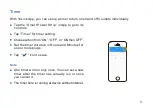
Tap the “Smart 

” in App to go to its 

Power Strip

controls.

Summary of Contents for YS6801-UC/SM-SO301

Page 1: ...Smart Power Strip User Guide YS6801 UC SM SO301...

Page 2: ...Product Requirements 3 Features 3 Set Up Smart Power Strip 4 Using YoLink App with Smart Power Strip 8 YoLink Control 13 Speci cations 18 Maintaining the Smart Power Strip 16 Troubleshooting 19 Custo...

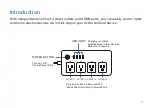
Page 3: ...and home electric devices via YoLink App on your iOS or Android device 1 POWER BUTTON Plug in your device and control it independently from your smartphone OUTLET 1 USB PORT Charge your tablet smartph...

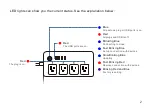
Page 4: ...g to cloud Fast Blinking Blue Set up connection with devices Fast Blinking Red Remove connection with devices Blinking Red and Blue Factory resetting Slow Blinking Blue Updating LED light can show you...

Page 5: ...action of other devices Automation Set up rules for If this then that function Voice Control Use Alexa or Google Assistant to control your devices with voice commands Product Requirements 1 A YoLink H...

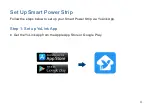
Page 6: ...Set Up Smart Power Strip Follow the steps below to set up your Smart Power Strip via YoLink App Step 1 Set up YoLink App Get the YoLink App from the Apple App Store or Google Play 4...

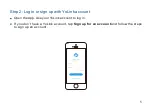
Page 7: ...If you don t have a YoLink account tap Sign up for an account and follow the steps to sign up an account Open the App Use your YoLink account to log in Step 2 Log in or sign up with YoLink account 5...

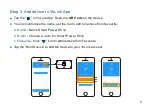
Page 8: ...a Name Name Smart Power Strip You can customize the name set the room add to remove from favourite Tap the in YoLink App Scan the QR Code on the device Tap the Bind Device to add the device to your Y...

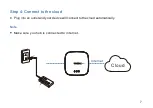
Page 9: ...Step 4 Connect to the cloud Plug into an outlet and your device will connect to the cloud automatically Note Make sure you hub is connected to internet 7 Cloud Internet...

Page 10: ...sonalize d History Check history log for the Power Strip b Room Choose a room for Smart Power Strip a Name Name Smart Power Strip or 4 outlets and USB individually e Delete The device will be removed...

Page 11: ...from ON OFF or ON then OFF Set the timer duration in Hours and Minutes for one or more plugs Note One timer will run only once You can set a new timer after the timer has already run or once you cance...

Page 12: ...p Schedule to open the Schedule screen tap to add a new schedule Activate or deactivate the schedule at schedule screen Swipe left each schedule to edit or delete it You can keep maximum 10 schedules...

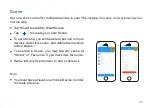
Page 13: ...or more devices under this scene and de ne their actions and or states Tap to create your own Scene Tap Smart to switch to Smart Screen Swipe left any Scene order to edit or delete it To execute a Sc...

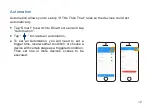
Page 14: ...utomatically Tap Smart to switch to Smart screen and tap Automation To set an Automation you will need to set a trigger time local weather condition or choose a device with certain stage as a triggere...

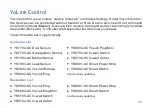
Page 15: ...l You will need to set it up physically YS6602 UC YoLink Plug Responder List YS6604 UC YoLink Plug Mini YS5705 UC In wall Switch YS6801 UC Smart Power Strip Continuously updating YS6802 UC Smart Switc...

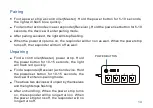
Page 16: ...n the power strip turns off the responder will turn off as well Pairing Find a power strip controller Master Hold the power button for 10 15 seconds the light will ash red quickly The above two device...

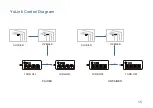
Page 17: ...YoLink Control Diagram UNPAIRED TURN OFF TURN OFF OPENED CLOSED PAIRED TURN ON TURN OFF OPENED CLOSED 15...

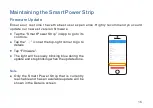
Page 18: ...rmware Note Only the Smart Power Strip that is currently reachable and has an available update will be shown in the Details screen The light will be slowly blinking blue during the update and stop bl...

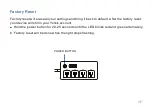
Page 19: ...and bring it back to default After the factory reset your device will still in your Yolink account Hold the power button for 20 25 seconds until the LED blinks red and green alternately Factory reset...

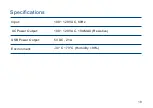
Page 20: ...Speci cations AC Power Output 100 120V AC 10A MAX Resistive 5V DC 2 1A Input 100 120V AC 60Hz Environment 30 C 70 C Humidity 90 USB Power Output 18...

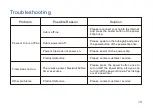
Page 21: ...e reconnect your hub to the Internet and press the power button of the power strip once Hub is powered off Timer does not run Please press the button once to power turn on off you can the power strip...

Page 22: ...n commercial applications This warranty does not apply to power strips that have been improperly installed modi ed put to a use other than designed or subjected to acts of God such as oods lightning e...

Page 23: ...ne or more of the following measures FCC Statement Reorient or relocate the receiving antenna Increase the separation between the equipment and receiver Connect the equipment into an outlet on a circu...

Page 24: ...other antenna or transmitter FCC RF Radiation Exposure Statement To comply with FCC RF exposure compliance requirements this grant is applicable to only Mobile Con gurations The antennas used for this...

Reviews: