2-49
IM 701240-01E
3
2
1
4
5
6
7
8
9
10
11
12
13
14
15
16
17
18
App
Index
Explanation of Functions
2.9
Other Useful Functions
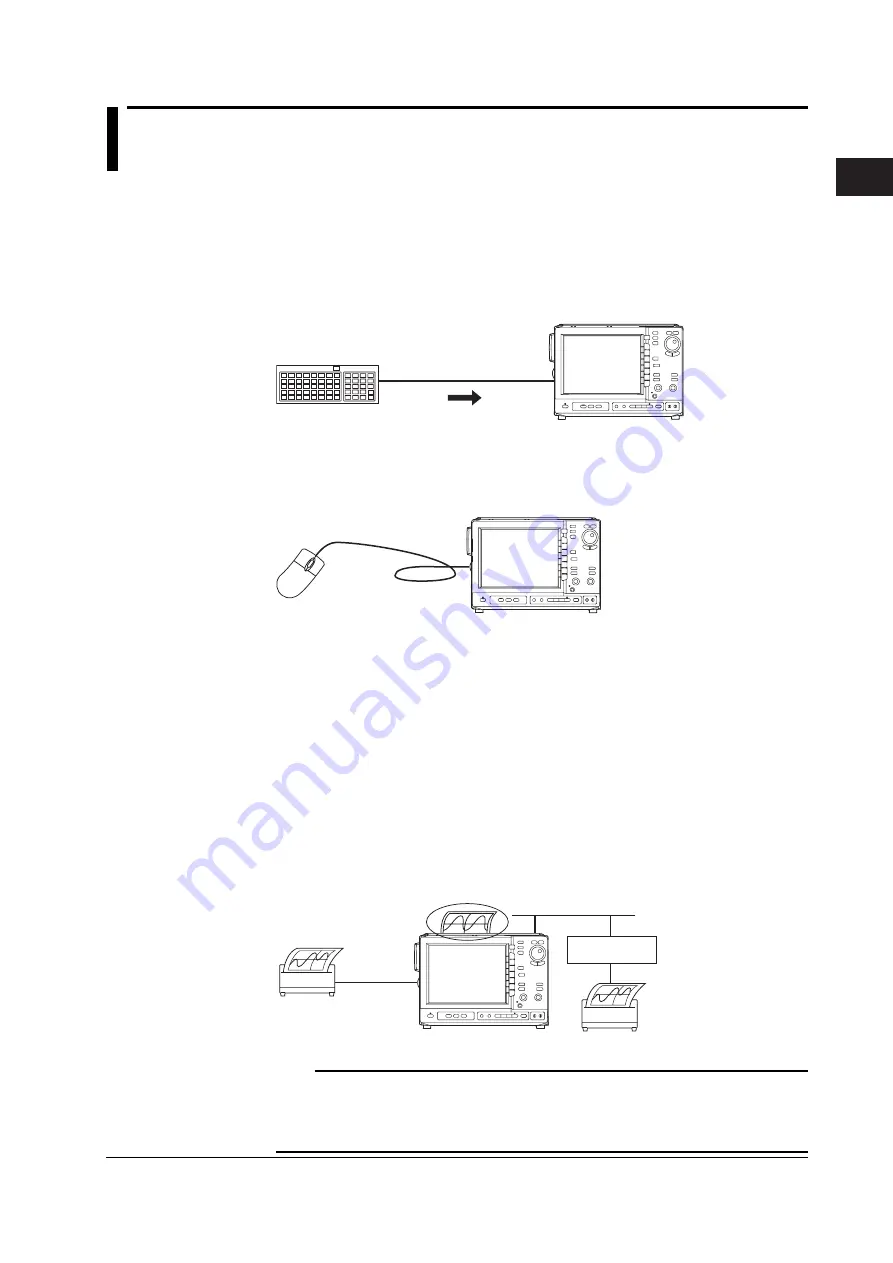
Entering Values and Strings from a USB Keyboard «For procedures, see section 4.3.»
You can connect a USB keyboard for entering file names, comments, and other
information. In addition, the functions of each key on the front panel of the SL1400 are
assigned to the keys on the keyboard. Thus, the keyboard can be used to carry out
operations that are the same as the key operations on the SL1400. For the key
assignments, see appendix 7.
USB keyboard
USB connection
SL1400
Operations Using a USB Mouse «For procedures, see section 4.3.»
You can use a USB mouse to operate the SL1400 as you would using the front panel keys.
In addition, you can point to a desired item on a menu and click the item. This is analogous
to pressing a soft key corresponding to a menu and pressing the SELECT key.
USB mouse
SL1400
Initialization «For procedures, see section 4.4.»
The settings of each key can be reset to their initial conditions. However, date and time settings,
communication settings, and SCSI ID setting are not initialized. To reset the communication-
related and SCSI ID settings to factory default, turn ON the power while holding down RESET.
Release RESET after a beep sound is heard. (Date and time settings are not reset.)
Auto Setup «For procedures, see section 4.5.»
This function automatically sets the voltage axis, time axis, trigger settings, and other
settings to suit the input signal. This is useful when the characteristics of the input signal are
unknown. However, the auto setup function may not work depending on the input signal.
Printing the Screen Image «For procedures, see chapter 12.»
Screen images can be printed on the built-in printer (option), USB printer, or network
printer (when the Ethernet interface option is installed).
USB printer
USB
Built-in printer
Network printer
Printer server
Ethernet
Supporting TCP/IP
(LPR protocol)
SL1400
Note
There is a function that enables comments to be entered and displayed using a keyboard that
appears on the screen or a USB keyboard. You can enter a comment describing the displayed
waveform before printing the screen image. The comment is printed along with the waveform
allowing the printed matter to be identified later on.


