background image

42 

Precision Making 

Time/div and sample rate 

Appendix C 

– Sample rate & measurement time 

ScopeCorder introduction workbook 
Copyright © Yokogawa Electric Corporation 

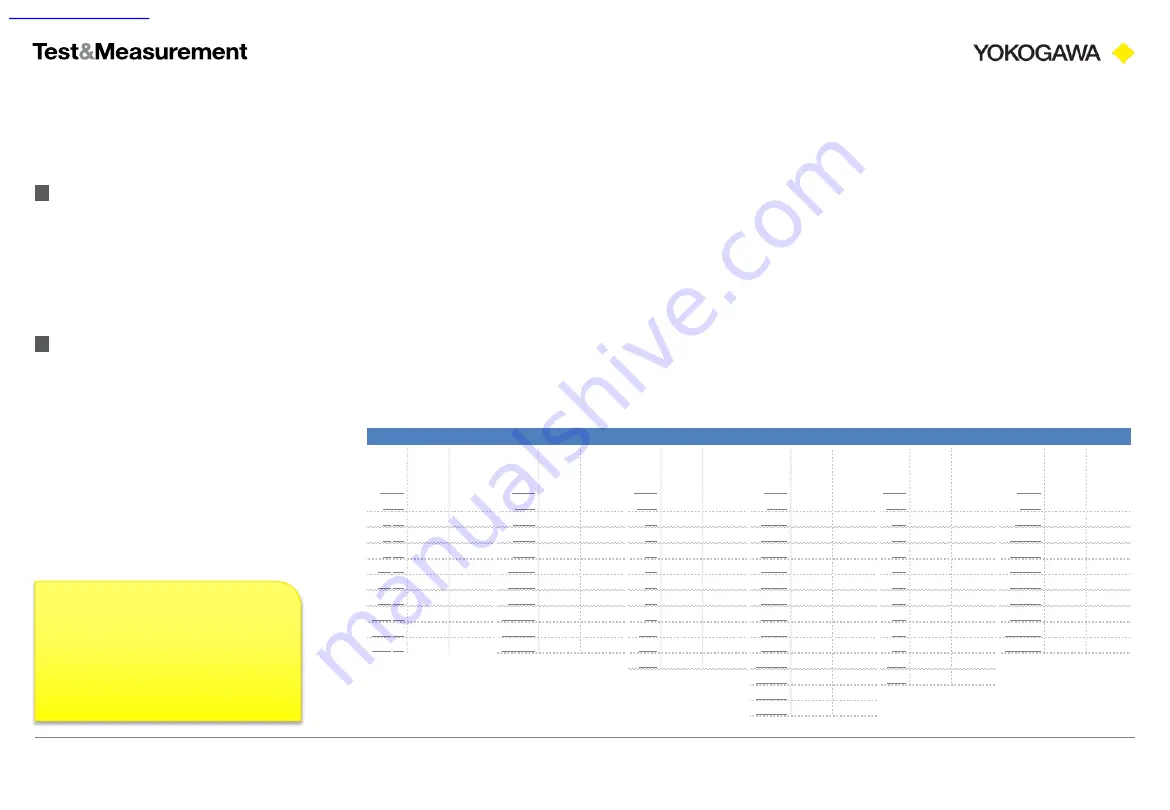
Now we can lookup what Time/div and sample rate options are available. To do this, go to appendix 1 of the guide 
(page ‘App-1’). Here you find tables with all options for the different record lengths.  


● If you have a 100 MS/s input module (720210 / 720211) installed, use the tables starting at page ‘App-1’. 
● If you don’t have 100 MS/s input modules installed, use the tables starting at page ‘App-8’. 
 
Now search for the column with the appropriate record length. In the example case (100M) we find this at pages 
‘App-12’ and ‘App-13’, with the following options: 

Time

/div

Sample 

Rate 
(S/s)

Display 

Record 

Length 

(Points)

Time

/div

Sample 

Rate 
(S/s)

Display 

Record 

Length 

(Points)

Time

/div

Sample 

Rate 
(S/s)

Display 

Record 

Length 

(Points)

Time

/div

Sample 

Rate 
(S/s)

Display 

Record 

Length 

(Points)

Time

/div

Sample 

Rate 
(S/s)

Display 

Record 

Length 

(Points)

Time

/div

Sample 

Rate 
(S/s)

Display 

Record 

Length 

(Points)

1  μs

10 M

100

1 ms

10 M

100 k

1 s

10 M

100 M

1 min

100 k

60 M

1 h

2 k

72 M

1 day

100

86.4 M

2  μs

10 M

200

2 ms

10 M

200 k

2 s

5 M

100 M

2 min

50 k

60 M

2 h

1 k

72 M

2 days

50

86.4 M

5  μs

10 M

500

5 ms

10 M

500 k

3 s

2 M

60 M

3 min

50 k

90 M

3 h

500

54 M

3 days

20

51.84 M

10  μs

10 M

1 k

10 ms

10 M

1 M

4 s

2 M

80 M

4 min

20 k

48 M

4 h

500

72 M

4 days

20

69.12M

20  μs

10 M

2 k

20 ms

10 M

2 M

5 s

2 M

100 M

5 min

20 k

60 M

5 h

500

90 M

5 days

20

86.4M

50  μs

10 M

5 k

50 ms

10 M

5 M

6 s

1 M

60 M

6 min

20 k

72 M

6 h

200

43.2 M

6 days

10

51.84M

100  μs

10 M

10 k

100 ms

10 M

10 M

8 s

1 M

80 M

7 min

20 k

84 M

7 h

200

50.4 M

8 days

10

69.12M

200  μs

10 M

20 k

200 ms

10 M

20 M

10 s

1 M

100 M

8 min

20 k

96 M

8 h

200

57.6 M

10 days

10

86.4M

500  μs

10 M

50 k

500 ms

10 M

50 M

20 s

500 k

100 M

9 min

10 k

54 M

9 h

200

64.8 M

20 days

5

86.4M

30 s

200 k

60 M

10 min

10 k

60 M

10 h

200

72 M

12 min

10 k

72 M

12 h

200

86.4 M

15 min

10 k

90 M

30 min

5 k

90 M

100 MPoint

Time/div & recording time 

Please note that in our example 
case we can select from 1μs to 
20 days per division, resulting in 
an acquisition time of 10μs to 
200 days. 

« Table of contents


Summary of Contents for DL850E

Page 1: ...1 Precision Making ScopeCorder Introduction Workbook DL850E series Peter Schutte Product Marketing Europe Version 1 2 August 2016...

Page 2: ...lk through the most commonly used functionality but also address some unique ScopeCorder features To get familiar with the ScopeCorder s knobs keys and their functions please consider starting with Ap...

Page 3: ...Reset 2 A simple acquisition 3 Sample rate calculation 4 Zoom to get more detail 5 Save a waveform 6 Load view a waveform 7 Save a screen image 8 RMS measurement 9 Cursor measurement 10 Hard disk reco...

Page 4: ...OFF the ScopeCorder 2 Hold the RESET button while turning ON the ScopeCorder 3 Continue to hold the RESET button 4 Wait for the confirmation message you will hear a BEEP Turned on pressing the RESET k...

Page 5: ...acquisition Please connect CH1 to the PROBE COMP pins on the front of the ScopeCorder using a suitable 10 1 or 1 1 probe test lead Leave all other channel inputs disconnected Press CH1 and adjust PROB...

Page 6: ...ric Corporation Show the signal over a longer time period Use the Tim DIV knob to change the length of your acquisition Longer memory higher sample rate Increase the record length memory size to incre...

Page 7: ...e Main Record Length Total Time 10 000 points 200 s DIV 10 DIV 10 000 2000 s 10 000 0 002s 5MS s What sample rate measurement time settings are possible Dependent on channel count available memory and...

Page 8: ...uisite Perform Exercise 2 first or acquire a waveform In this exercise you will use the Zoom functionality to get more detailed insight in the acquired signal while still having the ability to make lo...

Page 9: ...rporation Use the 2nd Zoom channel In the given example the second Zoom channel has been activated to get even more detail by zooming in on Zoom channel 1 To do this press Zoom1 Zoom2 Display set to O...

Page 10: ...ary file Follow these keystrokes Enter a file name with the navigation keys DONE One button operation After you have performed the above setup you simply press one button SAVE You can skip all but the...

Page 11: ...isite Perform Exercise 5 first or use another saved waveform In this exercise you will load and view a binary file containing a waveform Follow these keystrokes DONE The signal acquired in Exercise 2...

Page 12: ...teps may be abbreviated Follow these keystrokes DONE Do you have to stop acquisition before saving Not for storing image files It is required to stop acquisition for saving waveform files which is sti...

Page 13: ...ite Perform Exercise 2 first or acquire a waveform In this exercise you will perform a parametric measurement such as RMS Follow these keystrokes DONE Results are displayed on the next page Table of c...

Page 14: ...creen except when Time DIV 100ms DIV or roll mode is used See screenshot left bottom Roll mode In roll mode waveforms scroll from right to left as new data is captured and the oldest values are delete...

Page 15: ...kogawa Electric Corporation Prerequisite Perform Exercise 2 first or acquire a waveform In this exercise you will perform a horizontal cursor measurement Follow these keystrokes DONE Results are displ...

Page 16: ...ok Copyright Yokogawa Electric Corporation The cursor measurement is now displayed at the bottom of the screen Cursor adjustment Don t forget to use the left and right arrow button to adjust the decim...

Page 17: ...ration Prerequisite Perform Exercise 2 first or acquire a waveform In this exercise you will make an acquisition using hard disk recording Hard disk recording makes it possible to acquire and store da...

Page 18: ...ard disk recording setup create ScopeCorder introduction workbook Copyright Yokogawa Electric Corporation Verify files To verify the recorded files press FILE UTILITY Look in the current media PATH fo...

Page 19: ...Copyright Yokogawa Electric Corporation Prerequisite Perform Exercise 10 first or use another saved hard disk recording In this exercise you will load and view a hard disk recording from file Follow...

Page 20: ...r to take a closer look at the waveform data use the ZOOM function Go to Exercise 4 for additional explanation Results 11 Hard disk recording load view ScopeCorder introduction workbook Copyright Yoko...

Page 21: ...e none In this exercise you will save the currently configured settings for your ScopeCorder to a SET settings file Follow these keystrokes DONE Use the soft keyboard or an USB keyboard to name the SE...

Page 22: ...ion workbook Copyright Yokogawa Electric Corporation Prerequisite none In this exercise you will load a SET settings file to apply the saved settings to your ScopeCorder Some steps may be abbreviated...

Page 23: ...quisition This function allows you to leave the ScopeCorder unattended and it will automatically perform actions if a trigger event takes place Follow these keystrokes Trigger Mode Select Beep with th...

Page 24: ...function triggers when a waveform goes IN or OUT in a user specified range of voltage Follow these keystrokes DONE AND trigger To perform a Window based AND trigger simply choose TYPE AND using otherw...

Page 25: ...e Dual Capture is a feature which will record data at a low rate until a trigger condition event is detected after which data is recorded at high sample rate Disconnect the PROBE TIP from PROBE COMP l...

Page 26: ...indow Dual Capture displays one of the Dual Capture events with a sample rate of 2 MS s Display Events Not all events are clearly visible in the main window To visualise all events in the main window...

Page 27: ...Prerequisite Perform Exercise 2 first In this exercise you will add a new channel label to channel 1 Follow these keystrokes DONE Results are displayed on the next page Input name scale unit string Co...

Page 28: ...Results 17 Channel labeling ScopeCorder introduction workbook Copyright Yokogawa Electric Corporation Adjust multiple channels Use the ALL CH button menu to make adjustments to multiple channels at on...

Page 29: ...ay the actual measured current rather than the acquired voltage Follow these keystrokes DONE Results are displayed on the next page Select AX B change A to 2 00 B to 0 00 add a unit string named A Cur...

Page 30: ...rkbook Copyright Yokogawa Electric Corporation CH1 Scaled COMP signal Y scale min 5 000A Y scale max 5 000A Resolution 1A div CH2 Regular COMP signal Y scale min 2500mV Y scale max 2500mV Resolution 5...

Page 31: ...ced exercise you will setup a Phase Measurement between the two acquired waveforms Steps are somewhat abbreviated Follow these keystrokes DONE Results are displayed on the next page Channel delay In o...

Page 32: ...Yokogawa Electric Corporation 60 degrees delay between 2nd rising edge of CH1 to the 2nd rising edge of CH2 as counted at zero crossing from left to right Extra Display Measurement values are display...

Page 33: ...ion Jog Shuttle Use to change values and move cursors Turn the shuttle ring to vary the rate at which values change The rate is based on the shuttle ring angle Setup and execution keys and knobs Probe...

Page 34: ...d to the upper right of the key in white ALL CH key Press this key to display a window in which you can configure all the settings from the menus that appear when you press CH1 to CH16 The settings ap...

Page 35: ...poration TIME DIV knob Use this knob to set the time axis scale If you change the scale while waveform acquisition is stopped the scale actually takes effect when you restart waveform acquisition SHIF...

Page 36: ...aveform parameters Press SHIFT and then MEASURE to display a menu for GO NO GO determination CURSOR key Displays a menu used when performing cursor measurements SHIFT ZOOM key Displays a waveform zoom...

Page 37: ...s a menu for initialising the settings to their factory defaults performing auto setup which automatically sets the DL85E DL850EV according to the input signal storing and recalling setup information...

Page 38: ...apshot waveforms can be saved and loaded UTILITY key Displays a menu for configuring system communication network and environment settings for performing self tests and for displaying system informati...

Page 39: ...and mouse with it Using the USB ports you can connect wired keyboards and mice They keyboard will function as expected it will allow you to easily enter characters for data entry fields The mouse intr...

Page 40: ...der to determine the possible sample rate measurement time settings a few parameters need to be defined The DL850E DL850EV ScopeCorder getting started guide download link provides the necessary inform...

Page 41: ...ou will find 4 tables Depending on the use of the features Dual Capture and Hard disk recording a different table applies Select the row that represents your channel count Select the column that repre...

Page 42: ...Sample Rate S s Display Record Length Points 1 s 10 M 100 1 ms 10 M 100 k 1 s 10 M 100 M 1 min 100 k 60 M 1 h 2 k 72 M 1 day 100 86 4 M 2 s 10 M 200 2 ms 10 M 200 k 2 s 5 M 100 M 2 min 50 k 60 M 2 h...

Page 43: ...1429 Email CSC TCE nl yokogawa com To find information on the ScopeCorder platform main frames modules accessories and also find application examples please make use of the ScopeCorder product pages...

Reviews: